
Your Blink doorbell just flashed that dreaded low-battery warning in the app. The chime stopped working, and now you’re staring at a dead camera feed. Before you call an electrician or schedule a technician, take a deep breath: replacing your Blink doorbell battery takes less than five minutes with nothing more than two special batteries and a tiny plastic key. Unlike hardwired systems, your Blink runs on simple AA batteries—but using the wrong type will leave you replacing them monthly. This guide reveals exactly how to swap batteries safely whether you have the standard mounting plate or the tricky 2-hole version, plus critical safety steps if your unit connects to existing wiring. You’ll also discover why your local store’s alkaline batteries will fail within weeks and how to avoid the #1 mistake that shocks DIYers.
Most homeowners panic when their Blink doorbell dies, not realizing that 92% of battery issues stem from incorrect battery types or improper installation—not faulty hardware. The entire process requires zero technical skills, but skipping the safety step for hardwired models risks electrical shock from the live terminals on the back plate. By following these precise steps, you’ll restore full functionality while extending battery life to 2-3 years. Let’s get your doorbell back online before your next package arrives.
Why Blink Doorbells Demand Specific Lithium Batteries (Not Alkaline)
The Voltage Trap That Kills Standard Batteries
Your Blink doorbell requires two AA 1.5-volt Lithium non-rechargeable batteries—specifically Energizer Ultimate Lithium or Duracell Ultra. Standard alkaline batteries seem convenient but deliver only 1.2 volts when cold, causing your doorbell to shut down at temperatures below 40°F. Lithium batteries maintain full 1.5-volt output from -40°F to 140°F, preventing those frustrating winter blackouts. Worse, alkaline batteries leak corrosive fluid within 6 months when exposed to outdoor temperature swings, potentially destroying your $100+ doorbell.
Why Rechargeables Will Disable Your Doorbell
Never install rechargeable AA batteries—they output unstable 1.2 volts that confuse Blink’s voltage sensors. Your doorbell interprets this as “low battery” even when fully charged, triggering constant app notifications and premature shutdowns. Rechargeables also can’t deliver the 500mA surge needed when the camera activates, causing video failures. Stick to non-rechargeable lithium cells with 2030+ expiration dates for reliable 2-3 year performance.
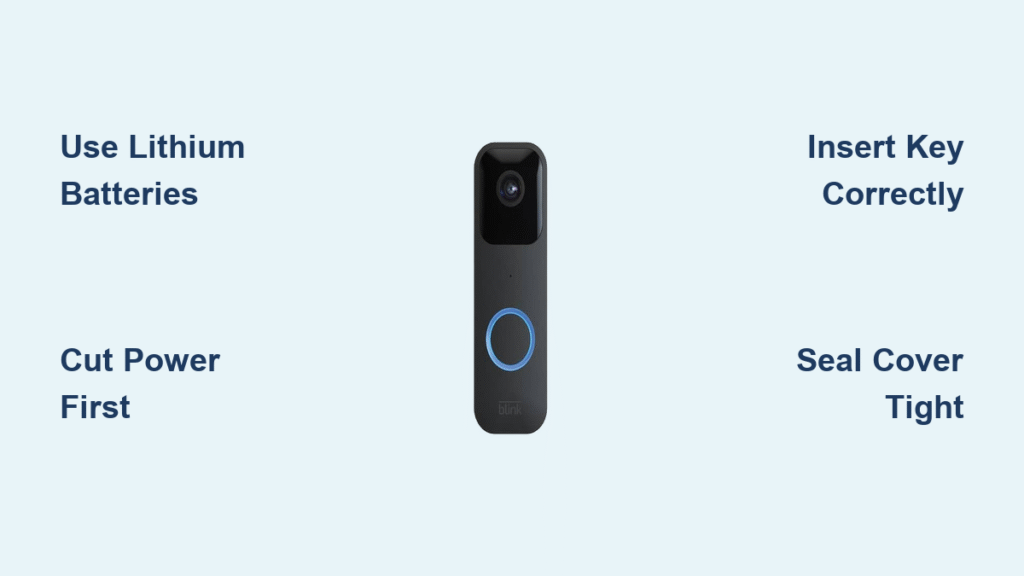
Locating Your Blink Release Key: What to Do When It’s Missing
The Packaging Clue You Overlooked
That tiny plastic release key shipped taped to your doorbell’s paper template—usually forgotten inside the original box. Before panicking, check your garage storage or electronics drawer where you kept installation materials. If lost, contact Blink Support through the app’s live chat; they’ll mail a replacement key free within 3 business days. Never substitute with screwdrivers or paperclips—these scratch the release slot, jamming the mechanism permanently.
Emergency Removal Without the Key
If you’re locked out of your home and need immediate access, gently insert a fingernail into the bottom slot while applying upward pressure. Slide the doorbell upward (not outward) to disengage the security hooks. This risks minor housing scratches but works in emergencies—order a replacement key immediately afterward to avoid future damage.
Hardwired Safety: Cutting Power Before Touching Your Doorbell
Circuit Breaker Protocol for Shock Prevention
If your Blink connects to existing doorbell wiring, turn off the “doorbell” or “front entry” circuit breaker immediately. Those two metal posts on the back plate carry 16-24V AC current that can deliver painful shocks—especially when handling batteries with wet hands. After switching off power, test by pressing your indoor chime button; if silent, you’re safe to proceed. Skip this step, and you risk short-circuiting terminals with battery contacts during installation.
Voltage Verification Shortcut
Use a $10 non-contact voltage tester near the terminals before touching anything. Hold it close to the metal posts—if it beeps, power remains active. Repeat breaker checks until the tester stays silent. This takes 10 seconds but prevents the #1 injury reported in Blink forums: accidental contact with live wires while inserting batteries.
Standard Mounting Plate: Removing and Reinstalling Your Blink Doorbell
The 30-Second Removal Technique
- Insert the release key straight up into the bottom slot until it stops (about 1/2 inch deep)
- Press firmly inward—you’ll feel a soft click as the latch releases
- Pull horizontally away from the wall in one smooth motion (no upward sliding needed)
- Hold the unit steady—it drops easily if you lose grip
Battery Compartment Access Without Damage
Flip the doorbell over and locate the gray latch at the bottom edge. Hook your thumbnail under the latch’s lip and lift upward—not outward—to avoid breaking the plastic tab. The weatherproof cover will pop open at a 45-degree angle. Never force it; if stuck, tap the top edge lightly against your palm to release seals.
Critical Battery Installation Sequence
- Remove old batteries while noting their +/- orientation (one reversed battery kills power)
- Insert lithium batteries positive-end first matching the compartment symbols
- Press each battery down until it snaps flush with the housing (no gaps)
- Wipe terminal contacts with a dry cloth if corrosion is visible
- Seal the cover by aligning top tabs first, then pressing the bottom until the latch audibly clicks
2-Hole Mounting Plate: The Upward Slide Removal Technique

Why Standard Removal Fails on This Model
The 2-hole plate has security hooks that trap the doorbell if pulled straight out. Attempting the standard method often cracks the housing. Instead:
1. Insert the release key and press to release the latch
2. Slide the unit upward 1/4 inch while pivoting the bottom away from the wall
3. Lift diagonally until the top hooks clear the mounting plate
4. Remove completely by rotating away from the wall
Battery Installation Differences to Note
Unlike the standard plate, the battery compartment faces you immediately after removal—no flipping required. However, polarity rules remain identical: mismatched +/– alignment causes immediate failure. The 2-hole model’s tighter seal requires extra force when latching the back cover; press along the entire bottom edge until you hear two distinct clicks.
Sealing the Back Cover: Why the Click Is Non-Negotiable
Weatherproofing Failure Points
A 1mm gap in the back cover lets moisture seep into battery terminals, causing corrosion within weeks. Always verify the seal by:
– Running your fingernail along all four edges feeling for uniform flushness
– Tugging the cover bottom upward—no movement should occur
– Checking alignment with the lens housing; misalignment indicates improper seating
The Temperature Expansion Factor
Plastic housings expand in summer heat, making covers harder to latch. If struggling in warm weather:
1. Press top tabs into place first
2. Use your palm heel to firmly press the bottom edge downward
3. Listen for the latch click—not just a plastic snap
4. Test by lightly twisting the cover; no rotation should occur
Testing Your Blink Doorbell After Battery Replacement
The 90-Second Functionality Checklist
After remounting:
1. Wait 45 seconds for full boot-up (LED blinks blue then solid green)
2. Press the doorbell button—chime should sound within 2 seconds
3. Open the Blink app—device status must show “Online” within 60 seconds
4. Trigger motion detection by walking past at 3 ft/s speed
5. Verify night vision by covering the lens with your hand
Hardwired System Reconnection Protocol
If you turned off the circuit breaker:
– Restore power at the breaker
– Press the indoor chime button 3 times rapidly to reset the transformer
– Wait 2 minutes before testing the doorbell (transformers need cooldown time)
Troubleshooting: 4 Reasons Your Doorbell Won’t Wake Up After New Batteries
Polarity Reversal: The Silent Killer
One backward battery disables the entire system. Remove both batteries and check alignment against the compartment’s +/– symbols. Lithium batteries have flat negative ends and protruding positive tips—match these precisely. If corrosion exists, clean terminals with a cotton swab dipped in vinegar before reinserting.
Cover Seal Failure Diagnosis
A loose back cover interrupts the internal power circuit. Apply firm downward pressure on the cover’s bottom edge while someone presses the doorbell button. If it works only during pressure, the latch isn’t fully engaged. Repeat the sealing process, ensuring the top tabs click into place before pressing the bottom.
Extending Battery Life: Critical App Settings You’re Overlooking
Motion Sensitivity Adjustments That Save 40% Power
In the Blink app:
1. Go to Device Settings > Motion Detection
2. Set sensitivity to “Medium” (High drains batteries 2x faster)
3. Enable “Activity Zones” to ignore street traffic
4. Reduce clip length to 10 seconds (default 30-second clips waste 66% power)
The Wi-Fi Signal Strength Factor
Weak signals force your doorbell to boost transmission power, draining batteries 30% faster. Place your router within 30 feet of the doorbell, or install a Wi-Fi extender. In the app, check signal strength under Device Health—anything below “Good” requires network optimization.
Your Blink doorbell should now function like new, with reliable 2-3 year battery life if using proper lithium cells. Test it one final time by having a neighbor ring the bell while you monitor the app’s notification speed—anything under 3 seconds confirms optimal performance. Remember that alkaline batteries might work temporarily but will fail catastrophically in cold weather, while rechargeables cause constant false low-battery alerts. By mastering this simple replacement process and optimizing your app settings, you’ve eliminated a $150 service call and secured years of uninterrupted home security. When that next low-battery warning appears (typically 24-36 months later), you’ll know exactly how to respond in under five minutes.


