
Your Nest Doorbell just went dark again, leaving you blind to visitors and deliveries. Before you panic about faulty wiring or a dead device, here’s what most homeowners miss: you don’t actually replace the Nest Doorbell (battery) battery—it recharges like your smartphone. Google’s 2021 model features a sealed 6 Ah lithium-ion battery that lasts 1-6 months depending on usage, with most users needing to change nest doorbell battery status through charging every 2.5 months. This guide cuts through the confusion with exact steps to get your doorbell operational in under 10 minutes and prevent future outages. You’ll learn why physical battery replacement is impossible, the precise charging method that avoids damage, and pro tricks to triple your time between charges.
Why You Can’t Physically Replace Nest Doorbell Battery
Google designed the Nest Doorbell (battery) with a permanently sealed lithium-ion unit—no user-serviceable parts exist inside. Attempting to open the casing voids your warranty and risks permanent damage to the camera or sensors. The “how to change nest doorbell battery” process is actually a recharging procedure using the included USB-C cable. This design choice explains why battery life varies wildly: heavy users in busy neighborhoods see just 1 month per charge, while quiet homes get up to 6 months. Extreme temperatures (-4°F to 104°F operating range) and HDR video settings accelerate drainage, making regular charging essential.
Critical Charging Temperature Limits
- Never charge below 32°F (0°C): Cold temperatures cause irreversible battery damage
- Avoid direct sunlight: Surface temps above 104°F (40°C) trigger automatic shutdown
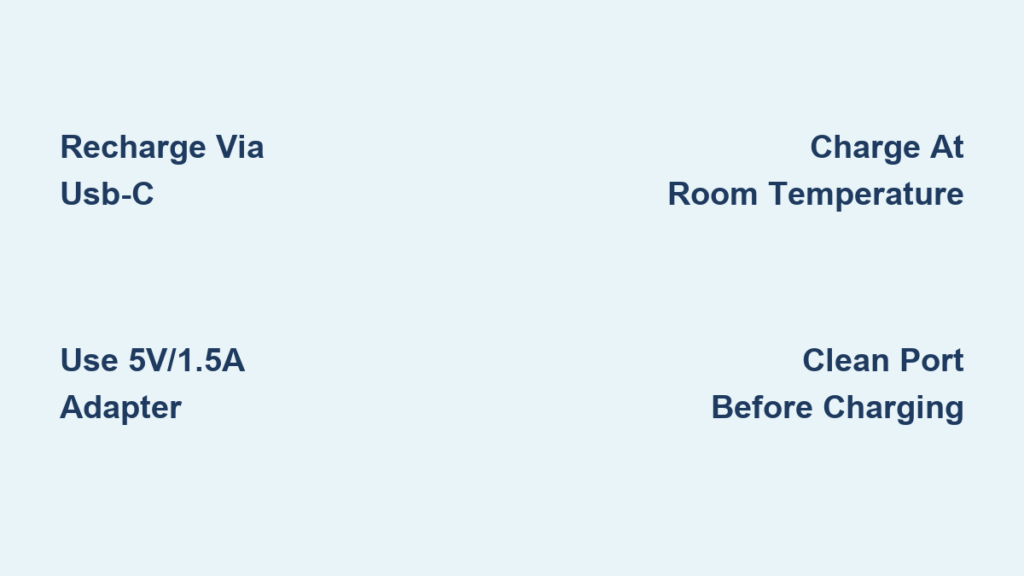
- Ideal charging environment: 68°F-77°F (20°C-25°C) room temperature
- Rain warning: Always power down via Google Home app before removal in wet conditions
Essential Tools for Safe Doorbell Charging
Gather these specific items before starting—you’ll avoid dangerous ladder slips or port damage. The USB-A to USB-C cable comes with your doorbell, but you must use a 5V/1.5A power adapter (standard phone charger) for proper charging. Computer USB ports deliver insufficient power, causing frustratingly slow recharge times.
Must-Have Equipment Checklist
- Release tool (included) or straightened paperclip for bracket release
- 5V/1.5A USB power adapter (minimum 7.5W output)
- Sturdy step ladder rated for your weight
- Microfiber cloth for port cleaning
- Outdoor gloves for cold-weather handling
Pro Warning: Skip the flathead screwdriver some forums suggest—it scratches the release pin mechanism. The paperclip method works perfectly when inserted straight upward with firm pressure.
Doorbell Removal Without Camera Damage
Power Down via Google Home App First
Open the Google Home app → Select your doorbell → Settings (gear icon) → Video → Toggle off camera. This critical step prevents electrical surges during removal. Skipping it risks corrupting your device’s firmware—a common reason for “charging failed” errors.
Correct Release Technique for Stuck Units
Locate the tiny pinhole at the bottom edge of your doorbell. Insert your release tool perpendicular to the surface and push straight upward with steady pressure until you hear a distinct click. Immediately support the unit’s weight with your free hand—Nest doorbells weigh 12.3 oz and can crack on impact. If resistance occurs, gently wiggle the tool upward while maintaining pressure; never force it sideways.
Troubleshooting Tip: Paint buildup often jams the release mechanism. If stuck, use a toothpick to clear debris from the pinhole before retrying.
Proper USB-C Charging Connection
Port Cleaning Protocol
Wipe the USB-C port on the doorbell’s back with a dry microfiber cloth—never use liquids. Inspect for lint or corrosion (common in humid climates) using a flashlight. Insert the USB-C cable with the logo side facing up, pressing firmly until it clicks into place. A loose connection is the #1 cause of “no blue light” errors.
Charging Status Decoded
- Solid blue light: Charging correctly (appears within 10 seconds)
- No light: Check cable seating at both ends
- Flickering blue: Faulty adapter—switch to a 5V/1.5A model
- App confirmation: Google Home shows “Charging” status instantly
Critical Fact: Charging via computer USB ports takes 3x longer due to lower power output. Always use a wall adapter.
Charging Time Optimization Strategies

Full vs. Partial Charge Scenarios
- Complete recharge: 5 hours for 0% to 100% (ideal for overnight)
- Emergency top-up: 60 minutes = 20% charge = 3-5 days of basic operation
- Optimal storage charge: If removing for vacation, stop at 50% to prolong battery health
Temperature Impact on Charge Speed
| Ambient Temperature | Charge Time Increase | Risk Level |
|---|---|---|
| 32-77°F (0-25°C) | None | Safe |
| Below 32°F (0°C) | 200%+ | Permanent damage |
| Above 86°F (30°C) | 50% | Reduced lifespan |
Secure Reinstallation That Prevents Falls
Bracket Alignment Technique
Hold the doorbell with the camera lens facing outward. Align the top edge with the mounting bracket’s upper lip, then slide downward with firm pressure until you hear a definitive click. Never push straight in—that misaligns the internal contacts. Test security by gently tugging the bottom edge; it should resist movement.
Post-Installation Verification
- Press the doorbell button—chime should sound immediately
- Check Google Home app for “Online” status within 60 seconds
- Trigger motion detection by walking past the unit
- Verify blue light is off (indicates full charge)
Failure Sign: If the doorbell powers off after reinstallation, the bracket contacts are dirty. Wipe with isopropyl alcohol before retrying.
Fix Common Charging Failures in 5 Minutes
No Blue Light Troubleshooting
- Step 1: Swap USB-C cables (test with known-working device)
- Step 2: Try a different 5V/1.5A adapter—avoid car chargers
- Step 3: Clean port with plastic toothpick (metal causes shorts)
- Step 4: Reset doorbell: Hold setup button 12 seconds until LED flashes
Slow Charging Solutions
Replace frayed cables immediately—exposed wires reduce efficiency by 40%. If charging takes over 6 hours, check your Wi-Fi signal strength; weak connections drain power during background updates. Lower motion sensitivity in the app during charging to prevent interruptions.
Extend Time Between Charges With Smart Settings
Battery-Saving Configuration
Reduce HDR usage—standard video cuts power consumption by 35%. Create activity zones to ignore street traffic, and shorten event recordings from 3 minutes to 60 seconds. In the Google Home app: Settings → Motion Sensitivity → Set to “Low” for side yards.
Monthly Maintenance Routine
- Day 1: Check battery percentage in app
- Quarterly: Clean lens and port with microfiber cloth
- Bi-annually: Tighten mounting screws (over-tightening cracks housing)
- Annually: Test weather sealing with water spray
Eliminate Charging Forever: Hardwire or Solar
Hardwiring Requirements
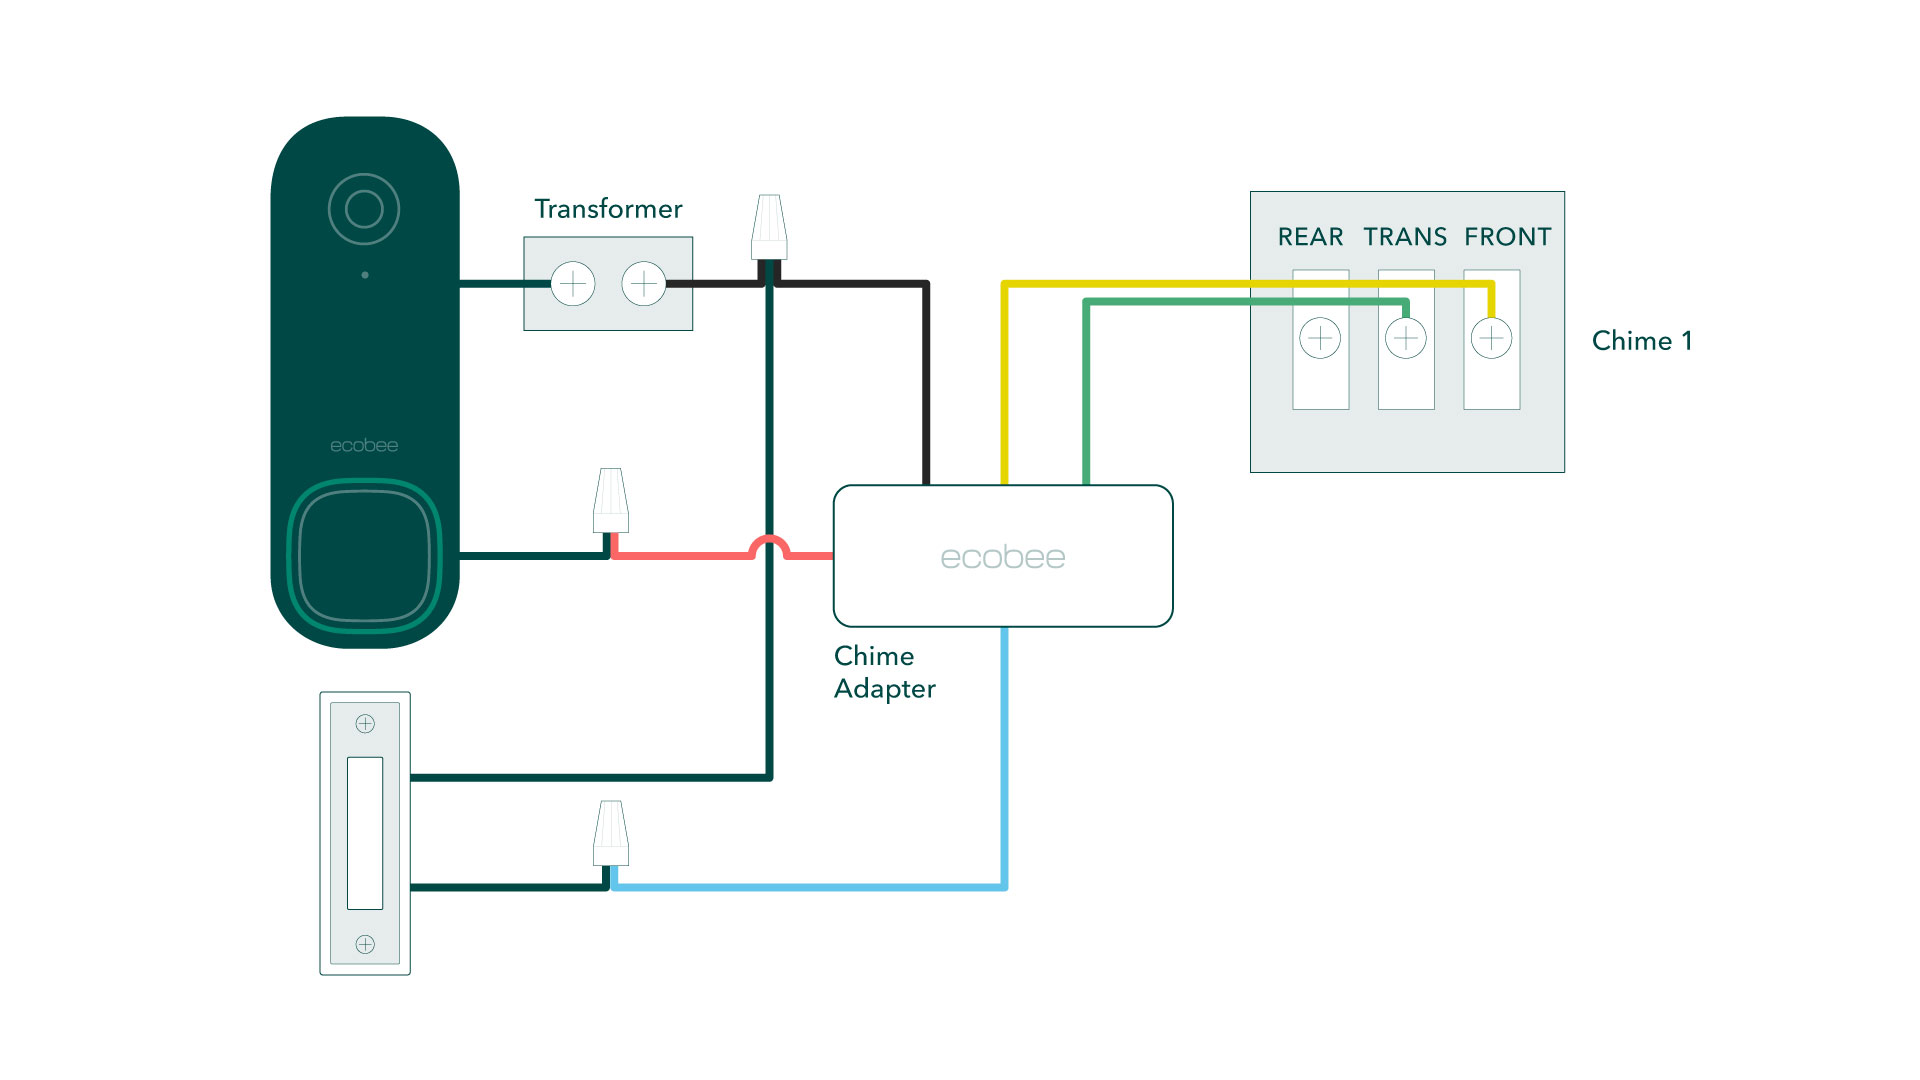
Convert to permanent power if you have existing doorbell wiring (8-24VAC). This requires a licensed electrician to connect the Nest transformer—it’s not a DIY project. Benefits include constant power with battery backup during outages, but installation costs $150-$300.
Solar Panel Performance
Google’s $69 solar panel mounts above your doorbell, extending battery life up to 3x in sunny climates. It delivers 2.5W continuous trickle charge but requires:
– Direct southern exposure (no tree shade)
– Mounting within 3 feet of doorbell
– Minimum 4 hours daily sun
– IP54 weather resistance for rain/snow
Real-World Result: Users in Phoenix report 8-month battery life with solar; Seattle users see just 3 months.
When to Replace Your Entire Doorbell Unit
Battery Failure Warning Signs
Replace the entire unit (not just “battery”) if:
– Charge lasts under 3 weeks consistently
– Battery swells visibly (side seams separate)
– Unit shuts down at 30%+ charge level
– Blue light stays off despite verified working cable
Important: The built-in battery degrades after 500 charge cycles (typically 3-5 years). Google’s 1-year warranty covers premature failure, but normal degradation requires full unit replacement. Check support.google.com/googlenest for recycling options.
Your how to change nest doorbell battery process is complete—remember, it’s always a recharge, never a physical swap. By following these precise steps, you’ve restored power in under an hour and learned to maximize future uptime. Implement the activity zone settings immediately to gain an extra month per charge, and set a Google Calendar reminder for battery checks every 45 days. For true freedom from charging, explore solar panel installation during your next sunny week—it pays for itself in just 4 months for most users. Keep your release tool taped inside your electrical panel for emergency access, and always power down via the app before removal to protect your investment. With these strategies, your Nest Doorbell will stay vigilant at your doorstep for years to come.


