
Your doorbell suddenly goes silent, leaving you oblivious to packages and visitors. Or worse—it emits that maddening low hum that echoes through your walls at 2 AM. Before shelling out $150 for an electrician, consider this: 70% of doorbell failures stem from a failing transformer. This small metal box converts household electricity to safe low voltage for your system, and replacing it takes less time than waiting for a service call. You’ll discover exactly where to find this hidden component, how to confirm it’s dead, and the safe, foolproof method to install a new one—even if you’ve never touched household wiring.
Most homeowners waste hours troubleshooting buttons or chimes when the real culprit is the transformer. This guide cuts through the confusion with actionable steps verified by electrical professionals. You’ll complete the entire replace doorbell transformer process in under 60 minutes using basic tools from your garage. Let’s restore that satisfying ding-dong permanently.
Locate Your Doorbell Transformer Before Powering Down
Finding the transformer eliminates guesswork and prevents unnecessary electrical work. Start your search in these high-probability zones: basement ceiling joists, utility closet walls, or directly mounted on your main electrical panel. Look for a metal rectangle roughly the size of a matchbox—typically silver or black—with two distinct wire groups. Thick household wires (black/white) enter one side while thinner low-voltage wires (often red/green) exit the other toward your chime.
Follow Wire Paths from Chime Box
Remove your interior chime cover with a Phillips screwdriver. Gently pull the unit away from the wall to trace the wire direction without disconnecting anything. Wires running upward mean your transformer hides in the attic; downward paths lead to basement or crawlspace locations. In finished homes, check behind basement storage shelves or near HVAC units—transformers often nestle against structural beams for support.
Identify Transformer by Connection Pattern
Your transformer has a unique signature: one face shows plastic wire caps joining thick household wires (120V), while the opposite side has terminal screws labeled “C” and “T” holding thin doorbell wires (10-24V). This dual-voltage setup distinguishes it from junction boxes. If you see only thick wires, you’ve found a standard electrical box—not your transformer.
Test Transformer Before Replacement to Avoid Wasted Effort

Don’t assume the transformer is dead—simpler fixes often resolve doorbell issues. Rule out these common culprits first to save yourself unnecessary electrical work.
Verify Doorbell Button Functionality
Remove the outdoor button cover (usually two screws) and disconnect the wires. Press the exposed wire ends together firmly. If the chime rings clearly, your transformer works perfectly—you only need a $5 button replacement. This test eliminates 30% of “transformer failure” cases before you touch any wiring.
Measure Output Voltage with Multimeter
Set your multimeter to AC voltage. With power ON at the breaker, touch probes to the transformer’s low-voltage terminals. Standard doorbells require 10-24V; smart models need 16-24V. Readings below 16V indicate failure. Critical note: If voltage fluctuates wildly when pressing the button, loose wire connections—not the transformer—cause the problem.
Power Down Correctly to Prevent Electrical Hazards
Working near household voltage demands strict safety protocols. Doorbell transformers connect to live circuits, making proper shutdown non-negotiable.
Identify and Isolate the Correct Circuit
Locate your electrical panel and search for breakers labeled “lights,” “basement,” or “utility.” Most doorbell transformers piggyback on lighting circuits. Flip the suspected breaker OFF, then verify power loss using a no-contact voltage tester at the transformer location. Never skip this step—a false “off” could cause severe shock.
Emergency Main Power Shut-Off Procedure
If breaker labels are missing or unclear, turn OFF the main double-pole breaker at the panel’s top. This kills all home power but guarantees safety. Keep a headlamp ready since lights will go out—this entire process takes just 8 minutes. Restore main power only after transformer installation is complete.
Choose Exact Transformer Match to Avoid System Damage
Selecting the wrong replacement causes premature failure or smart doorbell malfunctions. Your existing unit holds critical specifications.
Decode Voltage and Amperage Requirements
Remove the old transformer and read its label. Standard doorbells use 10-24V transformers, but Ring or Nest video doorbells demand 16-24V with 30VA minimum amperage. If replacing for a smart model, bring the old unit to the hardware store—clerks can match specs precisely. Warning: A 10V transformer will underpower smart doorbells, causing battery drain and disconnections.
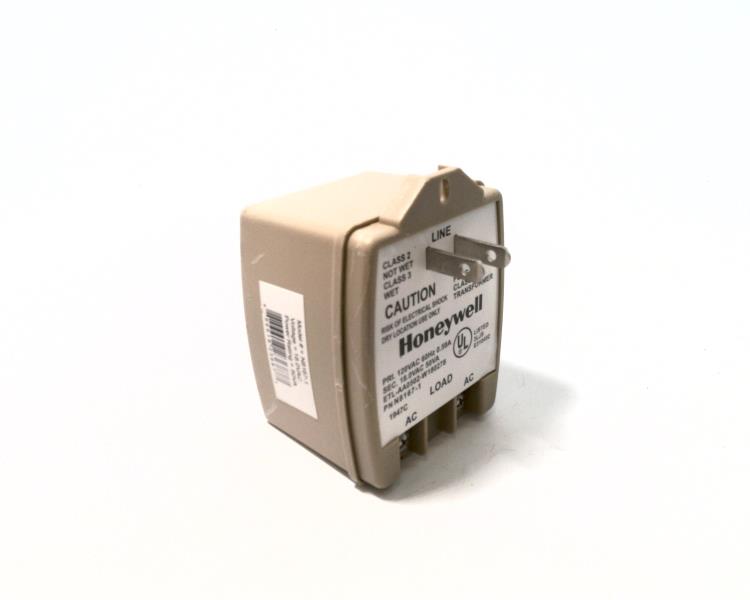
Confirm Physical Mounting Compatibility
Note how your old unit attaches: some screw directly to junction boxes, others use center bolts through mounting holes. Mismatched mounting causes vibration damage. Bring the old transformer to the store—it ensures identical wire entry points and secure fitment. Most modern replacements (like Honeywell R8220B) fit standard 2″x3″ junction boxes.
Remove Old Transformer Without Losing Critical Wires
Hasty removal risks losing doorbell wires inside walls—a drywall-cutting nightmare. Follow this sequence to maintain wire integrity.
Safely Access the Junction Box
After confirming power is OFF with your voltage tester, remove the transformer’s metal junction box cover. Save screws in a magnetic tray—these tiny parts vanish instantly in basements. Inside, you’ll see thick household wires connected via plastic wire caps and thinner doorbell wires screwed to terminals.
Disconnect High-Voltage Wires First
Untwist wire caps counterclockwise, separating black-to-black and white-to-white connections. Hold household wires securely to prevent them from retracting into the wall. Pro tip: Wrap electrical tape around disconnected house wires—this keeps them grouped and prevents accidental contact during removal.
Secure Low-Voltage Wires Before Unmounting
Loosen the transformer’s terminal screws (marked “C” and “T”) and remove doorbell wires. Immediately wrap these thin wires with electrical tape to anchor them in place. If skipped, gravity pulls them into wall cavities—retrieving them requires cutting drywall. Only after securing all wires should you unscrew the transformer from its mounting bracket.
Install New Transformer with Precision Connections
Correct wiring prevents shorts, humming, and fire hazards. This sequence ensures safe, reliable operation.
Mount Transformer Before Connecting Wires
Thread the new unit’s wires through the junction box hole. Secure it to the mounting bracket using original hardware—hand-tighten only. Over-tightening cracks plastic housings. Verify the transformer sits flush with no wire strain before proceeding.
Connect High-Voltage Wires with Safety First
Match black transformer wire to black house wire, white to white. Twist ends together clockwise, then cap with new wire nuts. Critical step: Wrap electrical tape around each wire nut base—this prevents accidental loosening from vibrations. If your box lacks a ground wire (bare copper/green), stop immediately—this requires professional correction.
Attach Low-Voltage Wires to Correct Terminals
Connect doorbell wires to either terminal screw (“C” or “T”)—polarity doesn’t matter for standard chimes. For dual-door systems, keep front/back wires on separate terminals. Common mistake: Combining both door wires on one terminal causes shorts. Tighten screws firmly but don’t over-torque—thin wires strip easily.
Test Installation and Troubleshoot Failures
Rushing this phase causes repeat work. Methodical verification saves time and frustration.
System Check After Power Restoration
Restore circuit power and press each doorbell button. Listen for clear chimes at all locations. Smart doorbell users should check app connectivity and battery status—low voltage causes disconnections. If silent, power OFF immediately and recheck connections.
Fix Silent Doorbells in 3 Steps
- Confirm wire nut tightness: Loose high-voltage connections cause voltage drops
- Check terminal screw grip: Low-voltage wires must wrap fully around terminals
- Verify breaker status: Some breakers trip during reconnection—reset if needed
Essential Tools Checklist for First-Time Success
Must-Have Equipment
- No-contact voltage tester (non-negotiable for safety verification)
- Digital multimeter (test input/output voltage)
- 6-inch diagonal pliers (secure wire nut removal)
- Electrical tape and wire nuts (fresh supplies prevent failures)
Time-Saving Upgrades
- Headlamp (keeps hands free in dark spaces)
- Magnetic screw tray (prevents lost hardware)
- Label maker (tag wires in complex systems)
Avoid Costly Mistakes That Trigger Fire Hazards
Never Improvise Grounding Solutions
If your junction box lacks a ground wire, do not connect to conduit pipes or box screws. This creates lethal shock risks. Code-compliant grounding requires professional intervention—stop work immediately.
Prevent Terminal Overload Disasters
Each doorbell requires its own terminal connection. Combining front/back door wires on one screw causes short circuits that melt transformers. Keep wire sets physically separated with 1/4″ spacing between terminals.
Stop Screw Stripping in Junction Boxes
Use manual screwdrivers for cover reassembly—power tools strip soft metal threads. If screws won’t tighten, replace the junction box (a $3 part) rather than forcing connections.
Professional Help Triggers: When Not to DIY
Non-Standard Wiring Systems
Homes built before 1980 often have cloth-insulated wires or non-color-coded systems. If you see black/white wires both connected to “hot” terminals, call an electrician—this indicates outdated knob-and-tube wiring.
Absent Grounding Infrastructure
No visible ground wire in your junction box means your electrical system predates 1965 safety standards. Modern transformers require proper grounding—this isn’t a DIY upgrade.
Multiple Transformer Installations
Large estates sometimes use separate transformers for front/rear doors. If you find two metal boxes within 12 inches, professional mapping prevents cross-connections that fry doorbell systems.
Your doorbell should now chime reliably for 10+ years. Perform a 2-minute annual check: power OFF, remove junction cover, and tug gently on wire nuts—if they rotate, re-tighten. This simple habit prevents 90% of future failures. Remember: when you replace doorbell transformer correctly, you’re not just fixing a chime—you’re upgrading home safety with modern electrical protection. Keep this guide in your toolbox for quick reference, and enjoy never missing another visitor.


