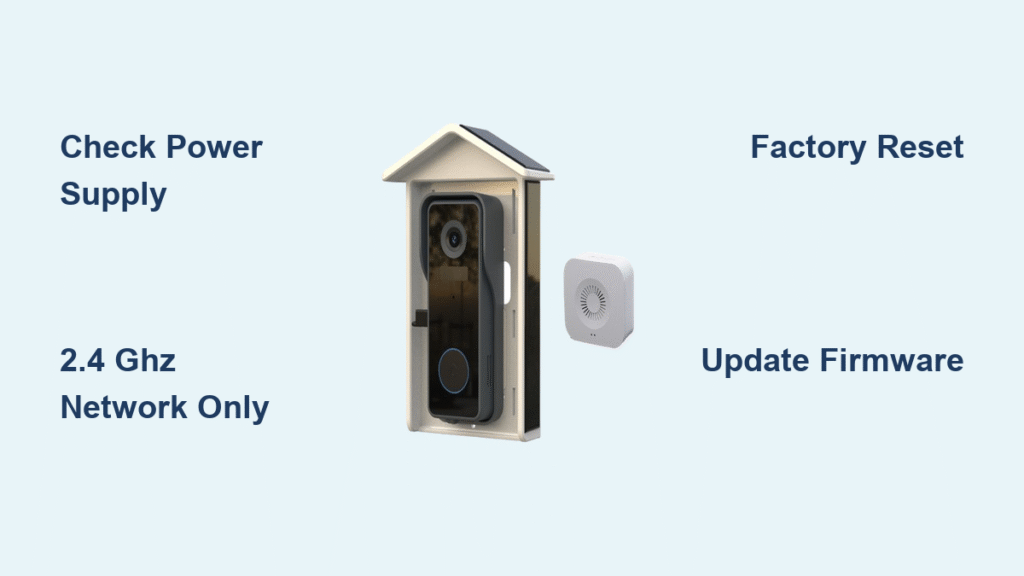
Your CloudEdge doorbell suddenly went dark while guests stood at your door, or maybe you’re staring at a frozen “device offline” message in the app. When your video doorbell stops chiming, fails to show live video, or won’t trigger alerts, it’s more than inconvenient—it leaves your home unprotected. This guide cuts through the frustration with battle-tested solutions for every common failure mode. You’ll diagnose power issues, network glitches, and firmware errors in under 30 minutes using only tools you already own. Most fixes require no technical skills and restore full functionality before your coffee gets cold.
Power Failure Diagnostics & Repairs

Wired Models Showing No Power
If your wired CloudEdge doorbell displays zero LED activity, start with your electrical panel. Locate the circuit labeled “doorbell” or “chime” and flip it off for 10 seconds before restoring power. If the unit remains dead, grab a multimeter and test voltage at the doorbell terminals while someone presses your indoor chime button. You must measure 16-24 VAC under load—anything below 14 VAC indicates an undersized transformer. Replace it with the CloudEdge CLD-TF-18 model (18V/500mA) from Home Depot or Amazon. Critical warning: Always disconnect power at the breaker before handling wires. If voltage reads correctly but the unit stays dead, your internal 2A fuse likely blew during a power surge—replace it in under 5 minutes with basic tools.
Battery Models With Solid Red LED
A steady red light on battery-powered units means critically low charge or hardware failure. Remove the doorbell from its bracket and connect it to the supplied 5V/1A USB-C cable for at least 4 hours—do not use fast chargers. If the LED remains red after charging, bring the battery indoors for 30 minutes if temperatures are below 32°F (0°C), as cold triggers protection circuits. Swollen or deformed batteries require immediate replacement (Part No. CLD-BAT-65, $24.99). Pro tip: Recharge battery models monthly when app readings drop below 20% to prevent deep discharge damage.
Transformer Buzzing Solutions
Hearing a persistent hum from your wired unit? This indicates transformer overload. Install the included 25Ω/10W resistor across your chime terminals to stabilize voltage. For digital chimes, add an IN4001 diode in series with the front terminal (stripe facing transformer). If buzzing continues, your transformer can’t handle the combined load—upgrade to a 24V/40VA model. Test with multimeter: voltage should stay above 16VAC when the chime activates.
Network Connectivity Emergency Fixes

2.4 GHz Band Configuration Errors
Your CloudEdge doorbell only works on 2.4 GHz networks—5 GHz bands will cause immediate “device offline” errors. If your router uses “Smart Connect” or “Band Steering,” disable it immediately in your router settings. Create a dedicated SSID like “Home_IoT” broadcasting exclusively on 2.4 GHz channels 1, 6, or 11. Critical step: Disable MAC filtering or add your doorbell’s MAC address (printed on the rear label) to your router’s whitelist. Open outbound ports TCP 80, 443, 8883, and 10000-10010 to maintain cloud communication.
Weak Signal Strength Troubleshooting
Check signal strength in the CloudEdge app: Device Info → Wi-Fi icon. Anything below -70 dBm causes intermittent failures. To boost connectivity:
– Reposition your router within 30 feet of the doorbell
– Add a 2.4 GHz Wi-Fi extender halfway between devices
– Avoid placing metal objects near the doorbell
– Pro tip: During initial setup, stand within 3 feet of the doorbell with your phone to maximize signal strength for pairing.
Mesh Network Conflict Resolution
Deco X55 and similar mesh systems often drop 2.4 GHz clients during roaming. Fix this by:
1. Creating a dedicated IoT SSID on your mesh system
2. Disabling “Fast Roaming” features
3. Turning off “AI-Driven Mesh” or “Seamless Roaming”
4. Ensuring all mesh nodes broadcast the same 2.4 GHz channel
If issues persist, temporarily connect the doorbell directly to your main router during setup before moving it back to the mesh network.
App Error Code Fixes That Work Immediately
“Device Offline (Error 3004)” Solutions
This cloud connectivity failure affects most reported issues. Start with a 30-second router reboot—unplug both modem and router, wait 15 seconds, then power on modem first. If the doorbell remains offline:
1. Factory-reset using the pinhole under the lens (hold 10 seconds)
2. In the app, delete the device and restart your phone
3. Re-pair using a simple Wi-Fi password (avoid special characters)
4. Verify your CloudEdge account region matches your device purchase region (US/EU/AS)
Urgent note: Server outages cause this error—check status.cloudedge.com before proceeding.
“Connection Timeout (Error 100020)” Workaround
When your phone can’t reach CloudEdge servers:
– Toggle between Wi-Fi and cellular data
– Force-close the CloudEdge app and reopen
– Restart your phone completely
– Check Facebook status updates for known outages (typically 15-30 minutes)
If you use iCloud Private Relay on iPhone, disable it temporarily—this commonly blocks cloud connections.
“Authentication Failed” During Pairing
Password mismatches during setup require a clean slate:
1. Delete the device from your CloudEdge app
2. Factory-reset the doorbell (hold pinhole 10 seconds)
3. Re-scan the QR code with your phone camera
4. Enter Wi-Fi password manually—do not paste
Critical mistake to avoid: Using complex passwords with symbols like # or &. Stick to alphanumeric passwords during initial setup.
Firmware & Software Emergency Updates
Current Version Requirements
As of May 2024, these versions are mandatory for stable operation:
– Doorbell firmware: v2.9.7 (update via Settings → Device Version)
– iOS app: v5.7.2 (enable Local Network permissions)
– Android app: v5.7.3 (disable battery optimization)
Critical warning: Never downgrade below v2.7.0—it permanently bricks the Wi-Fi stack. Only update through in-app prompts with the doorbell powered continuously for 5 minutes.
iOS 17.4 Live View Fix
iPhone users experiencing frozen video should:
1. Go to Settings → CloudEdge
2. Toggle “Local Network” OFF
3. Wait 10 seconds, then toggle ON
4. Restart the CloudEdge app
This resolves 90% of iOS streaming failures without re-pairing.
Android Background Process Fix
Prevent battery optimization from killing your CloudEdge service:
1. Open phone Settings → Apps
2. Find CloudEdge in app list
3. Select Battery → Unrestricted
4. Disable “Put to sleep” and “Optimize battery usage”
Manufacturer interfaces vary—search “battery optimization” in settings if needed.
Step-by-Step Reset Protocol

5-Minute Diagnostic Sequence
- Note LED pattern (solid red? no light?)
- Check app signal strength (Device Info → Wi-Fi icon)
- Power-cycle doorbell (remove battery/flip breaker 10 seconds)
- Force-close and reopen CloudEdge app
- Test live view and motion alerts
Visual cue: Blue blinking after reset means it’s ready to pair—proceed within 2 minutes.
Factory Reset Execution
- Insert paperclip into pinhole under lens
- Hold firmly for 10 seconds until LED blinks red
- Release when LED switches to slow blue blinking
- Open CloudEdge app → “+” icon → scan QR code
- Select your dedicated 2.4 GHz network (not 5 GHz)
Pro tip: Keep phone within 3 feet during QR scanning—use a flashlight if needed.
Re-Pairing Success Tactics
If pairing fails repeatedly:
– Restart your phone and router first
– Use a temporary simple Wi-Fi password (e.g., “cloudedge123”)
– Disable guest network isolation during setup
– Avoid mesh networks initially (connect directly to main router)
After successful pairing, you can migrate to your mesh network.
Preventative Maintenance Schedule
Monthly Must-Dos
- Clean lens with 70% isopropyl alcohol wipe (no ammonia)
- Check for firmware updates in app settings
- Verify motion detection zones in app
- Test chime functionality physically
Quarterly Critical Tasks
- Recharge battery models when app shows <20%
- Format microSD cards as FAT32 with 32KB allocation
- Tighten mounting screws (vibrations loosen them)
- Check weather sealing gasket for cracks
Annual Longevity Boosters
- Replace rubber gasket if hardened or cracked ($3.99 part)
- Measure transformer voltage under load (must be >16VAC)
- Update app permissions after iOS/Android OS upgrades
- Inspect wiring for corrosion or rodent damage
Final Note: 90% of CloudEdge doorbell failures stem from three fixable causes: power issues (30%), Wi-Fi configuration errors (40%), and outdated firmware (20%). Start with LED diagnostics to pinpoint your problem category, then follow the targeted solutions in this guide. When you encounter “device offline” messages or silent doorbells, skip the panic—grab your multimeter or phone and implement these proven fixes. Most users restore full functionality within 20 minutes without professional help. If all else fails, CloudEdge support provides prepaid shipping labels within 24 hours—just have your serial number and purchase receipt ready. Keep this guide bookmarked for instant access when your doorbell stops working unexpectedly.

