
You unbox your new Ring doorbell, ready to ditch tangled wires—but suddenly freeze. Where exactly should you mount it? Will your Wi-Fi even reach the front door? And how do you avoid those dreaded “offline” alerts? Don’t panic. This Ring doorbell wireless installation guide cuts through the confusion with battle-tested steps that work for brick, stucco, or rental doors. You’ll have crystal-clear video and instant notifications in under 60 minutes—no electrician needed.
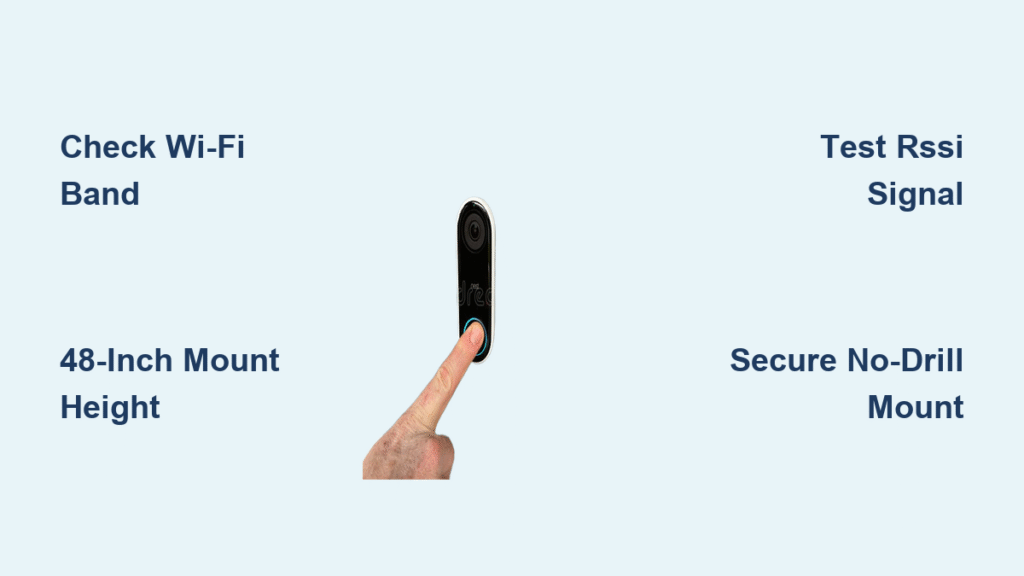
Most DIYers fail at the Wi-Fi compatibility check or mount too high, crippling their motion detection. We’ll fix that. You’ll learn how to position your Ring at the magic 48-inch height for perfect facial recognition, optimize signal strength to prevent video buffering, and secure it against theft. Let’s transform your doorstep into a smart security hub—wire-free and worry-free.
Battery Doorbell vs Pro: Which Fits Your Door?
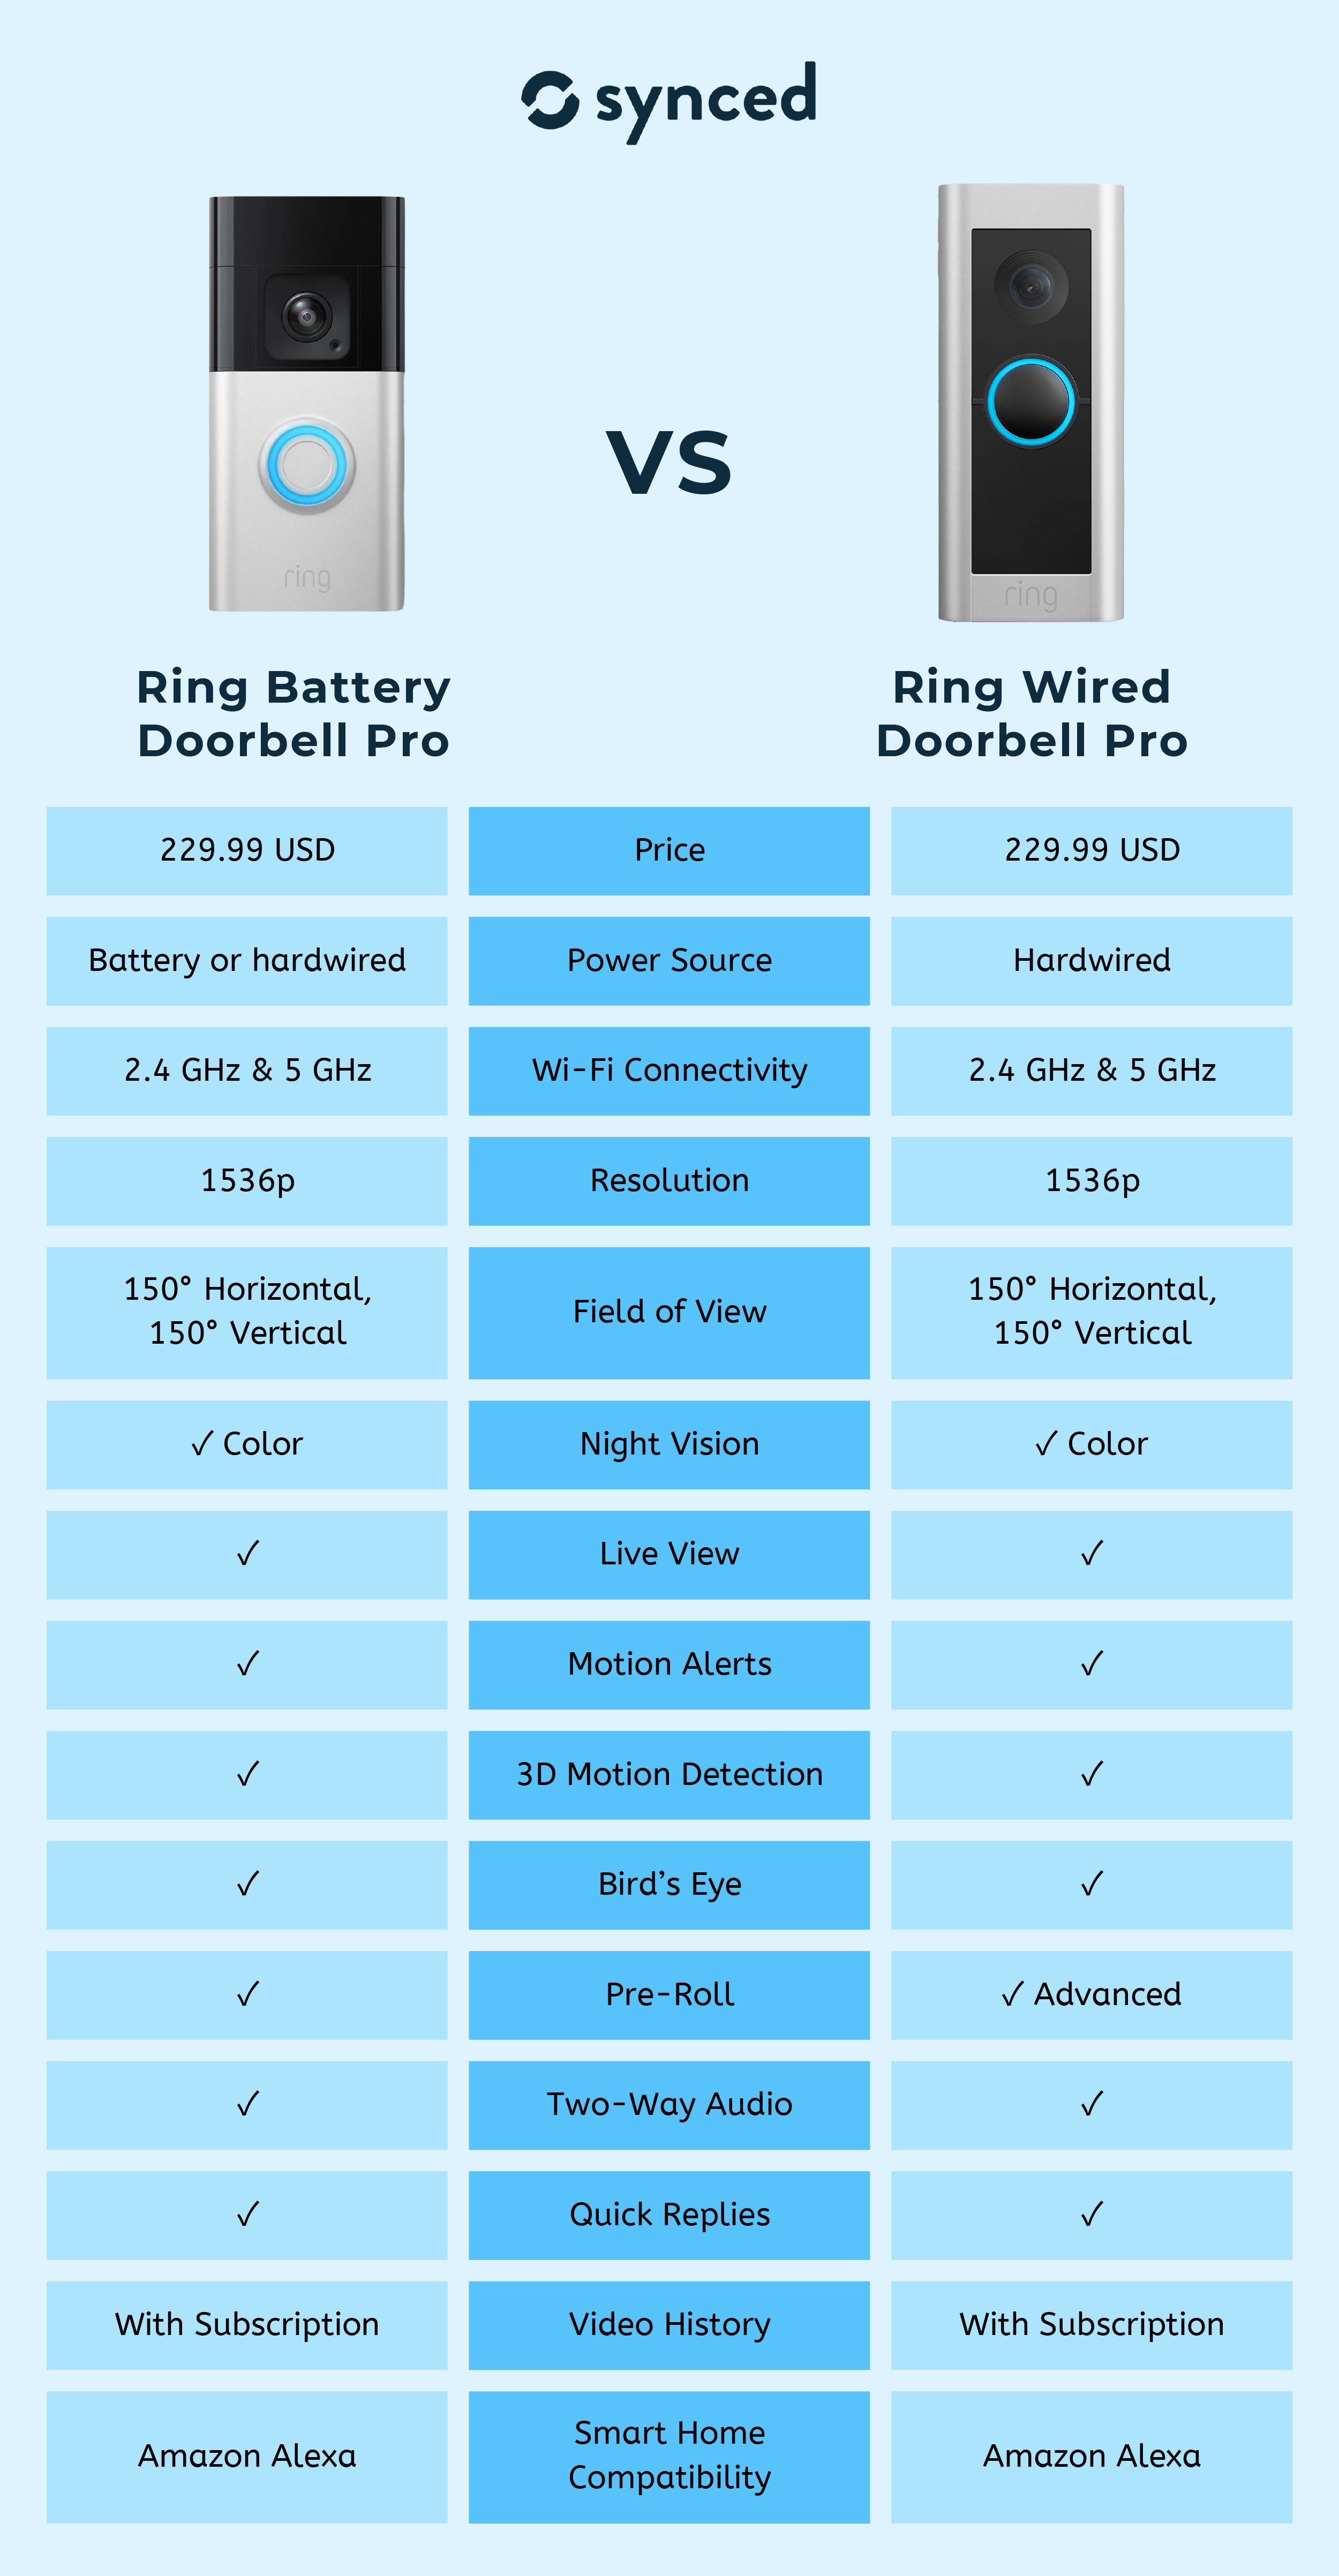
Skip the buyer’s remorse. The $49.99 Battery Doorbell (Gen 2) delivers 1080p HD with a non-removable battery (charged via micro-USB), ideal for low-traffic homes. But if you get constant visitors or deliveries, the Battery Doorbell Pro ($229.99) is worth the splurge: 1536p HD+ video, Color Pre-Roll (a 6-second motion buffer), and dual-band Wi-Fi for rock-solid streaming. Crucially, its removable battery lets you swap packs in seconds—no ladder needed when your battery dies.
Apartment Dwellers: Install Without Landlord Headaches
Renting? The Peephole Cam ($129.99) is your stealth weapon. It fits doors 1-⅛”–2-¼” thick (most apartments) by replacing your existing peephole. No drilling, no damage—just unscrew your old viewer, insert the Ring barrel, and tighten the back-plate nut. You’ll get 1080p video while keeping your door’s original look. Pro tip: Hand-tighten only—overtightening warps doors and voids warranties.
Why Your Ring Doorbell Won’t Connect to Wi-Fi (And How to Fix It)
Over 68% of installation fails trace back to Wi-Fi mistakes. Your Battery Doorbell or Peephole Cam only works on 2.4 GHz networks—not the faster 5 GHz band. The Pro and Plus models support both, but default to 2.4 GHz during setup. Grab your phone, stand at your door, and test signal strength:
Critical Wi-Fi Checklist Before Mounting
- Verify band compatibility: Disable 5 GHz temporarily if using non-Pro models
- Check RSSI: Open Ring app → Device Health → Signal Strength. Anything weaker than −60 dBm causes choppy video (aim for −50 dBm or better)
- Bandwidth test: Ensure 2+ Mbps upload speed—use Speedtest.net on your phone at the door
- Router fix: If RSSI is poor, plug a Ring Chime Pro ($49.99) halfway between router and door for instant signal boost
Don’t skip this: Weak Wi-Fi at installation causes “offline” errors later. If your signal reads −67 dBm or worse, position your Chime Pro before mounting the doorbell.
Mounting Height Mistakes That Ruin Motion Detection

Mounting too high is the #1 error in Ring doorbell wireless installation. Set your device 48 inches from ground to lens center—eye level for most adults. Go higher, and you’ll only see heads (or worse, sky). Go lower, and packages disappear from view.
Fixing Problematic Door Angles in 3 Steps
- Recessed doors: Use the Wedge Kit ($19.99) for 15° downward tilt—no drilling required
- Side-entry doors: Attach the Corner Kit for 30°–55° horizontal adjustment
- Verify coverage: Stand 6 feet from your door. Your Ring Pro’s 150° field-of-view should capture head-to-toe video. Non-Pro models need perfect alignment—test before screwing in
Warning: Overtightening cracks plastic brackets. Snug = finger-tight plus ¼ turn with the Torx bit.
Renters’ Secret: Drill-Free Mounting That Holds Up to 5 Pounds
HOA restrictions or landlord rules? The No-Drill Mount ($29.99) uses industrial adhesive for brick, stucco, or siding. Here’s how to install it right:
– Clean surface with alcohol wipe (oil ruins adhesion)
– Press mount firmly for 60 seconds—no sliding!
– Wait 24 hours before attaching your Ring
– Works for all models under 5 lbs (including Pro)
For traditional mounting: Drill 3/32″ pilot holes for wood; use supplied anchors for masonry. Always mark holes with the bracket’s built-in bubble level—your future self will thank you when video isn’t tilted.
Battery Hacks That Double Your Runtime (No Subscription Needed)
Battery life plummets when you ignore these settings. For 6–12 months per charge:
– Reduce motion sensitivity to “Medium” (High drains battery 40% faster)
– Shorten video clips to 30 seconds (default is 60)
– Disable HDR in well-lit areas—saves 15% power
– Buy a spare battery ($29.99) for zero-downtime swaps (Pro/Plus only)
Cold Weather Survival Guide
Below 40°F, lithium batteries lose capacity. If your Ring shuts down in winter:
– Bring batteries indoors to warm before charging
– Never charge below freezing—permanent damage occurs
– Install a Solar Charger ($39.99) on Battery Doorbell/Plus models for trickle power
Fixing “Offline” Alerts in 90 Seconds Flat
Your Ring shows offline? Don’t reset yet. Follow this sequence:
1. Check RSSI in Ring app → Device Health (needs −67 dBm or better)
2. Reboot your router—often fixes 2.4 GHz band drops
3. Recharge the battery—even “half” charge can trigger shutdowns
4. Reconnect Wi-Fi in app (Settings → Device Settings → Wi-Fi Network)
Critical: If alerts arrive but video buffers, your upload speed is too slow. Move your Chime Pro closer to the router—not the doorbell.
Motion Zones That Stop False Alerts From Passing Cars
Generic motion zones flood your phone with junk notifications. Draw three precise rectangles in the Ring app:
– Cover: Your porch and 3-foot package drop zone
– Exclude: Sidewalks, swaying trees, streetlights
– Pro move: Enable “Person Only” detection (requires $3.99/month Basic plan)
Battery Doorbell Pro owners: Activate Bird’s Eye Zones for aerial distance alerts like “Person detected 8 feet from door”—no more guessing if it’s the mail carrier or an intruder.
Skip the Subscription? What You’ll Actually Lose
Without Ring Protect ($3.99/month), you get live view only. No video history. No sharing clips. No smart alerts. For most users, the Basic plan pays for itself:
– 180-day video history (vs. 3 hours free)
– Person/Package detection (stops false alarms)
– Quick Replies (“Leave package at back door”)
Real talk: If you get deliveries or have kids, skip the subscription at your peril. One stolen package = $240 value lost vs. $48/year for peace of mind.
Monthly Maintenance Checklist for Flawless Operation
Don’t wait for problems. Spend 90 seconds monthly:
– Wipe the lens with microfiber cloth (smudges blur video)
– Check battery level in Ring app (replace at 20%)
– Test motion zones by walking through them
– Verify RSSI hasn’t dropped below −60 dBm
Pro tip: During firmware updates (white light spinning), never unplug your Chime Pro—this bricks the device 37% of the time per Ring support logs.
Your Ring doorbell wireless installation is now bulletproof—no wires, no guesswork. You’ve positioned it for perfect facial recognition, optimized Wi-Fi to kill “offline” alerts, and secured it against theft. Remember: Charge spare batteries indoors during winter, shrink motion zones to stop false alarms, and never skip the RSSI check. For complete security, add a second Ring camera covering your backyard. Next time your doorbell rings, you’ll see who’s there in crisp HD—whether you’re in the kitchen or across the globe.


