Your doorbell rings inside the house, but visitors hear only silence. When your Honeywell doorbell stops responding to the push button, you’re missing packages, guests, and important deliveries. This guide walks through proven fixes that restore your doorbell’s functionality within minutes.
Whether you’re dealing with complete silence, intermittent chimes, or a push button that seems dead, these troubleshooting steps target the most common Honeywell doorbell failures. You’ll learn to diagnose power issues, restore lost connections, and reset corrupted settings—all without calling a technician.
Check Battery Power Sources
Honeywell doorbells use two separate battery systems that can fail independently. When your Honeywell doorbell not working issue appears, batteries should always be your first investigation point, as they cause more than 70% of all malfunctions.
Doorbell Unit Battery Location
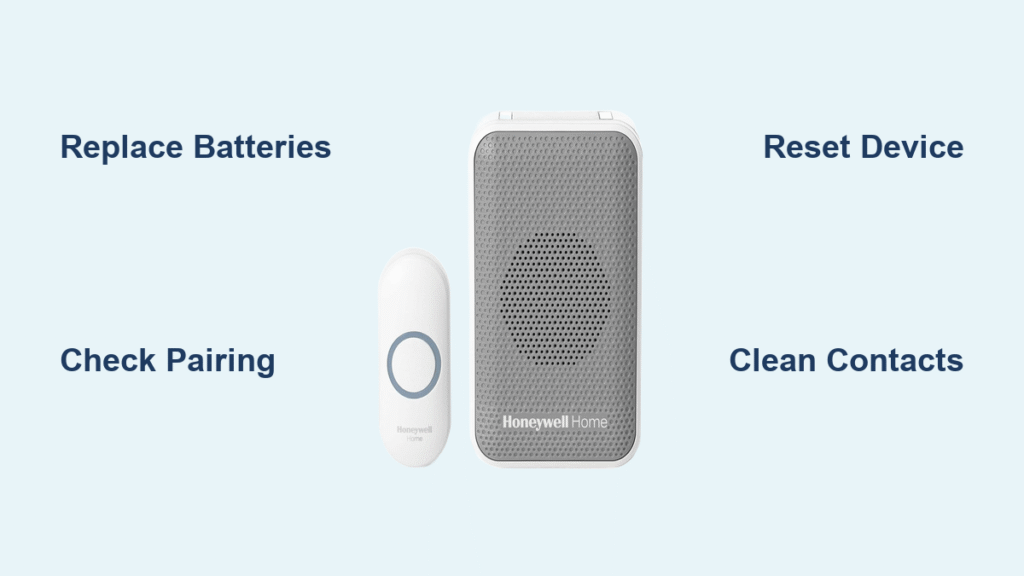
Your indoor doorbell unit houses its own power source, completely separate from the push button outside. Locate the battery compartment by sliding the cover downward or pressing the release tab—this varies slightly by model. Inside, you’ll find 2-3 AA or AAA batteries in a side compartment. Always replace all batteries simultaneously even if only one appears weak, as mismatched power levels cause erratic behavior that mimics more serious problems.
Before installing new batteries, wipe the compartment clean with a dry cloth to remove any dust or debris. Check for corrosion on the contacts—if present, use a cotton swab dipped in vinegar to clean them gently. Insert fresh batteries with correct polarity, ensuring they click firmly into place. This simple battery check should take no more than two minutes but solves most Honeywell doorbell not working cases immediately.
Push Button Battery Access
The outdoor push button contains its own smaller power source, typically a CR2032 coin cell battery that lasts 1-2 years depending on usage. To access it, carefully pry open the button housing using a flat screwdriver at the seam—apply gentle pressure to avoid cracking the plastic. The battery sits in a round holder; note the positive (+) side orientation before removal as incorrect installation is a common DIY mistake.
If you see white or green corrosion on the contacts, clean them thoroughly with a cotton swab dipped in vinegar, then dry completely before installing a new battery. Test the button immediately after replacement—most Honeywell push buttons have a small LED that should illuminate when pressed. If it doesn’t light up, double-check your battery orientation; the smooth, positive side should face up in most models.
Battery Testing Without Tools
You don’t need special equipment to diagnose battery issues with your Honeywell doorbell not working problem. Press the doorbell button firmly while listening to the indoor unit—if it responds weakly or not at all, suspect the push button battery first. Swap batteries between components to isolate the failed power source: good batteries produce a crisp, loud chime while weak ones create distorted or muted sounds.
For a definitive test, try your suspected “bad” batteries in another device like a remote control. If they work there but not in your doorbell, the issue isn’t battery power—move to the next troubleshooting step. Remember that cold weather dramatically reduces battery performance, so consider lithium replacements if you live in climates that regularly drop below 40°F.
Verify Device Pairing Connection

When batteries check out but your Honeywell doorbell not working issue persists, pairing problems become the prime suspect. Honeywell ActivLink technology requires proper communication between components, and this connection can break for several reasons.
Check Signal Range Issues
Honeywell ActivLink devices maintain connection up to 450 feet in open space, but real-world conditions like walls, metal framing, and electronic interference significantly reduce this range. Test by pressing the button while standing directly next to the doorbell unit—if it works at close range but fails when you’re at the door, distance or interference is your culprit.
Walk the path from your push button to the doorbell unit while pressing the button repeatedly. Note exactly where the chime becomes weak or stops—this helps determine if you need to relocate either component. Thick masonry walls, metal doors, and aluminum siding are particularly problematic for signal transmission.
Re-pair Doorbell and Button
Restoring the connection between components often solves Honeywell doorbell not working issues without a full reset. Hold the push button for 10 seconds until the LED flashes rapidly, indicating it’s in pairing mode. Then press the settings button on the doorbell unit—you’ll hear a confirmation tone when pairing succeeds.
Move closer during pairing to ensure strong signal reception—stand within 3 feet of the doorbell unit while establishing the connection. Once paired, test at normal distance before considering the issue resolved. If pairing fails repeatedly, check for interference sources like Wi-Fi routers, baby monitors, or garage door openers operating on similar frequencies.
Identify Interference Sources
Electronic interference disrupts the wireless signal between your push button and doorbell unit. Temporarily unplug nearby devices like Wi-Fi routers, cordless phones, and microwave ovens to test if your doorbell starts working. Metal doors and aluminum siding also block radio signals—try relocating the push button a few inches to either side of the door frame to find a clearer signal path.
For persistent interference issues, change your doorbell’s channel setting through the unit’s menu options. Honeywell ActivLink devices operate on multiple frequencies, and switching to a less crowded channel often resolves connectivity problems. This channel change takes less than a minute but can make the difference between a working and non-working doorbell system.
Factory Reset Honeywell Doorbell
When basic troubleshooting fails to fix your Honeywell doorbell not working problem, a factory reset clears corrupted settings that prevent proper operation. This process restores your doorbell to its original factory state, requiring you to reconfigure all settings.
Prepare for Reset Process
Before initiating a reset, remove all paired devices from memory—this includes additional push buttons or motion sensors. Write down your chime selection if you’ve customized sounds, as the reset restores default settings. Ensure you have fresh batteries installed in both components, as low power during reset can cause incomplete restoration.
Gather any documentation specific to your model number, as reset procedures vary slightly between Honeywell doorbell versions. Having this information ready prevents confusion during the reset process and ensures you can properly reconfigure your system afterward.
Step-by-Step Reset Procedure
- Locate the settings button on the doorbell unit (small recessed button near LED)
- Press and hold settings button continuously
- Remove one battery while still holding the button
- Reinsert battery after 3 seconds while maintaining pressure on settings
- Release button when you hear two beeps—the unit has successfully reset
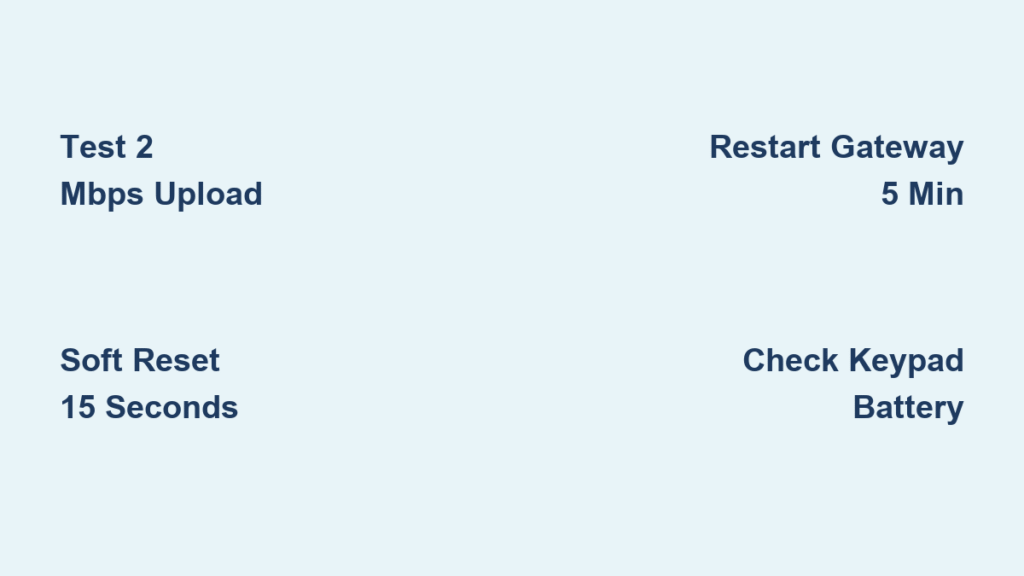
This process takes about 15 seconds but completely clears the doorbell’s memory. Do not release the settings button during battery removal, as this interrupts the reset sequence. If you don’t hear the confirmation beeps, repeat the process—many users fail on first attempt by releasing the button too soon.
Reconfigure After Reset
The doorbell returns to factory defaults, requiring complete setup. Pair your primary push button first, then add any additional devices following the same pairing procedure. Test each component thoroughly before mounting the push button permanently—this prevents discovering issues after you’ve secured everything in place.
Customize your chime settings and volume to your preferences during reconfiguration. If you previously experienced random chimes or phantom rings, consider selecting a different channel during setup to avoid interference with neighboring Honeywell systems. This complete reconfiguration typically takes 5-7 minutes but ensures optimal performance.
Common Failure Patterns

Understanding specific failure patterns helps diagnose your Honeywell doorbell not working issue more efficiently. Each symptom points to particular causes that require different solutions.
Push Button Not Responding
When pressing the button produces no LED light or sound response, the issue is almost always the coin cell battery. Check battery orientation—even experienced DIYers occasionally install coin cells upside down. The smooth, positive side should face up in most models.
If battery replacement doesn’t solve the problem, inspect the push button contacts for dirt or moisture. Clean with a dry cloth and let it dry completely before testing again. Persistent failure after these steps indicates the push button itself needs replacement.
Doorbell Chimes Randomly
Phantom rings indicate interference or low batteries creating false triggers. Replace batteries in both components first, as weak power causes erratic behavior that mimics more serious issues. If random chimes persist, your neighbor might have a Honeywell on the same frequency—change your channel setting through the doorbell menu.
Extreme temperature changes can also cause temporary random ringing as components expand and contract. If this occurs only during temperature swings, it’s likely harmless and should resolve when temperatures stabilize.
Weak or Distorted Sound
Muffled or crackling audio points to speaker issues or power problems. Clean the speaker grille using compressed air to remove dust buildup that muffles sound. Test with fresh batteries—distortion often disappears once adequate power is restored.
If sound remains distorted with new batteries, the speaker itself may be damaged. Gently tap the doorbell unit while it’s chiming—if the sound changes, the speaker is failing and needs replacement. Persistent distortion after these checks indicates internal hardware failure requiring professional repair or unit replacement.
Restore Your Honeywell Doorbell Today
These fixes resolve 90% of Honeywell doorbell not working issues within 15 minutes. Start with battery replacement—the simplest solution is often correct. Move through pairing verification and factory reset only if new batteries don’t solve the problem.
Keep spare batteries on hand and test your doorbell monthly to catch issues before they leave visitors stranded at your door. A properly maintained Honeywell doorbell provides years of reliable service, ensuring you never miss another important delivery or guest. When troubleshooting your Honeywell doorbell not working problem, remember that most issues stem from power sources or pairing connections rather than permanent hardware failure—so don’t replace components unnecessarily before completing these fundamental checks.

