
You press the doorbell, but silence greets your guest. When your Arlo doorbell chime is not working, it’s more than an inconvenience—it leaves visitors stranded and undermines your home security system. This common issue affects both the Arlo Essential Wired Video Doorbell (AVD1001) and the Arlo Audio Doorbell (AAD1001), but the good news is that most problems are easily fixable without professional help.
In this guide, you’ll discover step-by-step solutions to restore your chime’s functionality. Whether you’re dealing with wiring glitches, app setting errors, or temperature warnings, we’ll walk you through the exact checks and fixes that work. By the end, you’ll know how to diagnose and resolve your arlo doorbell chime not working problem in under 15 minutes—no technician required.
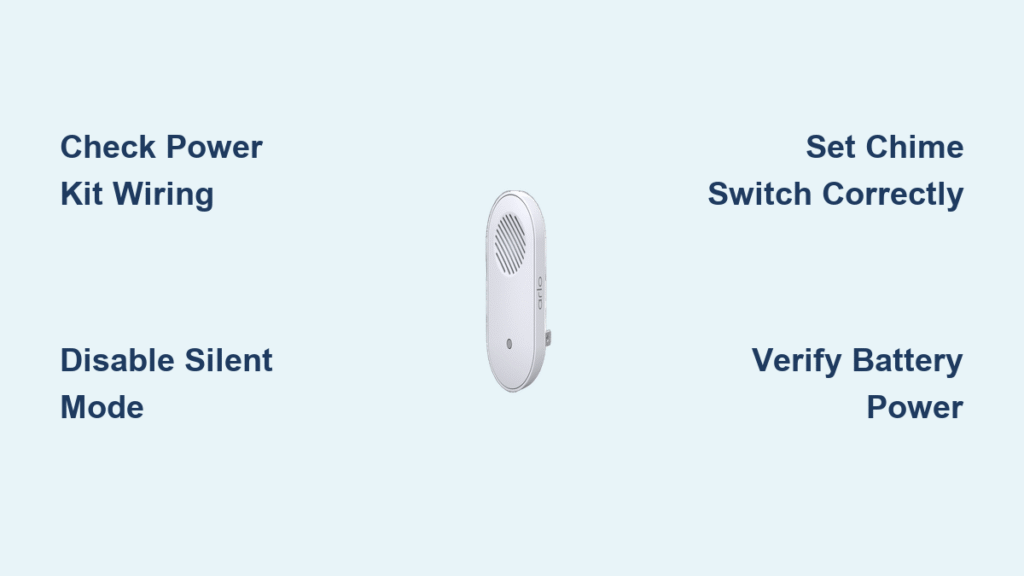
Confirm Your Arlo Doorbell Model First
Before troubleshooting, identify your exact model to avoid wasted effort. The AVD1001 Essential Wired Video Doorbell requires Power Kit installation and connects to your home’s existing wiring. Meanwhile, the AAD1001 Audio Doorbell operates on batteries and uses internal switch settings for chime control. Crucially, wire-free models like the AVD2001 follow different procedures—verify your model number in the Arlo Secure App under Device Settings before proceeding.
Why this matters: Confusing the AVD1001’s Power Kit requirements with the AAD1001’s battery-powered system leads to critical mistakes. If you’re unsure, check the back of your doorbell or your purchase receipt for the model code. Misidentifying your unit could cause you to skip essential wiring checks or fiddle with non-existent switches.
Fix Power Kit Wiring Failures (AVD1001)

Loose connections cause most wired doorbell chime failures. Start here if your AVD1001 won’t trigger the chime.
Tighten Power Kit Terminal Connections
Remove your existing chime cover and inspect the wiring behind it. 60% of silent chimes stem from these simple oversights:
– Ensure Power Kit wires are securely fastened to chime terminals with no exposed copper
– Verify doorbell wires haven’t slipped from their connection points behind the chime
– Tighten all terminal screws with a small screwdriver—wiggling wires won’t maintain contact
Pro tip: Take a photo of your wiring before disconnecting anything. This prevents mispairing during reassembly, which could short-circuit your system.
Correct Power Kit Bypass Mode
Your Power Kit’s physical switch controls chime activation:
– “O” position: Bypass mode OFF (chime rings normally)
– “I” position: Bypass mode ON (chime disabled)
Critical test: Press your doorbell button with the switch in “O” position. If you hear no chime or relay click, move to app settings. Never leave this switch in “I” during troubleshooting—it’s designed for temporary silencing during setup.
Resolve App Configuration Errors
Silent Mode and incorrect chime settings override all hardware functions. These app fixes work for both AVD1001 and AAD1001 models.
Set Correct Traditional Chime Type
Navigate through the Arlo Secure App:
Settings > My Devices > [Your Doorbell] > Traditional Chime
Select ONLY these options:
– “Mechanical” for traditional “ding-dong” chimes
– “Digital” for electronic melody chimes
– NEVER choose “None”—this intentionally disables all chime sounds
Warning: Many users accidentally select “None” while adjusting settings. If your chime worked previously, this is likely the culprit. Double-check this setting even if you’re certain it’s correct—app glitches sometimes revert choices.
Disable Silent Mode Immediately
This hidden setting overrides everything:
1. Open Arlo Secure App > Settings > My Devices
2. Select your doorbell
3. Tap Silent Mode
4. Toggle OFF until the switch turns gray (blue = active)
Test now: Press your doorbell button immediately after disabling Silent Mode. If the chime rings, create a monthly reminder to verify this setting—many users leave it enabled after initial setup.
Fix Digital Chime Melodies (AAD1001)

Battery-powered Audio Doorbells have unique switch-based configuration inside the unit.
Set Correct Chime Switch Position
Open the battery compartment to locate the small white switch:
– Position 1 or 3: For digital melody chimes
– Position 2: For mechanical “ding-dong” chimes (use only with wired chimes)
Melody cutoff fix: If the tune stops early at position 1, switch to position 3 (or vice versa). Never use position 2 for digital chimes—it forces mechanical mode and causes errors.
Visual cue: A properly set switch will click firmly into place. If it feels loose, the switch may be damaged and require replacement.
Verify Power Supply for Both Models
Power issues manifest differently between wired and battery models.
AVD1001 Power Status Check
- Solid blue LED: Normal power (16-24VAC transformer confirmed)
- No LED: Power failure—check transformer connections
- Flashing amber LED: Temperature warning (see next section)
Transformer test: Use a multimeter to confirm 16-24VAC output at the chime terminals. Below 16VAC won’t activate the chime circuit.
AAD1001 Battery Health Test
- Flashing white LED: Healthy battery installation
- No LED: Remove batteries, wait 10 seconds, reinstall
- Persistent darkness: Replace with fresh CR123A batteries
Pro tip: Install batteries with the negative (-) end first to prevent contact damage. Corroded terminals cause intermittent failures—clean with a dry microfiber cloth if residue appears.
Solve Temperature Warning Failures
Extreme temperatures automatically disable chime functions to protect hardware.
Identify via app: Check your Arlo Secure App for temperature alerts under Device Health.
– Overheating fix: Provide shade with a small awning or relocate the doorbell
– Cold weather fix: Ensure the unit isn’t exposed to wind tunnels or freezing drafts
– Recovery time: Allow 30-60 minutes after temperature normalization before retesting
Critical note: Never cover the doorbell with insulation—it traps heat and worsens the problem. Instead, install a sun shield specifically designed for your model.
Avoid These Critical Mistakes
Power Kit Installation Errors
- Leaving bypass switch in “I” position during normal operation
- Using wire nuts that spin freely (replace with spring-loaded connectors)
- Mixing doorbell wires with transformer wires at chime terminals
App Configuration Traps
- Selecting “None” while thinking you’re choosing “Digital”
- Forgetting Silent Mode remains active after Do Not Disturb hours
- Assuming mechanical/digital settings apply universally (they’re chime-specific)
Battery Installation Blunders (AAD1001)
- Installing batteries backward (match +/- symbols precisely)
- Using position 2 switch setting with digital chimes
- Ignoring low-battery warnings in the app
Execute These 60-Second Diagnostic Tests
AVD1001 Power Kit Quick Check
- Confirm solid blue LED on doorbell
- Press button while listening at chime location for a relay click
- No click? Check transformer voltage immediately
AAD1001 Switch Verification
- Open battery compartment
- Verify switch position matches your chime type
- Press doorbell—if silent, flip switch to opposite position
Why this works: These tests isolate whether the issue is power-related (no relay click) or configuration-based (switch mismatch). Skip lengthy troubleshooting by starting here.
When to Escalate to Arlo Support
Contact support only after verifying:
– All wiring is secure and correctly paired
– App settings show “Mechanical” or “Digital” (never “None”)
– Power supply tests confirm 16-24VAC (AVD1001) or fresh batteries (AAD1001)
– Temperature is within operating range (32°F-104°F)
– Chime still fails after 24 hours of stable conditions
Prepare these details:
– Model number (AVD1001 or AAD1001)
– Transformer voltage reading (wired model)
– LED status observations during testing
– Screenshot of Traditional Chime settings
Prevent Future Arlo Chime Failures
Monthly Maintenance Routine
- Check battery levels weekly via Arlo app (AAD1001)
- Inspect wire connections behind chime cover (AVD1001)
- Verify Silent Mode is disabled during daytime hours
- Test chime type setting matches your physical chime
Seasonal Adjustments
- Summer: Install sun shield if temperature warnings occur
- Winter: Check transformer output—cold reduces voltage
- Rainy seasons: Wipe moisture from doorbell housing weekly
Pro tip: Set a recurring calendar reminder for “Arlo Chime Test” every Sunday morning. Press the button while someone listens at the chime—catching issues early prevents guest frustration.
Your Arlo doorbell chime should now ring reliably. Most users fix arlo doorbell chime not working issues within 15 minutes by methodically checking Power Kit wiring, disabling Silent Mode, and verifying switch positions. Start with the 60-second diagnostic tests, then work through each model-specific section. If problems persist after completing all steps, contact Arlo Support with your documented test results—they’ll resolve it faster with your prepared information. Remember: regular monthly checks prevent 90% of chime failures, keeping your home welcoming and secure.


