
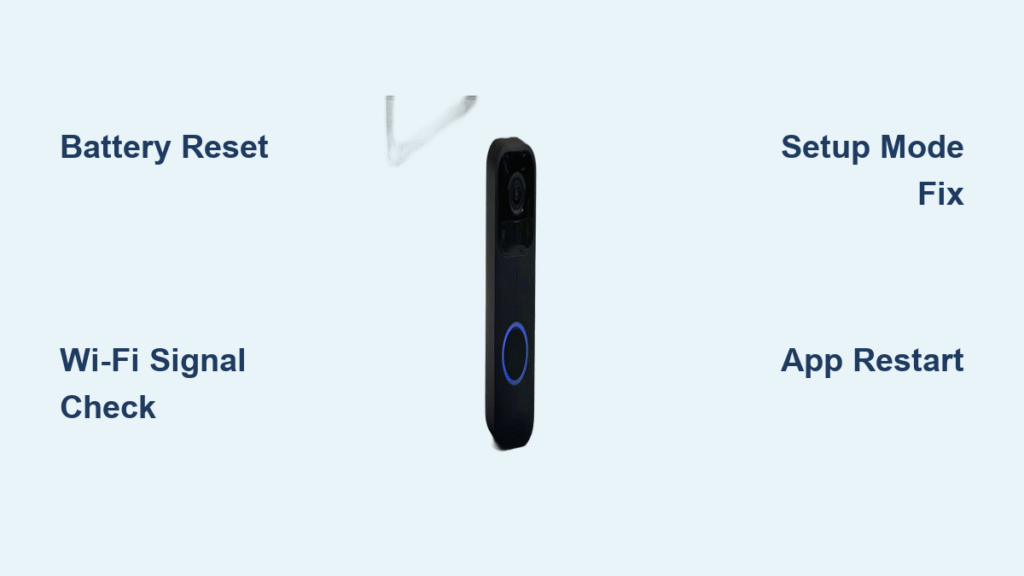
Your Blink doorbell camera blinking red isn’t just a random light show—it’s your device trying to communicate an important status update. When that distinctive red LED ring starts flashing around your doorbell button, it’s signaling specific connection states that require your attention. Understanding these visual cues prevents unnecessary panic when your security system appears to malfunction.
This comprehensive guide decodes every red flashing pattern your Blink doorbell camera produces and delivers proven solutions to restore normal operation. Whether you’re setting up a new unit or troubleshooting an existing one, recognizing these signals ensures your home security system remains fully functional without unnecessary service calls.
Blink Doorbell Red Flashing Patterns Decoded
The red LED ring surrounding your doorbell button communicates specific status information through distinct flashing patterns. Each pattern corresponds to a particular operational state or connection requirement, eliminating guesswork about your device’s condition.
Network Connection-Seeking Red Flash
When your Blink doorbell camera blinking red continuously, it’s actively searching for your Wi-Fi network or attempting to connect to Blink’s servers. This pattern appears during initial Wi-Fi setup, network reconnection attempts after power loss, or following Wi-Fi password changes. The persistent red flash indicates your doorbell is ready for connection but hasn’t established communication yet—normal behavior that should resolve within minutes of successful pairing.
Setup Mode Red Indicator Confirmation
During new installations or system changes, the red LED flashing confirms setup mode activation. This occurs when adding your doorbell to a new Blink system, switching between Blink accounts, changing Wi-Fi networks, or completing a factory reset. The flashing red light serves as visual confirmation that your doorbell is discoverable and ready for configuration through the Blink app. This pattern should continue until successful connection, typically lasting no more than 5 minutes during standard setup procedures.
Immediate Diagnostic Checks for Red LED Issues
Before launching into complex troubleshooting, perform these rapid assessments to identify your specific red LED issue without unnecessary effort.
Analyze Flash Pattern Duration
Under 30 seconds: Temporary connection attempt that should resolve automatically as your doorbell establishes communication
Continuous flashing: Active setup mode or persistent connection failure requiring intervention
Intermittent flashing: Network instability or weak signal strength causing periodic disconnection
Verify Network Status and Range
Test your Wi-Fi network functionality by connecting another device to the same network. Weak signals or router issues often trigger persistent red flashing behavior. Measure the distance between your router and doorbell—thick walls or metal obstructions between these points can significantly degrade signal strength and cause connection problems.
Battery Reset Procedure for Blink Doorbell
When red LED behavior appears abnormal, a battery reset often resolves the issue without affecting your settings. This simple procedure clears temporary glitches while preserving your configuration.
Essential Tools for Reset
- Small Phillips head screwdriver (size #0 or #1)
- Fresh AA lithium batteries (recommended for optimal performance)
Complete Battery Reset Process
Step 1: Remove the doorbell from its mounting bracket by sliding it upward with firm pressure
Step 2: Unscrew the battery compartment cover using the Phillips screwdriver
Step 3: Carefully remove both AA batteries and set them aside
Step 4: Wait exactly five seconds to ensure complete power discharge
Step 5: Reinsert batteries, verifying correct polarity alignment (+ and – markings)
Step 6: Replace cover and secure with screws
Step 7: Remount doorbell and monitor LED behavior for 60 seconds
Post-Reset Behavior Expectations
Within 30 seconds of battery reinsertion, your Blink doorbell camera blinking red should:
– Flash red briefly during startup sequence
– Attempt automatic reconnection to your network
– Transition to solid blue or no LED when successfully connected
– Continue red flashing if underlying connection issues persist
Wi-Fi Connection Troubleshooting Solutions

Persistent red LED flashing often indicates Wi-Fi connectivity problems specific to Blink doorbell requirements. These targeted solutions address the most common connection failures.
Signal Strength Optimization Techniques
Reposition your router closer to the doorbell location—even 10-15 feet can significantly improve signal reliability for consistent connection. Install a dedicated Wi-Fi extender designed for outdoor use, positioning it halfway between your router and doorbell for optimal coverage. Reduce interference by moving other 2.4GHz devices (baby monitors, cordless phones, microwaves) away from your doorbell’s signal path.
Network Authentication Verification
Incorrect Wi-Fi passwords trigger continuous red flashing. Verify your credentials through these steps:
1. Open your phone’s Wi-Fi settings and test connection to your network
2. Forget the network and reconnect using the password
3. Use the identical password during Blink app setup process
Router Configuration Requirements
Ensure your router broadcasts a dedicated 2.4GHz network—Blink doorbells don’t support 5GHz Wi-Fi, which causes persistent connection failures. Enable WPA2 security if currently using WPA3 or mixed security modes, as some Blink models experience compatibility issues with newer security protocols. Disable MAC address filtering temporarily during setup if enabled on your router.
Setup Mode Troubleshooting Techniques

When red LED flashing indicates setup mode problems, these solutions help complete device configuration successfully without professional assistance.
App Synchronization Fixes
Force close the Blink app completely and restart it—cached data sometimes prevents proper device discovery during setup. Clear app cache on Android devices through Settings > Apps > Blink > Storage > Clear Cache. Reinstall the Blink app if persistent sync issues occur to ensure you have the latest version with fresh configuration data.
Device Discovery Problem Resolution
Move within 10 feet of your doorbell during setup—Bluetooth proximity requirements prevent discovery from longer distances. Restart your phone’s Wi-Fi and Bluetooth before attempting setup again to refresh all network discovery protocols. Temporarily disable other smart home devices that might interfere with the setup process during doorbell configuration.
Advanced Red LED Pattern Scenarios
Some red LED patterns indicate specific hardware or network issues requiring targeted solutions beyond standard troubleshooting.
Continuous Flashing After Successful Setup
This persistent red LED pattern suggests your Blink doorbell camera blinking red indicates successful initial setup but ongoing connection problems. Check your router firewall settings for blocked Blink servers, ISP restrictions on IoT device connections, or MAC address filtering that may prevent stable communication.
Intermittent Red Flashing Patterns
Sporadic red LED activity often points to weak Wi-Fi signal during peak usage times, router overheating in direct sunlight, or power fluctuations affecting doorbell performance. These intermittent issues require monitoring over several hours to identify patterns correlating with specific events in your household network usage.
Absence of Expected Red LED Activity
If your doorbell doesn’t flash red during setup attempts:
– Dead batteries: Replace with fresh AA lithium batteries immediately
– Hardware failure: Contact Blink support for warranty evaluation
– LED malfunction: Device may still function despite visual indicator issues
Proactive Maintenance to Prevent Red LED Issues
Avoid future red LED problems with these proactive maintenance strategies that keep your Blink doorbell functioning optimally.
Monthly Connection Health Checks
Test your doorbell’s connection monthly by viewing live video through the Blink app. Any delays or failures indicate developing network issues requiring attention before they escalate to persistent red flashing.
Battery Replacement Schedule
Replace batteries every 6-12 months depending on usage. The Blink doorbell camera blinking red intensifies as batteries weaken, providing early replacement warnings before complete failure occurs. Lithium batteries maintain performance better in extreme temperatures than alkaline alternatives.
Router Maintenance Protocol
Restart your router monthly to clear memory issues that can affect doorbell connectivity. Schedule automatic restarts during low-usage hours to maintain consistent network performance without disrupting household activities.
When to Contact Blink Support
Contact Blink customer support if red LED issues persist after implementing all troubleshooting steps. Have this information prepared:
– Doorbell serial number (found in Blink app under device settings)
– Purchase date and retailer information
– Router make/model and internet service provider details
– Specific description of red LED pattern and duration
– Documentation of all steps already attempted
Warranty coverage typically includes hardware failures causing persistent red LED issues, with most Blink doorbells carrying a 1-year limited warranty from purchase date.
Red LED Quick Reference Guide
Continuous Red Flashing: Start with battery reset, then verify Wi-Fi configuration
Red LED During Setup: Normal behavior—complete app configuration process
No Red LED When Expected: Replace batteries immediately or check for hardware failure
Red LED After Working Fine: Investigate recent network changes or router issues
Most Blink doorbell camera blinking red issues resolve quickly with the battery reset procedure, saving you time and potential service calls. Bookmark this guide for future reference—understanding these visual signals keeps your home security system functioning reliably without unnecessary stress.


