
When your door handle stops working from the inside, you might suddenly find yourself trapped in a room or unable to exit when needed. This frustrating issue affects millions of households each year, with interior door handle failures accounting for nearly 60% of all residential door hardware problems. The good news is that most interior door handle malfunctions can be diagnosed and fixed in under 30 minutes with basic tools. Whether your handle spins uselessly or feels completely frozen, this guide will walk you through identifying the exact cause and implementing the right repair solution. You’ll learn how to quickly regain access to your room and prevent future handle failures with simple maintenance techniques.
Why Your Interior Door Handle Suddenly Stops Working
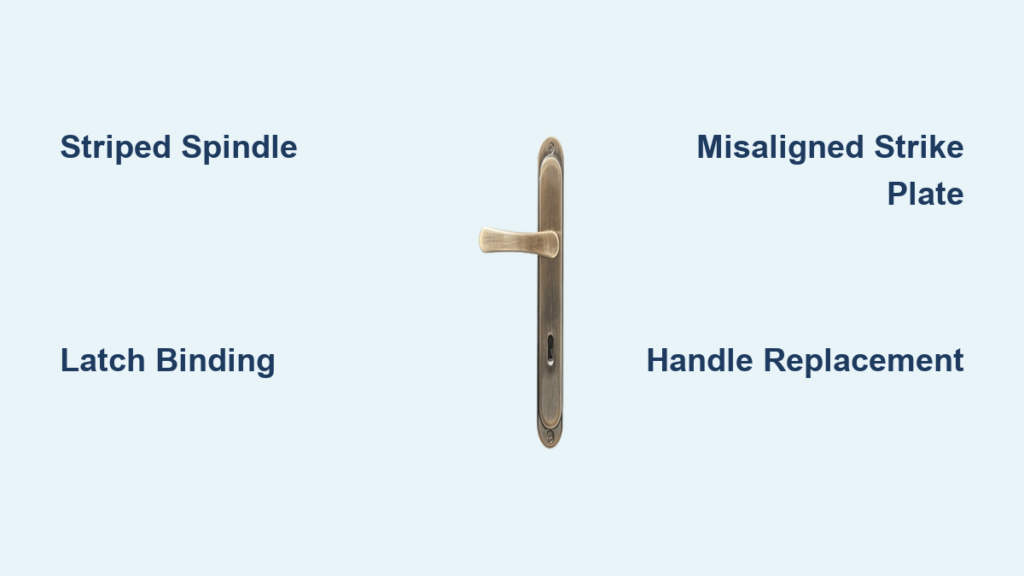
Interior door handle failures typically stem from one of three mechanical problems that develop over time. The most common issue—accounting for nearly half of all failures—is a stripped spindle connection. This square metal rod connects your interior and exterior handles, and when its corners wear down from repeated use, the handle spins freely without moving the latch. You’ll notice this when turning the handle feels completely disconnected from the latch mechanism.
Another frequent culprit is latch mechanism binding, often caused by misalignment between the door and frame. As doors settle over time or hinges loosen, the latch bolt no longer aligns perfectly with the strike plate, creating resistance that makes the handle difficult or impossible to operate. Look for scratch marks on the latch or strike plate as evidence of this misalignment.
The third common failure point involves broken internal components within the latch assembly itself. The spring that returns the latch to its extended position can break or become dislodged, jamming the mechanism. If your handle feels unusually stiff or only works when you apply pressure in a specific direction, this is likely your problem. These mechanical failures develop gradually, often preceded by warning signs like increased resistance or unusual noises when operating the handle.
How to Diagnose a Spinning or Stuck Interior Door Handle

Identifying Your Specific Handle Failure Type
Before grabbing your tools, perform these quick diagnostic checks to pinpoint your exact problem:
If your handle spins freely without moving the latch:
– This almost always indicates a stripped spindle connection
– Remove the interior handle and inspect the square hole where it connects to the spindle
– If the square has become rounded, the handle or spindle needs replacement
– This repair typically takes 15-20 minutes with basic tools
If your handle feels stiff or won’t move at all:
– Check for misalignment between the latch and strike plate
– Close the door slowly and watch how the latch interacts with the strike plate
– Look for visible resistance points or binding sounds
– This common issue can often be fixed in under 10 minutes
If your handle works intermittently:
– This suggests partial component failure or temporary binding
– Operate the handle while gently moving the door up and down
– If function improves with door movement, your hinges need tightening
– This simple fix takes just 5 minutes with a screwdriver
Emergency Fixes When You’re Trapped Inside a Room
When you’re immediately locked in a room with a non-working handle, try these quick access solutions before calling for help:
The credit card technique for spring latches:
– Find a stiff plastic card (not your credit card—use an old gift card)
– Insert the card between the door and frame at latch height
– Angle the card downward and slide it toward the latch
– Apply firm pressure while wiggling the card to push the latch back
– Works best on interior doors without deadbolts
The wire release method:
– Straighten a paperclip or use thin wire
– Create a small hook at one end
– Insert through the gap between door and frame near the latch
– Hook the latch and pull it back into the door
– Requires patience but avoids damage to door or frame
Strategic screwdriver leverage:
– Use a thin flathead screwdriver
– Insert between door and frame at latch height
– Apply gentle pressure toward the hinges while turning the handle
– The combined pressure often releases a stuck latch
– Warning: Use minimal force to avoid damaging the door edge
Step-by-Step: Repairing a Broken Interior Door Handle Mechanism
Removing and Inspecting the Handle Assembly
- Locate the release mechanism on your interior handle (usually a small hole or set screw)
- Insert a paperclip or small tool into the hole while pulling the handle toward you
- Remove the handle to expose the spindle and mounting hardware
- Take note of component alignment before disassembly—snap a photo with your phone
- Inspect the spindle connection for signs of wear or stripping
Difficulty: Easy | Time: 5-10 minutes | Tools needed: Paperclip, small screwdriver
Cleaning and Lubricating the Latch Mechanism
If your handle connects properly but feels stiff, the latch mechanism likely needs cleaning:
- Remove the latch assembly from the door edge (unscrew faceplate and slide out)
- Disassemble the latch if possible, or clean through existing openings
- Use a degreaser spray and small brush to remove built-up grime
- Dry thoroughly with a clean cloth before lubrication
- Apply graphite powder or dry PTFE spray—never use oil-based lubricants
- Reinstall and test before securing everything in place
Pro Tip: Keep a small tube of dry lock lubricant in your toolbox for regular maintenance. Most latch problems can be prevented with bi-annual cleaning and lubrication.
Replacing a Stripped Spindle or Damaged Handle Components
Handle Replacement Procedure
When your handle’s square drive has worn smooth from years of use, replacement is necessary:
- Remove both interior and exterior handles following the same process
- Measure the backset (distance from door edge to center of handle hole)—standard is 2-3/8″ or 2-3/4″
- Take your old handle to the hardware store to ensure proper match
- Install the new handle by reversing the removal process
- Test operation before tightening all screws completely
This is the most common repair for interior door handles that spin uselessly. Modern handlesets cost $15-$40 and dramatically improve reliability over worn components. When installing new hardware, apply a small amount of threadlocker to mounting screws to prevent future loosening.
Adjusting Misaligned Strike Plates That Cause Handle Malfunctions
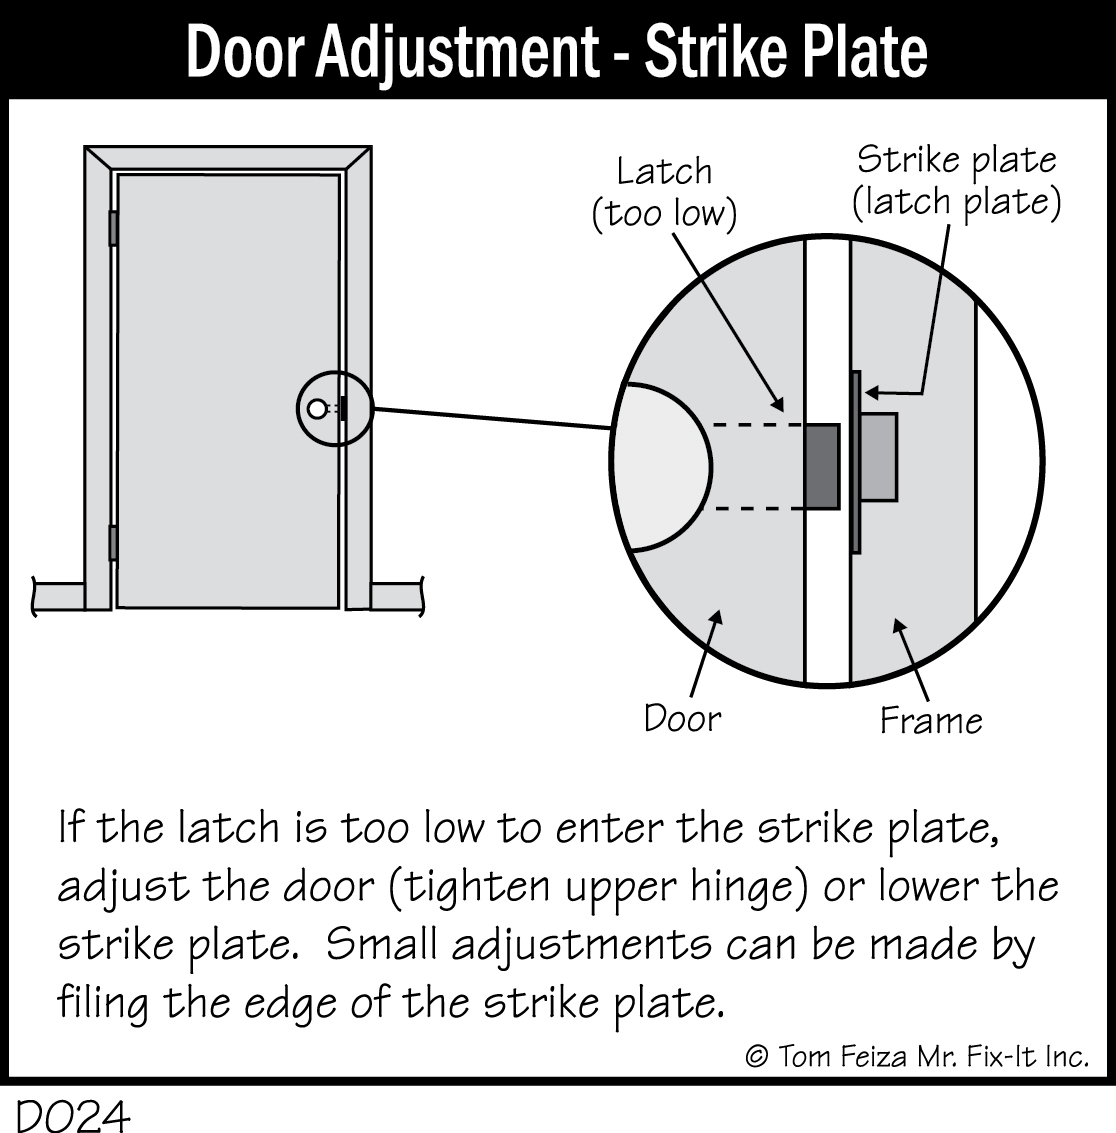
Strike Plate Realignment Techniques
Misaligned strike plates cause nearly 30% of interior handle problems. Fix them with these methods:
Enlarging the strike plate hole:
– Mark the high spot where the latch binds
– Remove the strike plate
– Use a metal file to carefully enlarge the hole in the binding direction
– Reinstall and test—repeat if necessary
Repositioning the strike plate:
– Loosen but don’t remove the strike plate screws
– Tap the plate slightly with a hammer and punch
– Move just enough to eliminate binding (1/16″ often makes the difference)
– Retighten screws and test
Creating a deeper recess:
– If the latch doesn’t fully extend, the strike plate may be too shallow
– Use a chisel to carefully deepen the mortise in the door frame
– Work slowly in small increments to avoid over-cutting
Preventing Future Interior Handle Failures With Simple Maintenance
Monthly Quick Checks That Save Major Repairs
- Test handle operation on all interior doors—note any resistance or unusual sounds
- Check handle tightness by gently wiggling—loose handles accelerate wear
- Listen for spring sounds when operating the latch—silence indicates potential spring failure
Semi-Annual Maintenance Routine
Every six months, perform this quick maintenance on high-traffic interior doors:
- Remove handles and clean spindle connections
- Apply dry lubricant to all moving parts
- Tighten hinge screws (door sag causes misalignment)
- Check strike plate alignment with the latch
Critical Prevention Tip: Never force a stiff handle. Forcing accelerates wear on already compromised components. If resistance develops, address it immediately before minor issues become major failures requiring full replacement.
When simple repairs don’t restore proper function, or if you’re dealing with antique hardware or specialized commercial locks, consult a professional locksmith. They can diagnose complex issues in minutes that might take you hours to figure out. For most standard interior doors, however, the techniques in this guide will solve 95% of handle failures. By understanding why your door handle stopped working from the inside and implementing these targeted fixes, you’ll restore reliable operation and avoid the frustration of being unexpectedly locked in or out of a room. Remember that regular maintenance prevents most handle failures—just five minutes of care every few months keeps your interior doors operating smoothly for years.


