
That moment when you try to adjust your patio door blinds only to find them completely unresponsive is incredibly frustrating. Whether your glass door blinds not working issue involves jammed cords, frozen tilt mechanisms, or slats stuck mid-position, these problems disrupt your privacy and light control daily. Most homeowners face this headache at least once, especially with vertical blinds on frequently used sliding doors. The good news is that 80% of glass door blinds not working problems can be resolved with basic tools and simple techniques—without calling a technician. In this guide, you’ll learn exactly how to diagnose the specific failure point in your system and apply proven fixes that restore smooth operation in under 30 minutes. Stop wrestling with stubborn blinds and regain control of your space today.
Ignoring glass door blinds not working symptoms often leads to complete system failure, forcing costly replacements. Vertical blinds on patio doors endure unique stress from door movement and weather exposure, making them prone to cord wear and track misalignment. By addressing issues early—like slight resistance when raising blinds or inconsistent slat movement—you can prevent minor glitches from becoming major headaches. This guide cuts through confusing jargon to give you actionable solutions based on real repair scenarios. You’ll discover whether your problem requires a five-minute cord untangle or indicates deeper mechanical failure needing professional help. Let’s transform your stubborn blinds from a daily nuisance back to reliable privacy control.
Diagnose Your Blinds’ Problem Before Repairing
Jumping straight into repairs without proper diagnosis often creates new problems. Spend 5 minutes systematically isolating the failure point to avoid unnecessary disassembly. This targeted approach saves time and prevents damage to fragile components like tilt gears or carrier wheels.
Inspect Control Mechanisms for Visible Damage
Your cords, wand, and chain are the first places to investigate—they handle the most wear. Start with these critical checks:
– Cord/Chain Condition: Pull the lift cord gently while observing the head rail. Look for frayed sections, knots near the bottom rail, or a chain that’s slipped off internal gears. Pro tip: Shine a flashlight along the cord path to spot hidden snags.
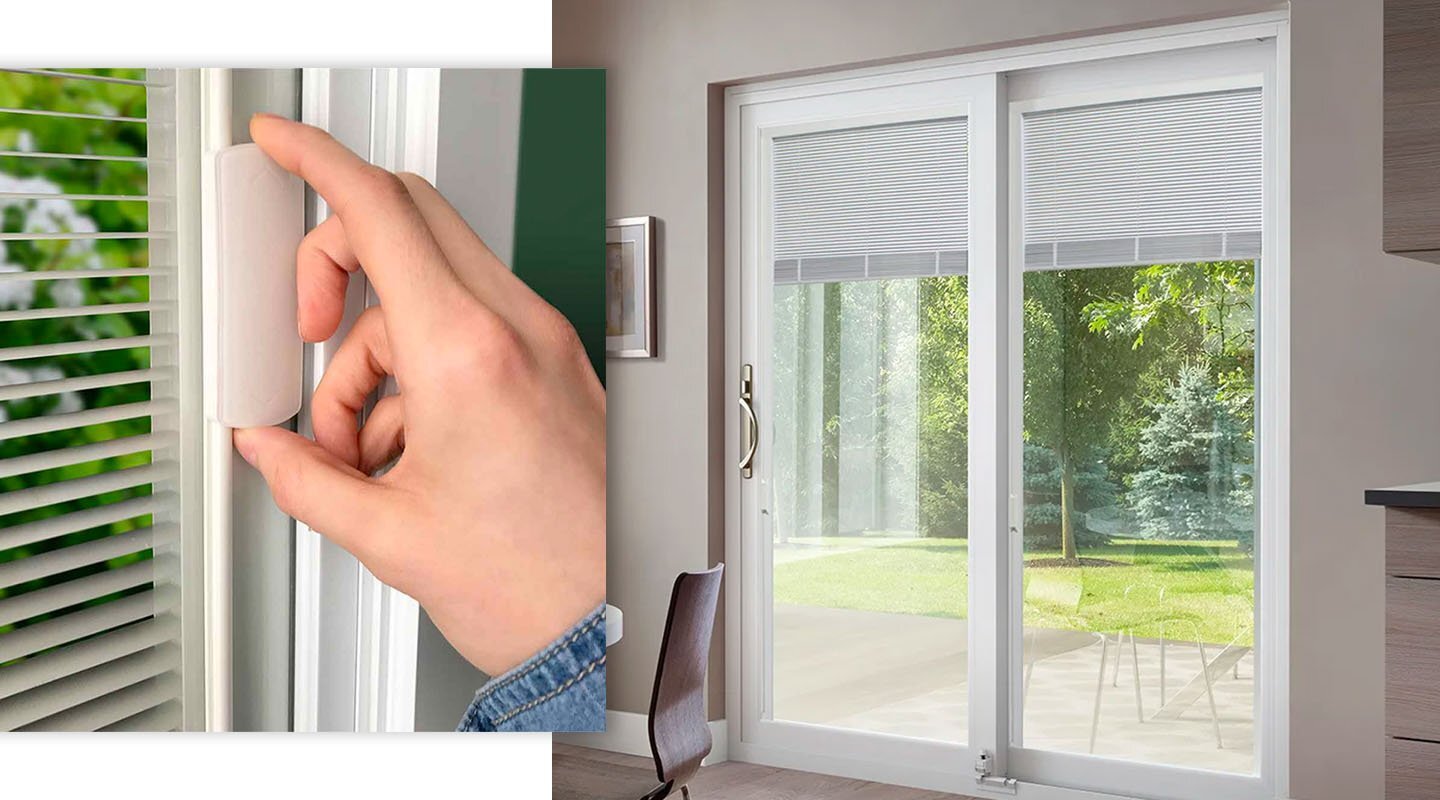
– Tilt Wand Integrity: If using a wand, check for cracks at the base where it connects to the head rail. Try rotating it slowly—if it spins freely without moving slats, the internal gear is stripped.
– Tangle Identification: For beaded chains, locate where the chain loops overlap. Gently separate beads with needle-nose pliers rather than yanking, which can snap cords.
Test Tilt and Lift Functions Separately
Isolating movement systems reveals exactly which mechanism failed:
– Tilt Test: Rotate the wand clockwise and counter-clockwise while watching the top slat. If slats don’t move but the wand turns, the tilt mechanism is broken. If the wand won’t budge, debris is jamming the gears.
– Lift Test: Pull the lift cord at a 45-degree angle while observing the head rail. If the blind rises but won’t stay, the cord lock is faulty. If it won’t lift at all, check for cord tangles inside the head rail.
– Sticking Point Check: Note exactly where movement stops. Slats sticking midway often indicate a bent carrier wheel, while bottom-heavy resistance suggests cord fraying near the rail.
Identify Head Rail and Carrier Issues
The head rail houses critical mechanisms that fail due to misalignment or debris:
– Rail Inspection: Run your fingers along the rail’s track. Feel for dents (common from door impacts) or sticky spots indicating dried lubricant. Visual cue: Look for warped sections where carriers visibly hang up.
– Carrier Mobility Test: Gently push carriers (the plastic pieces holding slats) toward the door’s center. They should glide smoothly. Stuck carriers often show white powder residue from grinding plastic.
– Alignment Verification: Place a level on the head rail. Even a 1/8-inch slope causes uneven tension that jams movement—especially critical for vertical blinds on wide patio doors.
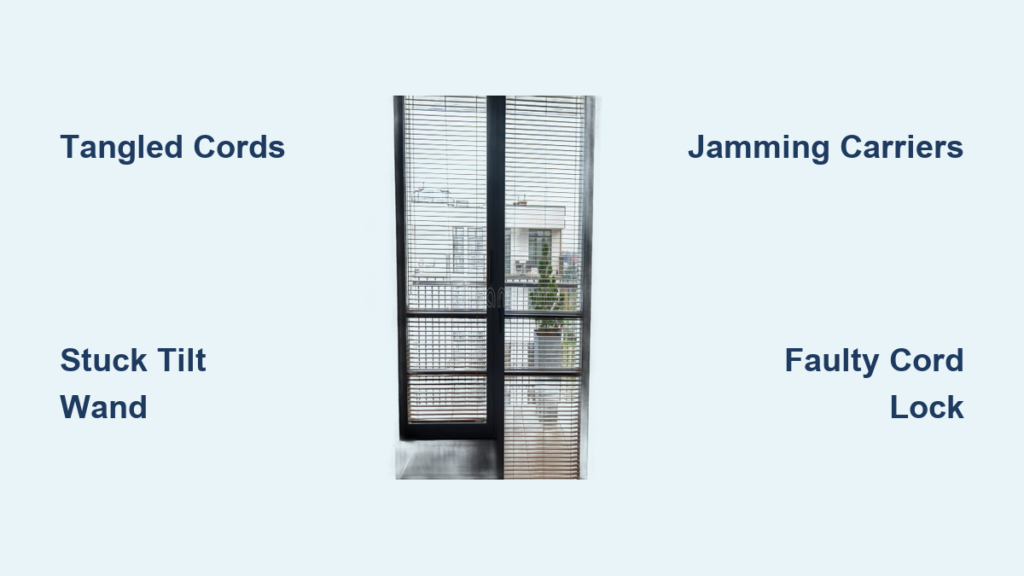
Most Common Glass Door Blind Failures and Fixes
Understanding these four frequent failure points helps you skip irrelevant steps. Vertical blinds on glass doors fail differently than standard window blinds due to their wider span and exposure to door vibration.
Tangled or Broken Lift Cords Require Immediate Attention
This accounts for 60% of glass door blinds not working cases. Continuous door movement strains cords, causing fraying at pivot points:
– Symptoms: Blind won’t raise, or cord feels loose with no resistance
– Urgent Action: Stop using the blind immediately. Continued pulling worsens tangles
– Visual Clue: Check where cords enter the head rail—this is the most common break point
– Time Estimate: 20 minutes for cord replacement with basic tools
Stuck Tilt Mechanism Halts Slant Adjustment
When slats refuse to rotate for privacy control, internal gears are usually compromised:
– Cause: Stripped plastic gears from forcing the wand or dust accumulation
– Diagnostic Test: If wand spins 360 degrees without moving slats, gears are stripped
– Critical Mistake: Never force the wand—it creates metal shavings that jam mechanisms further
– Failure Pattern: More common in older blinds where lubricant has dried out
Jammed Slat Carriers Disrupt Smooth Movement
Vertical blinds on patio doors frequently jam due to track contamination:
– Root Cause: Dust, pet hair, or carpet fibers clogging the carrier track
– Quick Check: Shine light into the head rail—debris appears as dark buildup
– Consequence: One stuck carrier halts the entire system, straining other components
– Prevention Tip: Vacuum tracks monthly with a brush attachment to avoid buildup
Faulty Cord Lock Mechanism Causes Drifting Blinds
If your blind won’t stay in position, the cord lock has failed:
– Tell-Tale Sign: Must pull cord at awkward angles to get it to “catch”
– Common Trigger: Worn pawl springs that no longer grip the cord
– Temporary Fix: Tie a slipknot in the cord (not recommended long-term)
– Professional Insight: Replacement costs often approach 50% of a new blind’s price
Step-by-Step Repair Solutions That Actually Work
Don’t waste time on ineffective hacks—these proven methods address the mechanical root causes. Always unplug motorized systems and secure the door before starting repairs.
Fix Tangled or Snapped Cords in 4 Steps
This solution works for both beaded chains and continuous loop systems:
1. Lower Blind Completely: Hold the lift cord while releasing the tilt wand to lower smoothly
2. Remove Head Rail: Unscrew brackets (usually 2-4 screws) and lift rail off mounting hooks
3. Restring Cords: Thread new cord through carriers following the original zigzag pattern. Use a cord “mouse” (weighted string) for tight spaces—available at hardware stores
4. Reattach and Test: Secure bottom rail, tie off cords, and test movement before remounting. Allow 10 minutes to ensure proper tension
Repair a Broken Tilt Mechanism Without Special Tools
Skip expensive part orders with this field-tested method:
– Remove the tilt wand by pulling straight out from the head rail
– Take off the decorative valance cover (usually snaps off)
– Locate the tilt gear assembly—often held by two small screws
– Pro Technique: Replace only the stripped gear (not the whole mechanism) using matching parts from broken blinds kits. Check YouTube for model-specific demos
– Reassemble in reverse order, testing slat movement after each step
Unlock Jammed Blinds Caused by Track Debris
For blinds stuck mid-travel on vertical systems:
1. Clear Major Obstructions: Use tweezers to remove visible debris from track openings
2. Deep Clean Tracks: Dip a cotton swab in rubbing alcohol and run along the entire rail
3. Lubricate Strategically: Apply silicone spray (never oil!) to carrier wheels only
4. Realignment Check: Ensure head rail is perfectly level—use shims under brackets if needed
– Warning: Avoid WD-40—it attracts more dust and degrades plastic components
Know When to Replace Components Instead of Repairing
Some parts aren’t worth fixing due to complexity:
– Tilt Wand Replacement: Pull old wand straight out and push new one in—takes 30 seconds
– Cord Lock Swap: Requires disassembling the head rail; often easier to replace the entire rail assembly
– Cost Reality Check: If parts exceed $30 or require special tools, consider full replacement
– Red Flag: Cracked head rails or multiple broken carriers signal it’s time for new blinds
When Professional Help Saves Money and Time
Attempting complex repairs on these systems often causes irreversible damage:
– Between-the-Glass Blinds: Sealed units require reglazing—DIY attempts shatter panes
– Motorized Systems: Electrical components need certified technicians to avoid shock hazards
– High-End Custom Blinds: Specialized parts may take weeks to order, making replacement smarter
– Cost Threshold: If repair estimates exceed 70% of new blind cost, replace immediately
Prevent Future Glass Door Blind Failures With These Habits
Extend your blinds’ lifespan by 3+ years with minimal maintenance:
– Monthly: Vacuum head rail tracks and wipe slats with microfiber cloth
– Quarterly: Check cord tension and lubricate carrier wheels with silicone spray
– Annually: Operate blinds fully through their range while listening for grinding sounds
– Critical Rule: Always use smooth, steady motions—never yank cords or force wands
Repair or Replace? The Final Decision Framework
When glass door blinds not working issues strike, weigh these factors before acting:
– Repair if: Single-point failure (like one broken cord), blinds under 5 years old, or parts cost under $40
– Replace if: Multiple failures in one year, head rail damage, or blinds over 7 years old
– Special Cases: Between-glass units almost always require professional replacement
– Pro Tip: Take photos of your blind’s label before disassembling—this speeds up part ordering
Don’t let uncooperative glass door blinds compromise your home’s comfort any longer. By applying these targeted fixes, you’ll restore reliable operation to most patio door blind systems within an afternoon. Remember that gentle operation prevents 90% of failures—treat your blinds like precision instruments, not door handles. If you encounter between-the-glass issues or complex motorized failures, seek professional help immediately to avoid costly window damage. For most common glass door blinds not working scenarios though, the solutions are simpler and faster than you imagined. Grab your toolkit and reclaim control of your space today—your privacy and peace of mind are worth the effort.


