
Your GMC Sierra door handle not working leaves you stranded outside your truck, pulling handles that flop uselessly while the power locks click normally. This exact failure plagues thousands of Sierra owners—especially those with 2007-2013 models—when a tiny plastic part inside the door snaps without warning. You’re not imagining things; it’s a notorious design flaw in GM trucks where a single $2 component cripples both interior and exterior handles. The good news? You can fix this yourself in under two hours once you bypass the initial hurdle of getting the door open. This guide delivers the precise steps mechanics use to solve the GMC Sierra door handle not working crisis permanently.
This isn’t an electrical glitch or a complex computer issue—it’s pure mechanical sabotage by a brittle yellow plastic “fuse” that sacrifices itself to save bigger parts. When it shatters after 5-10 years of temperature swings and daily use, your Sierra’s door becomes a sealed vault. Forget calling a dealership for a $500 “diagnostic”; 95% of cases point to this one broken link. We’ll get you past the frustration of emergency access, through the repair, and back on the road with a door that works like new.
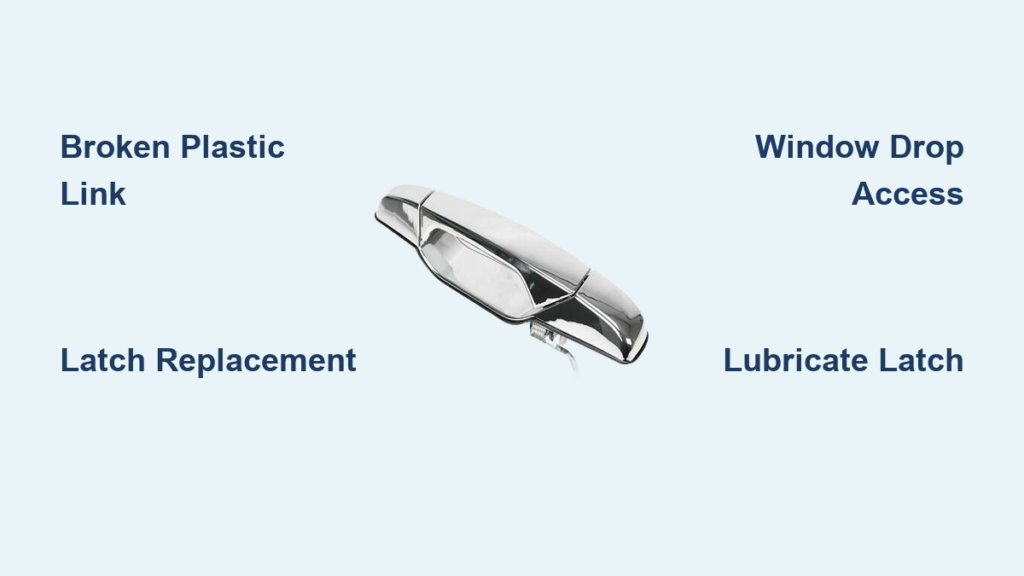
Why Your GMC Sierra Door Handles Suddenly Stop Working
GM engineered a deliberate weak point in Sierra door latch assemblies: a small yellow or black plastic torque link designed to snap under extreme force. But material fatigue turns this “safety fuse” into a ticking time bomb. After years of exposure to Arizona heat or Minnesota freezes, this plastic link becomes brittle and fractures during routine handle pulls. When it breaks, the mechanical connection between both handles and the latch severs completely—leaving you with handles that move freely but accomplish nothing.
The failure always mimics identical symptoms:
– Zero resistance when pulling either handle (they swing like loose hinges)
– Power locks function normally (you hear the actuator click when locking/unlocking)
– No electrical fault codes (the problem is purely mechanical)
– Progressive warning signs like sluggish operation or needing multiple handle pulls
This isn’t random bad luck—it’s a systemic flaw in GM’s GMT900 platform trucks. The plastic link’s molecular structure degrades faster than the surrounding metal components, guaranteeing eventual failure. Replacing just the broken plastic piece rarely lasts; a stiff latch mechanism accelerates wear on new links. That’s why professionals replace the entire latch assembly—it’s the only permanent fix for GMC Sierra door handle not working.
Emergency Access: Getting Into Your Locked Sierra With a Broken Handle

The Window Drop Method (Most Reliable First Step)
You can’t remove the door panel with the door closed. Start by lowering the window completely. Slide a long, flexible tool (like a 12-inch 90-degree pick or a bent wire coat hanger) through the window channel. Your target is the silver metal lever inside the door cavity—this is the manual latch release.
Position your tool horizontally behind the interior handle bracket. Gently sweep upward to catch the lever’s edge, then pull firmly toward the front of the truck. You’ll feel resistance followed by a definitive “clunk” when the latch releases. This takes patience: work slowly to avoid scratching the window or damaging wiring. If your Sierra’s window has a rubber seal, press the tool against the inner metal frame to avoid slipping.
When to Call a Locksmith (Avoiding Costly Mistakes)
Drilling through the door is a last resort that risks water leaks and cosmetic damage. If you can’t access the latch after 20 minutes of careful attempts, call a mobile auto locksmith. They carry specialized spreader tools and slim jims designed specifically for GM trucks. Mention “2007-2013 Sierra door latch link failure” so they bring the correct tools—they’ll pop your door open in 10 minutes without damage. Never force the process; you risk breaking window regulators or interior clips.
Essential Tools and Parts for GMC Sierra Door Handle Repair

Critical Parts: Skip the Band-Aid Fix
Never buy just the yellow plastic link. Even if you find GM part #15820077 (the link alone), replacing it without refreshing the entire latch is a temporary patch. GM’s design flaw means the stiff latch mechanism will destroy new links in months. Instead, invest in one complete latch assembly:
– Driver’s side: Dorman 924-711 ($85) or ACDelco 15820077 ($120 OEM)
– Passenger side: Dorman 924-712 (verify your model year first)
These kits include the corrected torque link, rods, and clips—ensuring smooth operation for years.
Must-Have Tools Checklist
- Long flat trim tools (6+ inches for panel removal)
- 8mm and 10mm sockets with 6-inch extension and swivel joint
- T20 Torx bit (for Sierra interior handle screws)
- Butyl tape (re-sealing the moisture barrier)
- White lithium grease (for latch lubrication)
Skip the drill—proper tools prevent the “drill and fill” nightmare of rust and leaks.
Removing Your GMC Sierra Door Panel (After Gaining Access)
Critical Safety Prep Before Touching Screws
Disconnect the negative battery terminal first. A live electrical system risks shorting speakers or lock actuators during panel removal. Wait 2 minutes for capacitors to discharge—this prevents accidental airbag triggers in newer models.
Step-by-Step Panel Removal Without Breaking Clips
- Pry off the armrest bezel using a flat tool at the front edge (hidden screws lurk beneath)
- Remove the 10mm bolt under the bezel and the T20 screw behind the door pull cup
- Pop plastic caps near the latch and speaker grille to expose remaining screws
- Work bottom-to-top with trim tools: Start at the rear corner, slide tools upward to release clips
- Lift panel straight up 1 inch to clear the window channel before tilting outward
If clips snap, buy replacement packs (Dorman 925-100). Never yank—the Sierra’s panel has fragile wire harnesses for puddle lights.
Diagnosing the Exact Failure Inside Your Sierra’s Latch

Locating the Broken Torque Link in 60 Seconds
Peel back the black moisture barrier to expose the latch assembly—a fist-sized metal unit near the door’s rear edge. Rotate the Sierra’s latch so the handle rod connections face you. The failed part is unmistakable: a 1.5-inch yellow or black plastic piece snapped between the exterior handle rod and the latch body. It’s held by a single C-clip that often flies off when the link breaks.
Why Replacing Just the Link Guarantees Repeat Failure
Test the latch mechanism by manually turning the lock cylinder. If it feels gritty or sticks, replacing only the plastic link is futile—the stiff latch will shatter the new part within weeks. This is why dealers push full latch replacements: the labor to access the latch is 90% of the job. Skip this step and you’ll be back at square one with a GMC Sierra door handle not working again.
Replacing the Latch Assembly (The Only Permanent Fix)
Bolt Removal Secrets for Tight Spaces
Two 10mm bolts secure the latch—one faces forward, one faces downward. Use a swivel socket head on your extension to reach the downward bolt through the service hole. Don’t drop bolts into the door cavity; tape your socket to the extension. As you remove the last bolt, support the latch—it’ll swing freely but won’t fall out.
Installing the New Latch: Avoiding Costly Mistakes
- Pre-connect rods to the new latch: Attach the exterior handle rod first (it’s hardest to reach later)
- Position the latch in the door cavity—align the bolt holes before threading rods through slots
- Hand-tighten bolts while testing handle operation (don’t fully tighten until handles work smoothly)
- Reconnect the electrical plug (for door ajar sensor) before final tightening
Test handles repeatedly before reassembly. If resistance feels uneven, loosen bolts and reposition the latch.
Reassembly and Testing: Zero Comebacks Guarantee
Moisture Barrier Re-Sealing That Actually Works
Clean old butyl residue from the door shell with mineral spirits. Apply fresh butyl tape in a continuous bead—no gaps near the latch area. Press the barrier firmly into place; water intrusion causes rust and future electrical faults. Never skip this step for a “quick reassembly.”
Final Function Checks Before Closing Up
- Cycle locks 10 times with fob and interior switch
- Operate exterior handle while applying downward pressure (simulates wind resistance)
- Verify door ajar light extinguishes when closed
- Confirm interior handle opens door with one smooth pull
Only reinstall the panel when all tests pass. If handles feel stiff, disconnect rods and lubricate the latch with dry graphite spray—not WD-40, which attracts dust.
Preventing Future GMC Sierra Door Handle Failures
Lubrication Protocol Mechanics Swear By
While the panel’s off, spray white lithium grease on:
– Window regulator tracks (prevents binding that strains handles)
– Latch pawl mechanism (the “tongue” that catches the striker)
– All rod pivot points (reduces stress on the torque link)
Reapply annually during oil changes. This simple step doubles the life of your new latch assembly.
Early Warning Signs That Save $500 Repairs
Monitor for subtle red flags:
– Handles requiring “double pulls” to open
– Slight grinding noise when locking/unlocking
– Interior handle feeling “mushy” instead of crisp
Address these immediately by lubricating the latch. Ignoring them guarantees complete failure—leaving you stranded with a GMC Sierra door handle not working when you least expect it.
Final Note: This repair takes 90 minutes once you’ve opened the door. The broken yellow link causes 98% of dual-handle failures on 2007-2013 Sierras—so if your handles flop uselessly but locks work, you’ve found the culprit. By replacing the entire latch assembly and lubricating key points, you’ll eliminate this headache for good. No more climbing through passenger windows or paying dealerships for a $2 part fix. Your Sierra’s door will click shut with that reassuring GM solidity—just like the day you drove it off the lot.


