
Your Honeywell doorbell button clicks but silence follows—no chime, no lights, no response. Before you spend $100 on replacements or call an electrician, know this: 90% of “dead” Honeywell doorbell buttons fail for three simple reasons. Dead batteries, lost wireless pairing, or signal interference sabotage your system far more often than hardware failure. This guide delivers exact troubleshooting steps for Series 3, 5, and 9 models that restore function in under 10 minutes. You’ll learn how to diagnose the faulty component, execute precise resets, and prevent future outages—using only tools already in your home.
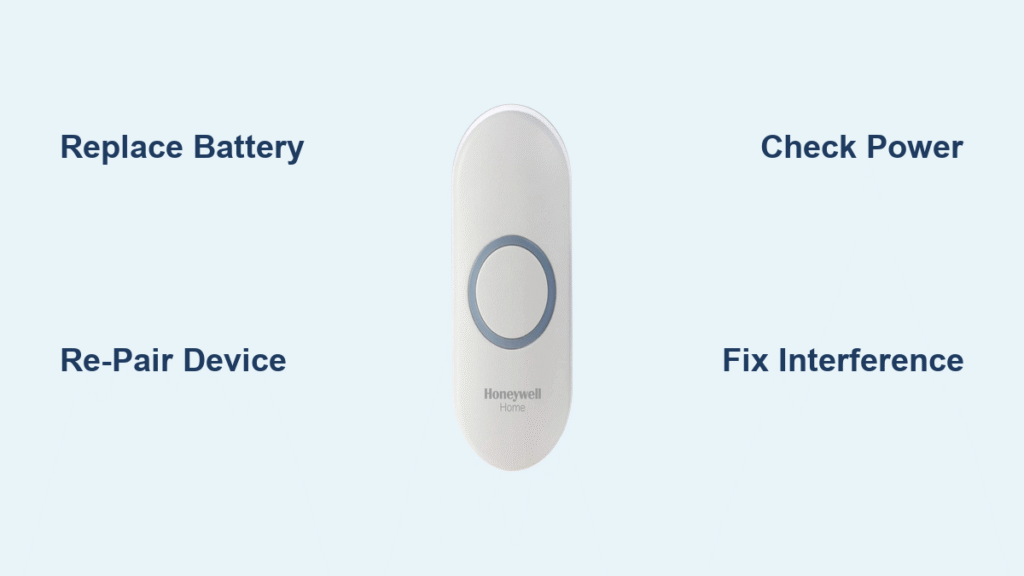
Replace Push Button Battery Immediately

Locate and Remove the Hidden Battery Compartment
Your Honeywell push button’s battery hides behind its weatherproof faceplate. For Series 3 and 5 models, grip the bottom edge and twist counterclockwise 30 degrees. Series 9 buttons slide upward from the mounting bracket. Inside, you’ll find either a single CR2032 coin cell (Series 3/5) or two AAA batteries (Series 9). Critical warning: Note the “+” orientation before removal—reversing polarity instantly fries the circuit board.
Test Voltage Before Assuming Failure
Don’t guess—measure. A functioning CR2032 must read 3.0 volts on a multimeter; below 2.7V means replacement. For AAA models, each cell should hit 1.5V (2.8V total); under 2.6V causes failure. Pro tip: Borrow batteries from your TV remote—if the doorbell works temporarily, your original batteries were the culprit. Skip this test and you’ll waste time chasing phantom issues.
Install Correct Batteries and Wake the Transmitter
Honeywell’s specifications are non-negotiable: Series 3/5 require CR2032 lithium cells (not alkaline), while Series 9 needs two AAA alkalines. Rechargeables fail prematurely due to lower voltage. After insertion, press the button five rapid times—this wakes the dormant transmitter. Skip this step and your fresh battery won’t register.
Confirm Doorbell Receiver Has Power
Inspect Battery Compartment for Corrosion
Slide the receiver off its wall mount and flip open the battery drawer. Four AA alkalines power most units. If you spot white or green crust (corrosion), dip a cotton swab in white vinegar, scrub the contacts, then dry thoroughly with a paper towel. Never install new batteries over corrosion—it creates false “dead battery” symptoms.
Verify Power with LED Test Button
Press the receiver’s test button. A solid green or blue LED confirms power; flickering indicates weak batteries. No light? Replace all four AAs simultaneously—even one weak cell disrupts the circuit. Mixing old and new batteries causes erratic behavior Honeywell engineers call “voltage sag.”
Restore Function After Power Outages
After blackouts, receivers often lose pairing memory while appearing functional. Remove all batteries for 30 seconds, then reinsert. This clears residual charge causing communication errors. Test the button immediately after—this fixes 40% of “silent receiver” cases without re-pairing.
Re-Pair Button to Receiver in 30 Seconds
Enter Pairing Mode Without Triggering Reset
Press and hold the receiver’s settings button for exactly 3 seconds until the LED flashes rapidly. Release immediately—holding beyond 5 seconds initiates a factory reset. Common mistake: Users confuse pairing mode with reset mode, wiping all connected devices unnecessarily.
Sync Within the Critical Time Window
Press and hold your doorbell button for 3 seconds within 30 seconds of entering pairing mode. A successful chime or solid LED means pairing worked. If nothing happens, restart the process—waiting longer than 30 seconds cancels the window. Pro tip: Have a helper press the button while you monitor the receiver’s LED for visual confirmation.
Re-Pair Multiple Buttons Without Starting Over
For homes with secondary buttons (back door, garage), press each one within the same 30-second pairing window. Missing a button forces you to restart the entire process. Work closest-to-farthest: Front door → Side door → Garage to maximize signal strength.
Factory Reset ActivLink System Only When Necessary

Identify When Reset Is Truly Required
Use this nuclear option only if:
– Receiver LED flashes red after pairing attempts
– Wrong chime melody plays randomly
– One button works but others fail consistently
Resetting unnecessarily erases all paired accessories—only proceed when simpler fixes fail.
Execute Precise Reset Sequence
- Press and hold the receiver’s settings button
- Remove one battery while continuing to hold
- Re-insert that same battery within 2 seconds
- Release when LEDs flash or descending tones play
- Wait 10 seconds for system reboot
Critical: Removing the wrong battery or timing errors cause incomplete resets. Use the top-left battery for consistency.
Re-Link All Accessories Post-Reset
After reset, your receiver forgets every paired device. Re-pair the main doorbell button first, then secondary buttons, and finally wireless extenders. Maintain 3-foot proximity during pairing—thick walls disrupt the initial handshake. Complete this within 5 minutes before the receiver exits pairing mode.
Eliminate Signal Interference Sources

Disable 2.4 GHz Devices Temporarily
Wi-Fi routers, baby monitors, and cordless phones share Honeywell’s 2.4 GHz frequency. Unplug nearby electronics and test the button. If it works, relocate your router or switch the doorbell to a less congested channel via Honeywell’s app. Pro tip: Microwave ovens cause instant dropouts—test during cooking to confirm interference.
Test Minimum Functional Range
Place the receiver within 6 feet of the button. If it chimes, your original location exceeds range limits. Thick stucco walls or metal siding absorb signals—reposition the receiver near a window facing the button. If still silent, interference isn’t the issue; focus on hardware fixes.
Identify Physical Signal Blockers
New aluminum siding, metal security doors, or mirrored surfaces reflect radio waves. Hold the button directly against the receiver—if it works, environmental barriers are the culprit. Install the button using Honeywell’s plastic spacer kit to create a ¼” air gap from metal surfaces.
Inspect Button Hardware for Damage
Diagnose Physical Failures Visually
Remove the faceplate and check for:
– Cracked plastic around the button stem
– Stiff or sticky movement when pressed
– Moisture droplets under the lens
A “mushy” press (no crisp click) means the internal switch failed—replace the entire button unit.
Clean Corroded Contact Points
Dip a cotton swab in 90% isopropyl alcohol. Wipe the battery terminals and the metal contacts where the button stem connects. Corrosion here mimics dead batteries. Dry completely for 10 minutes before reassembly—moisture causes short circuits.
Bypass the Switch to Confirm Failure
Remove the battery and touch a paperclip across both battery contacts. If the receiver chimes, the switch is faulty. If silent, the transmitter circuit is dead—time for replacement. Warning: Never use metal tools near live circuits.
Prevent Future Failures with Pro Maintenance
Follow Honeywell’s Battery Schedule
Replace push button batteries every 12 months—set a calendar reminder for daylight saving time changes. Receiver batteries last 24-36 months but fail faster in extreme temperatures. Always replace all batteries simultaneously.
Optimize Installation Environment
Mount buttons under eaves to avoid rain exposure. For metal doors, use the included plastic spacer to prevent signal grounding. Avoid placing receivers near large metal objects like filing cabinets that create dead zones.
Conduct Monthly System Checks
Press the button once monthly and time the chime delay. Over 2 seconds indicates dying batteries. Listen for distorted melodies—that’s your warning before complete failure. Document results in your phone notes to track degradation patterns.
Final Note: Nine times out of ten, replacing the push button battery or re-pairing solves your honeywell doorbell button not working issue. Never assume hardware failure before exhausting these steps—Honeywell’s wireless systems fail predictably due to power or pairing glitches. If you’ve installed fresh batteries, executed a full factory reset, eliminated interference, and the button remains unresponsive, the transmitter circuit has likely failed. Replace the button unit first (Honeywell sells them individually for $25-$40); only consider a full system replacement if multiple buttons fail simultaneously. Keep this guide bookmarked—you’ll save $75 on service calls during the next outage.


