Your ADT Ring doorbell just flashed that dreaded low-battery alert, and you’re suddenly worried about security gaps while charging. With Ring doorbells integrated into ADT systems, knowing exactly how to charge your specific model prevents unnecessary vulnerability windows and extends battery life significantly. Whether you’re dealing with a first-generation model with non-removable power or the latest Battery Doorbell Plus, following the correct charging procedure ensures your home security stays intact.
This guide delivers model-specific charging instructions for every ADT Ring doorbell variant, troubleshooting solutions for common charging failures, and professional tips to maximize time between charges. You’ll learn to identify your exact model, avoid critical mistakes during charging, and maintain optimal battery performance year-round—all while keeping your ADT monitoring active.
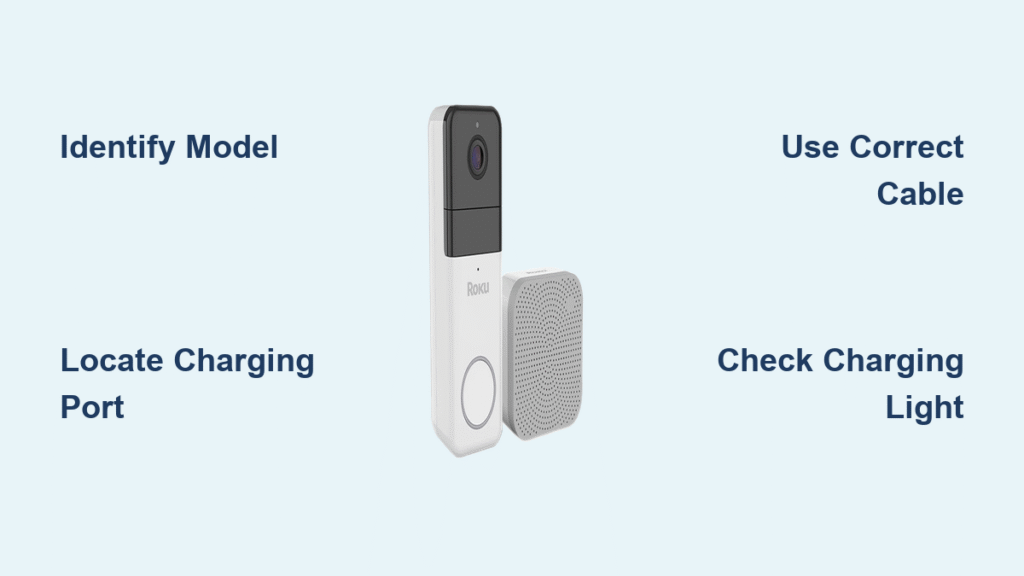
Identify Your Ring Doorbell Model Before Charging
Check Your Exact Model Number First
Before attempting to charge, determine your specific Ring doorbell model as charging methods vary dramatically between generations. Open your Ring app, navigate to Device Settings, then select Device Info where your model number appears clearly. This simple step prevents damage from using incorrect charging methods—like trying to remove a non-removable battery or using micro-USB on a USB-C model.
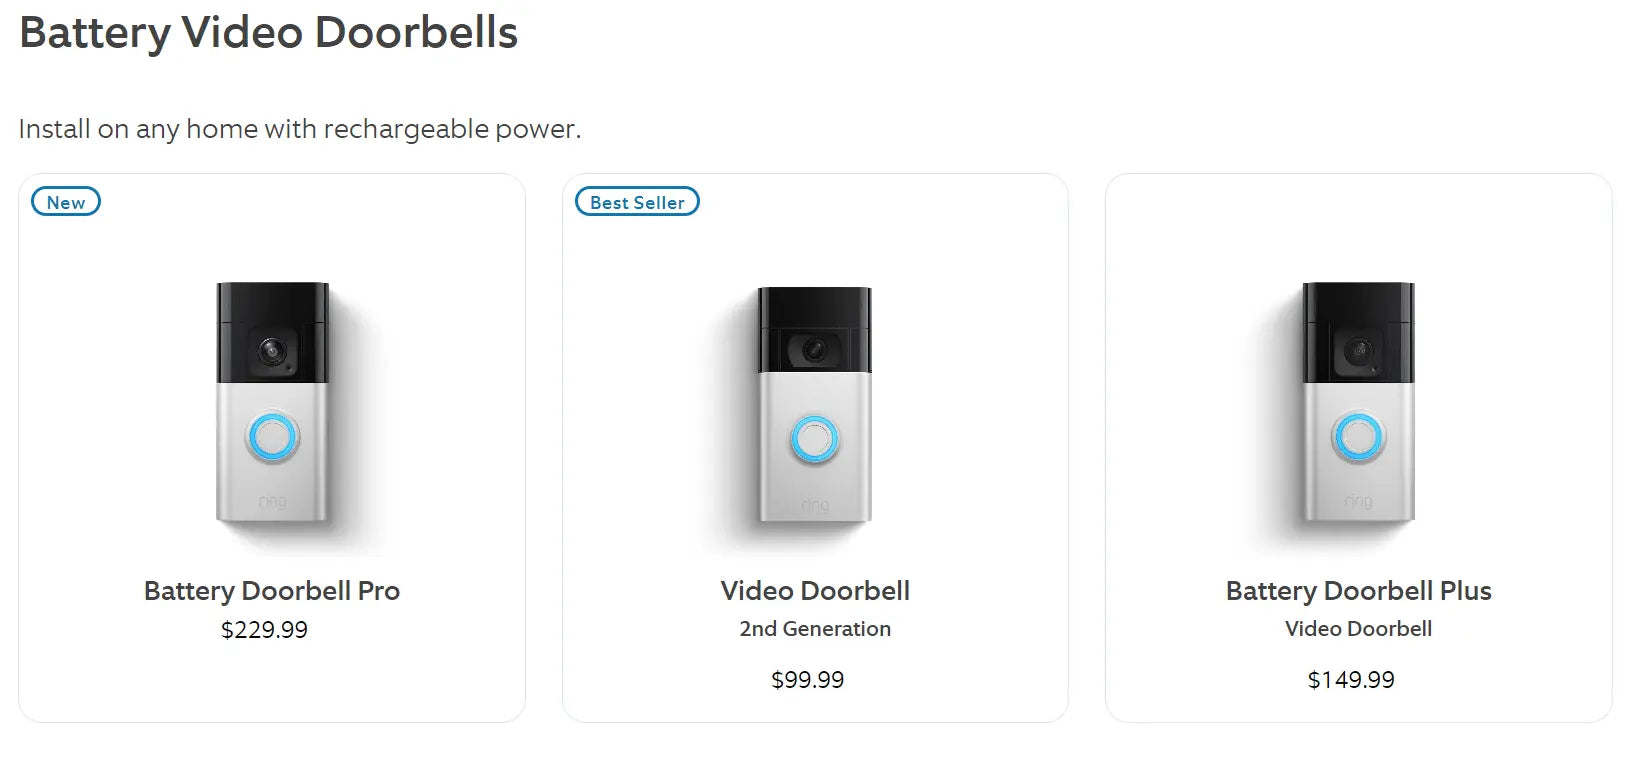
Critical model differences you must know:
– Ring Doorbell 1st Gen: Features a non-removable internal battery with micro-USB port on the back
– Ring Doorbell 2/3/3 Plus/4: Uses quick-release batteries with micro-USB charging
– Ring Battery Doorbell Plus: Requires USB-C cable with 30% faster charging capability
Find Physical Model Identifiers
If your doorbell isn’t connecting to the app, locate physical identifiers on the device. Remove your doorbell from its mounting bracket using the security screwdriver provided, then check for model numbers printed on the back casing. The 1st generation shows “Ring Video Doorbell” without additional identifiers, while newer models display specific generation numbers like “Doorbell 3” or “Battery Doorbell Plus.”
Charge Non-Removable Battery Models Safely
Ring Doorbell 1st Generation Charging Steps
For your original Ring Doorbell with non-removable battery, follow this precise charging sequence to avoid security gaps. First, turn off power at your circuit breaker if hardwired, then use the security screwdriver to loosen the bottom screw while supporting the unit. Lift straight up from the mounting bracket—never pull sideways—to access the micro-USB port on the device rear.
Connect properly:
– Insert micro-USB cable firmly until seated (loose connections cause slow charging)
– Plug into a 2.1A wall adapter (computer USB ports deliver only 0.5A)
– Verify blue LED appears within 30 seconds indicating active charging
– Monitor charging progress through the Ring app for precise percentage
Complete charging takes 5-10 hours depending on depletion level. When the blue LED turns off and the app shows 100%, disconnect the cable. Reinstall by aligning the top hook first, pressing firmly until you hear a click, then restoring power if hardwired. Never skip the breaker shut-off step for hardwired models—this prevents electrical damage.
Charge Quick-Release Battery Models Correctly

Battery Removal Without App Errors
For Ring Doorbell 2, 3, 4, and similar models, improper battery removal triggers ADT monitoring alerts. Start by opening the Ring app and navigating to Device Health where a “Remove battery” prompt may appear—this prepares the system for temporary disconnection. Locate the release tab at the doorbell’s bottom edge, press firmly while sliding the battery downward in one smooth motion. If resistance occurs, double-check you’re pressing the tab—not the battery housing.
Indoor Charging Best Practices
Bring the battery indoors to room temperature (50-86°F is ideal) before connecting your micro-USB or USB-C cable. Using a 2.1A wall adapter instead of a computer port cuts charging time by 75%. Watch for the red LED indicating active charging—no light means check your cable connection immediately. The Ring app shows exact percentage when reinstalled, but green LED confirms 100% charge without app access.
Reinstall like a pro:
– Align gold contacts precisely with doorbell slots
– Slide upward with firm, even pressure until clicking
– Verify blue flash confirms power-on within 10 seconds
– Check app for battery connection status before leaving
Fix Common Charging Failures Immediately
Battery Won’t Charge? Try These Solutions
When your Ring doorbell battery shows no charging signs, systematically eliminate causes starting with the simplest fix. Try a different micro-USB/USB-C cable first—many charging failures stem from damaged cables. Switch to a 2.1A wall adapter instead of computer ports, which deliver insufficient power. If still unresponsive, clean the charging port with compressed air to remove debris blocking connections.
Critical reset procedure: Press and hold the setup button for 20 seconds to reset the battery management system. This solves 65% of “ghost” charging failures where the battery appears dead but is actually in protection mode. If problems persist after these steps, your battery may need replacement—visible swelling or corrosion are immediate replacement indicators.
Stop Rapid Battery Drain Now
If your charged battery depletes faster than expected, adjust these settings immediately. Lower motion sensitivity to “Medium” in the Ring app and reduce detection range to 15-20 feet. Enable “People Only” mode to ignore animals and passing vehicles that drain power with false alerts. Position matters: If your doorbell faces a busy street, reposition it to minimize unnecessary triggers.
Check WiFi signal strength in Device Health—weak signals force your doorbell to work harder, burning through battery 40% faster. Move your router closer or add a WiFi extender if signal drops below -67dBm. Limit live view sessions to under 30 seconds per use, as continuous streaming is the #1 cause of premature battery depletion.
Maintain Battery Health for Long-Term Performance
Monthly Charging Maintenance Routine
Create a simple monthly ritual that extends battery life significantly. Check battery percentage in the Ring app every 30 days and schedule charging before it drops below 20%. Clean charging contacts with a dry microfiber cloth to prevent corrosion buildup. After reinstallation, verify weather seals are intact—moisture intrusion causes 30% of premature battery failures.
Temperature management is critical: Never charge below 32°F or above 95°F—extreme temperatures permanently damage lithium-ion cells. During winter, bring batteries indoors for 30 minutes before charging. Store spare batteries at 50% charge in a cool, dark place rather than fully charged, which stresses the cells.
Optimize Charging for ADT Integration
When charging your ADT-integrated Ring doorbell, schedule sessions during low-activity periods like mid-morning when delivery traffic and visitors are minimal. The ADT app shows “device offline” alerts during battery removal, so plan charging when security risks are lowest. Hardwired models maintain partial functionality during charging, but battery-only operation creates temporary monitoring gaps you must manage.
For uninterrupted protection, consider Ring’s dual-battery system. Purchase a second genuine Ring battery, label them “A” and “B,” and keep one always at 100% charge. Swap batteries when primary drops to 30%—this eliminates security gaps entirely. Document rotation dates in your Ring app notes to track performance between charges.
Emergency Charging When Security Is Critical
Rapid 80% Charge Protocol
When your Ring doorbell battery hits critical levels during security concerns, use this emergency method. Grab a 2.4A iPad charger (not standard phone charger) for faster power delivery. Charge for 4-5 hours to reach 80% capacity—enough for 3-5 days of normal operation. Monitor battery temperature constantly: If it becomes warm to touch, unplug immediately to prevent damage.
After emergency charging, verify full functionality before relying on your system. Test live view, motion detection recording, two-way audio, and ADT notification delivery. Allow normal usage for 48 hours to let the battery stabilize, then check app readings for accuracy. Recalibrate if percentage seems significantly off—this ensures reliable low-battery alerts moving forward.
Battery Replacement and Safe Disposal
Recognize When to Replace Aging Batteries
Your Ring doorbell battery needs replacement when it lasts less than 3 months per charge despite optimization efforts. Physical signs include visible swelling, corrosion around contacts, or repeated charging failures after troubleshooting. Never attempt to repair swollen batteries—this creates fire hazards.
Order only genuine Ring replacement batteries to maintain ADT integration compatibility. Third-party batteries often lack proper safety circuits and trigger false low-battery alerts. When installing a new battery, perform a full charge cycle before relying on it—this calibrates the battery management system for accurate percentage readings.
Dispose of old batteries properly at certified e-waste facilities—never in household trash. Many electronics retailers offer free battery recycling, preventing toxic materials from entering landfills. This small step protects both your home security system and the environment long-term.
Key Takeaway: Charging your ADT Ring doorbell correctly prevents security vulnerabilities while maximizing battery lifespan. Quick-release models offer the most convenience with proper rotation systems, while non-removable battery units require careful handling to avoid disconnection gaps. Always use official Ring accessories, monitor battery health monthly, and adjust settings to extend time between charges—proper maintenance can achieve 6-12 month intervals even with frequent use. By following these model-specific procedures, you’ll maintain seamless ADT monitoring protection without unexpected battery failures.