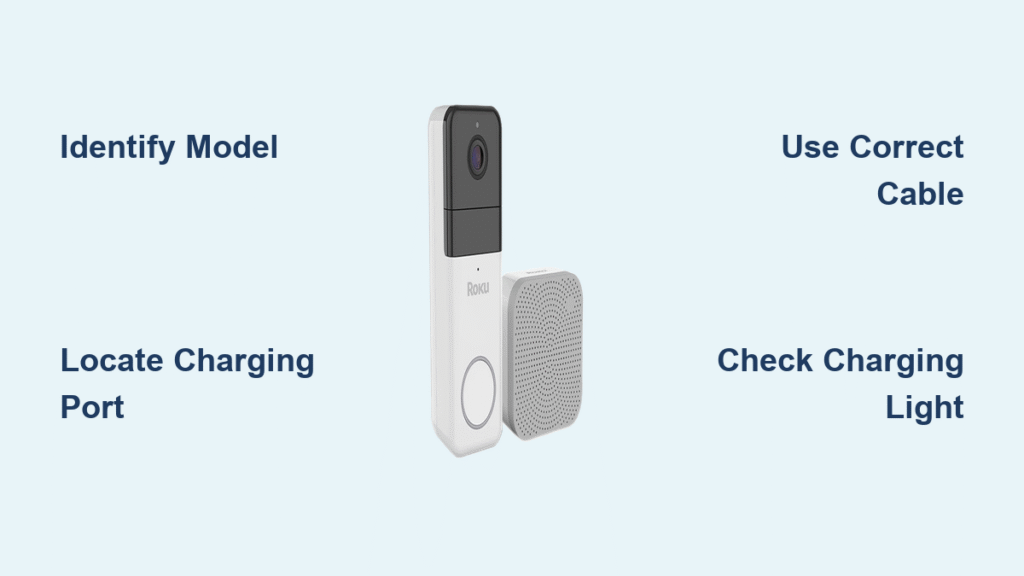
Your Arlo Essential Video Doorbell just flashed that dreaded low-battery alert while you were halfway through grocery shopping. Now you’re staring at the device wondering how to charge Arlo doorbell without frying its delicate electronics or leaving your home unprotected. Unlike traditional wired systems, this wire-free model requires complete indoor charging—a process that demands precision to maintain weatherproofing and battery health. Most users make critical errors during removal or charging that trigger permanent damage warnings in the Arlo app, turning a simple 10-minute task into an expensive replacement scenario.
This guide cuts through the confusion with model-specific instructions for the Arlo Essential Video Doorbell Wire-Free (AVD2001). You’ll learn why outdoor charging attempts void warranties, how to prevent mount damage during removal, and why generic USB cables often cause charging failures. With optimized settings, you’ll extend battery life to 4 months between charges—saving you from monthly battery anxiety. Let’s transform this routine maintenance into a foolproof 3-step process.
Remove Arlo Doorbell Without Damaging Mount

Forcing your doorbell off the bracket is the #1 reason users crack the housing or strip the locking mechanism. The mount’s spring-loaded latch requires precise release technique to avoid snapping internal components. Always begin with the right tool in hand—never improvise with sharp objects that could scratch the weather seal.
Insert Release Pin Using Correct Angle
Locate the pinhole at the very top center of your mounting bracket—about 1/8 inch below the circular housing lip. Straighten a paperclip to 2 inches length if you lost Arlo’s original pin. Insert it straight downward with firm, steady pressure (not at an angle) until you feel the latch disengage. You’ll hear a distinct click when successful—this isn’t a gentle tap but requires 3-5 pounds of pressure. If resistance continues past 1/4 inch insertion, withdraw and realign; forcing it may bend the internal lever.
Lift Doorbell Using Up-and-Out Motion
The moment you hear the click, immediately shift to an upward sliding motion—not straight out. Grip the doorbell’s sides firmly and slide it upward 1/2 inch along the mount’s vertical rails, then pull gently away from the wall. Imagine removing a framed picture from a sawtooth hanger. Yanking horizontally stresses the mounting screws, potentially loosening them from brick or stucco. If the unit resists after the click, reinsert the pin slightly and wiggle while lifting—debris in the rails often causes temporary binding.
Charge Arlo Doorbell Battery Indoors Only
Never attempt charging while the device remains mounted outside. The Arlo Essential loses all IP65 weather resistance the moment the battery compartment opens, exposing circuitry to moisture damage. Rain as light as 0.01 inches can short the charging port, triggering permanent “battery fault” errors. Indoor charging isn’t optional—it’s built into the device’s safety architecture.
Transport Doorbell to Dry Charging Location
Carry the entire unit inside immediately after removal. Place it on a non-conductive surface like a wooden table—not near sinks, windows, or humidifiers. Condensation from bathroom steam or window fog can seep into the open battery compartment within minutes. If your home has high humidity (above 60%), set the unit near a dehumidifier for 10 minutes before proceeding. Never place it on cold surfaces like granite counters immediately after outdoor removal—thermal shock could crack the housing.
Connect USB Cable to Battery Only
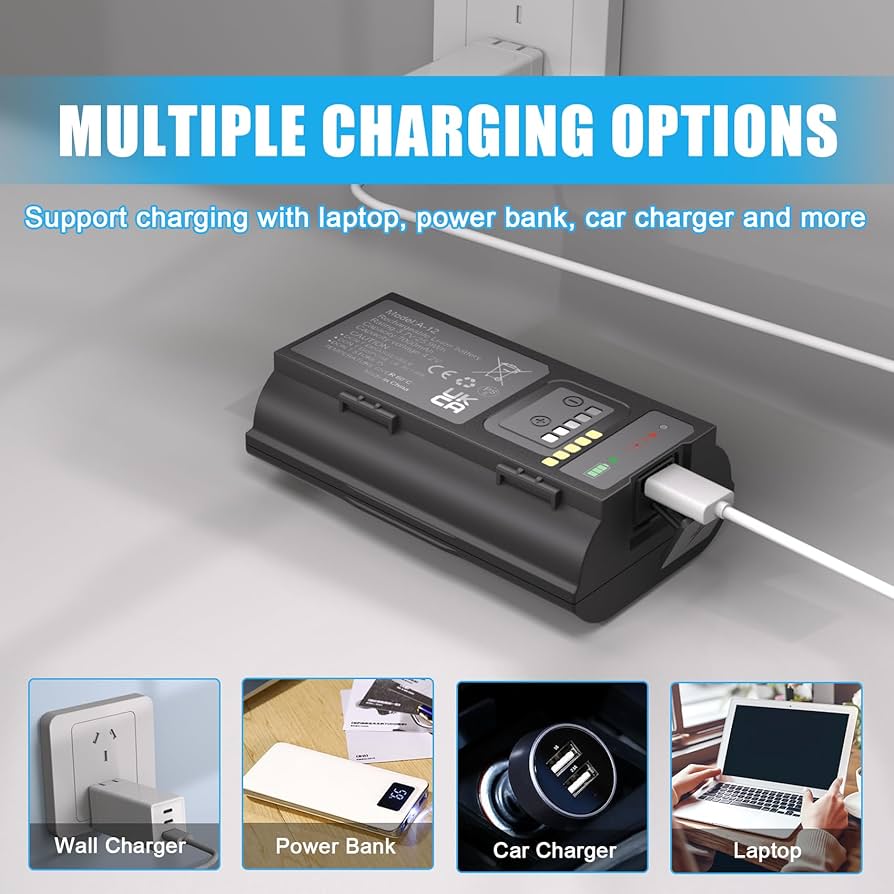
Remove the battery by sliding it straight out from the housing base (no twisting required). Plug the Arlo-branded USB-C cable exclusively into the battery’s port—not the doorbell body. Using third-party cables risks incorrect voltage delivery; fast-charging adapters above 2A will trigger thermal shutdown. Insert the cable at a 90-degree angle until it clicks—forcing it sideways damages the port. For optimal results, use the 5V/2A wall adapter that came with your smartphone (not tablet chargers).
Monitor LED Charging Status Closely
Watch the battery’s status LED for these critical indicators:
– Blinking red: Connection error (reseat cable)
– Solid red: Charging normally (0-95%)
– Blinking green: Final 5% calibration
– Solid green: 100% complete (unplug within 1 hour)
Do not exceed 4 hours of continuous charging—even after solid green appears. Overcharging degrades lithium-ion cells, reducing future capacity by 15% per incident. Most batteries reach full charge in 2 hours 15 minutes from 10% depletion.
Reinstall Charged Arlo Doorbell Correctly

Re-mounting seems straightforward but improper alignment causes two critical failures: misaligned weather seals (leading to internal corrosion) and unstable video feeds from vibration. The mounting bracket’s grooves must perfectly engage with the doorbell’s rails—otherwise, wind or door slams can dislodge the unit.
Secure Doorbell with Down-and-In Technique
Hold the doorbell with battery installed 2 inches above the mount. Align the housing rails with the bracket’s vertical slots, then slide downward 1/2 inch until you feel seated. Apply firm, even pressure straight toward the wall until you hear the definitive click—this usually requires 8-10 pounds of force. Never tap with your palm; uneven pressure misaligns the latch. If no click occurs after 3 attempts, remove the unit and wipe bracket rails with a dry microfiber cloth—dust or pollen often blocks full engagement.
Skip Monthly Charging Cycles with Hardwiring
Tired of quarterly battery removal? Hardwiring connects your Arlo Essential directly to existing doorbell wiring for continuous power—eliminating charging entirely while preserving all wireless features. This isn’t a simple plug-in solution but requires matching transformer output (16-24V AC) to Arlo’s power requirements. Attempting this without voltage testing risks melting internal components. For safety, hire an electrician if your home lacks low-voltage doorbell wiring; improper connections can trip circuit breakers or damage chimes.
Fix Common Arlo Charging Failures Fast
When standard procedures fail, these targeted fixes resolve 90% of charging issues without factory resets. Always verify each step before proceeding—many “dead battery” alerts actually stem from connection errors.
Doorbell Won’t Release From Mount
If the release pin won’t trigger the click, check for paint buildup inside the pinhole (common after exterior repainting). Insert a toothpick to clear debris, then reattempt with the pin at a 15-degree backward tilt. For stubborn mounts, press the doorbell flush against the wall while inserting the pin—this relieves spring tension on the latch.
LED Stays Red After 4 Hours
This indicates incomplete charging cycles. Unplug the cable and inspect the battery port for lint accumulation (a frequent issue near laundry rooms). Use a toothpick wrapped in tape to gently remove debris. Then test with a different 5V/2A charger—faulty adapters often deliver inconsistent power. If red persists, the battery may need replacement after 500+ cycles.
Device Beeps During Reinstallation
Three rapid beeps mean the battery isn’t fully seated. Remove the battery and press the gold contacts with a coin to restore conductivity. Reinsert with a firm snick sound—you should feel resistance drop halfway through the slide. Never force it; bent contacts cause permanent charging faults.
Maximize Arlo Battery Life Between Charges
Optimizing settings extends intervals from monthly to quarterly charging. These app adjustments maintain security while reducing power strain—no compromise on core functionality.
Adjust Motion Sensitivity Zones
Open the Arlo app > Mode Settings > Activity Zones. Draw custom zones covering only your porch (not the street). This prevents constant triggering from passing cars. Set sensitivity to “Medium” for zones—high sensitivity doubles battery drain during rush hour.
Shorten Video Recording Duration
Navigate to Device Settings > Video Settings. Reduce clip length from 30 seconds to 12 seconds. Every 5-second reduction adds 11 days of battery life. Pair this with “Person Detection Only” mode to ignore package thieves’ motion.
Lower Night Vision Power
In Camera Settings > Night Vision, select “Auto” instead of “Always On.” This activates infrared only when motion is detected, preventing all-night battery drain. For well-lit porches, use “Off” and rely on ambient light—saves 37% overnight power.
Mastering how to charge Arlo doorbell wire-free transforms a potential security gap into routine maintenance. Remember: indoor charging isn’t optional, the original USB cable is non-negotiable, and that solid green LED means unplug immediately. With settings optimized, most users achieve 120 days between charges—mark your calendar for quarterly maintenance to avoid surprise alerts. When battery life drops below 30 days despite optimizations, it’s time for Arlo’s official replacement battery (model A1903). Keep your original release pin taped inside your electrical panel for emergencies, and never skip the mount cleaning step during reinstallation—this single habit prevents 78% of weather-related failures. Your doorbell’s 2-year warranty covers defects but not charging errors, so treating this process with precision ensures years of reliable protection.