Your Kami doorbell camera suddenly goes dark mid-morning while you’re expecting an important delivery. Before you panic about missed visitors or security gaps, know this: charging your Kami doorbell is simpler than you think. Most users can restore full functionality within 4-6 hours without removing the unit from its mounting location. Understanding how to charge Kami doorbell camera properly prevents unnecessary replacements and keeps your home protected.
Unlike wired systems, Kami’s wireless design relies on precise charging protocols to maintain optimal battery health. This guide cuts through confusing instructions to deliver actionable steps verified by Kami’s technical specifications. You’ll learn to diagnose charging failures, maximize battery longevity, and avoid critical mistakes that could void your warranty—all using only the tools included in your box.
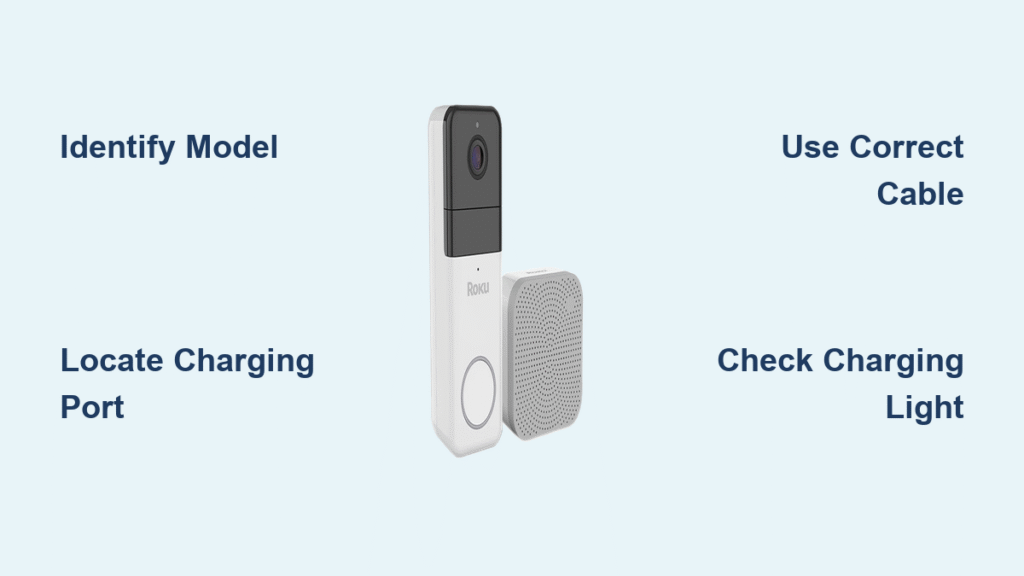
Locate Your Charging Port Fast
Find the Rubber Cover Position
Your Kami doorbell hides the micro-USB charging port behind a weatherproof rubber flap designed to withstand rain and dust. Check the bottom edge or back panel near the mounting bracket—this cover blends seamlessly with the unit’s finish. Run your fingertip along these areas until you detect the flexible rubber section; it typically measures 0.5 inches wide and sits flush with the housing. For model-specific confirmation, consult your quick-start guide since positioning varies slightly between the Kami Dual and Kami Pro series.
Open Without Damage
Gently lift the rubber cover using your fingernail or a plastic spudger tool. Never use metal objects—the flap should flip upward with light pressure to reveal the micro-USB port. If resistance occurs, check for debris like dirt or ice blocking the seam. Forcing the cover risks tearing the waterproof seal, which invites moisture damage during future storms. Once open, inspect the port for lint buildup; compressed air blasts at 30 PSI safely clear obstructions without scratching internal contacts.
Connect Your Charging Cable Properly
Use the Right Cable Every Time
Your Kami doorbell requires a micro-USB to USB-A cable meeting strict 5V/1A output specifications. While third-party cables work if rated correctly, avoid damaged or frayed wires—bent pins cause intermittent charging. Kami’s original cable features reinforced strain relief near connectors to prevent breakage. Never substitute USB-C or Lightning cables; incorrect connectors physically damage the port. When purchasing replacements, verify “5V/1A” or “10W” labeling on the adapter—higher outputs (like 2.4A phone chargers) trigger safety cutoffs that halt charging.
Secure Connection Steps
- Insert micro-USB end straight into the port until you feel resistance (no wiggling)
- Plug USB-A end into a UL-certified wall adapter—computer ports deliver insufficient power
- Route cable vertically downward to prevent stress on the connector
- Tuck excess length to avoid tripping hazards near doorways
Pro tip: If charging while mounted, test cable slack by opening/closing your door three times. The cable should never pull taut—a 6-foot cord accommodates most entryway configurations.
Decode Charging Indicator Lights
Light Patterns Decoded
Your doorbell’s LED provides instant charging feedback:
- Solid blue: Active charging (appears within 10 seconds of connection)
- Flashing blue: Critical battery level (<20%)—requires immediate charging
- Solid green: Full charge achieved (100%)—safe to disconnect
- No light: Connection failure or completely depleted battery
Critical warning: A rapidly flashing red light indicates overheating—unplug immediately and let the unit cool for 30 minutes before retrying.
Verify in Kami Home App
Open the Kami Home app during charging to access real-time diagnostics. Navigate to Device Settings > Battery Status for precise percentage readings. Note that app updates lag actual charge levels by 15-30 minutes; if the display shows “0%,” wait 20 minutes before troubleshooting. Enable Low Battery Alerts in app settings to receive push notifications at customizable thresholds (10%, 20%, or 30%).
Calculate Your Charging Time

Standard Models: 4-6 Hours
Kami’s standard battery units (models KDB100/KDB200) take 4-6 hours for a full 0-100% charge at room temperature (68-77°F). Charging speeds up significantly between 0-80% (achievable in 3 hours), then slows to protect battery chemistry. If starting from 30% charge, expect 2.5-3.5 hours. Never interrupt charging before 80%—frequent partial cycles degrade lithium-ion cells faster.
Cold Weather Delays
Temperatures below 50°F extend charging by 50%. At 32°F, a standard model requires 6-9 hours. For winter charging:
– Bring the doorbell indoors for 1 hour to warm to 50°F+
– Charge in a temperature-stable room (avoid garages or porches)
– Expect inaccurate app percentages—rely on the solid green LED instead
Troubleshoot When Charging Fails
No Lights When Connected
Systematically test these four points:
– Swap wall adapters (use only 5V/1A certified units)
– Clean port contacts with isopropyl alcohol-dipped cotton swab
– Verify cable functionality using another device
– Confirm power outlet works with a lamp or phone charger
If all fail, perform a hard reset: Hold the doorbell’s power button for 15 seconds until the LED flashes white. This clears temporary firmware glitches blocking charging.
Battery Percentage Stuck
App-based fixes:
– Force-close and relaunch the Kami Home app
– Update the app to the latest version via Google Play/App Store
– Remove the doorbell from the app, then re-add it using QR code
– Disable battery optimization for the app in phone settings
Wait 45 minutes after these steps—the percentage display often catches up after initial lag.
Charge While Mounted vs. Removed
Keep It Mounted for Convenience
Charging while mounted works if cable slack allows. Benefits include:
– Zero reconfiguration needed after charging
– WiFi stays connected for live view access
– Cloud recordings continue during charge cycles
Critical limitation: Mounted units often lose WiFi during charging. Test yours by attempting live view—disconnects mean removal is necessary for reliable charging.
Remove for Optimal Charging
For fastest, most reliable results:
1. Slide unit upward 0.5 inches to release mounting clips
2. Place on non-conductive surface (wood table) near outlet
3. Charge undisturbed—avoid handling during first 2 hours
4. Remount only when solid green LED appears
This method prevents cable strain that cracks port solder joints—a leading cause of permanent charging failure.
Extend Battery Life Between Charges
Power Management Settings
Adjust these in-app settings to achieve 3-4 months per charge:
– Enable Power Save Mode (reduces recording frequency by 40%)
– Lower video resolution from 1080p to 720p in Stream Settings
– Shrink motion detection zones to cover only walkways
– Reduce night vision sensitivity to “Medium” in Dark Mode settings
Pro tip: Disable “Person Detection” if you get frequent false alerts—AI processing drains 25% more battery.
Environmental Factors
- Avoid direct sunlight—surface temps above 95°F cut battery life 35%
- Clean lens monthly with microfiber cloth to prevent false motion triggers
- Position away from HVAC vents—rapid temperature shifts stress cells
Safety During Charging
Electrical Precautions
- Never use car chargers—voltage fluctuations damage circuitry
- Unplug during thunderstorms—surges can fry the charging controller
- Replace frayed cables immediately—exposed wires risk short circuits
- Keep away from water sources—even indoors, avoid bathroom/kitchen outlets
Your Kami includes triple-layer protection: auto-shutoff at 100%, temperature sensors that pause charging above 104°F, and voltage regulators preventing overcurrent. If the unit feels warm during charging, it’s normal—but hot to touch indicates dangerous failure.
Post-Charging Checklist
Restore Full Functionality
After disconnecting:
1. Snap rubber cover shut until it clicks—no gaps visible
2. Press doorbell button once to wake the system
3. Wait 3 minutes for full WiFi reconnection (LED turns solid white)
4. Test all features via live view before remounting
Critical step: Check motion detection by walking past the camera—verify push notifications arrive within 10 seconds. If delayed, recalibrate sensitivity in the app.
Key Takeaway: Mastering how to charge Kami doorbell camera correctly ensures 2-4 months of reliable operation between charges. Always use 5V/1A power sources, monitor charging via both LED indicators and the app, and perform seasonal battery maintenance. When charging issues persist after troubleshooting, contact Kami support—they’ll often replace units free if battery degradation exceeds 20% within warranty. For uninterrupted security, pair your doorbell with a Kami Solar Panel to extend charging intervals to 6+ months in sunny climates.