
That sinking feeling when you push your bedroom door handle down only to have it hang limply instead of springing back—it’s maddening. You’re left wrestling with a floppy door handle that makes even the simplest task feel broken. This common interior door nuisance almost always traces back to one culprit: a worn-out internal torsion spring. Don’t resign yourself to jiggling handles or awkward elbow maneuvers. This guide delivers exactly how to fix floppy door handle issues permanently, whether you’re replacing a $5 spring or installing a new handle set. You’ll diagnose the problem in minutes, avoid costly professional fees, and restore that crisp, satisfying click you didn’t realize you missed.
Why Your Interior Door Handle Won’t Spring Back (3-Step Diagnosis)
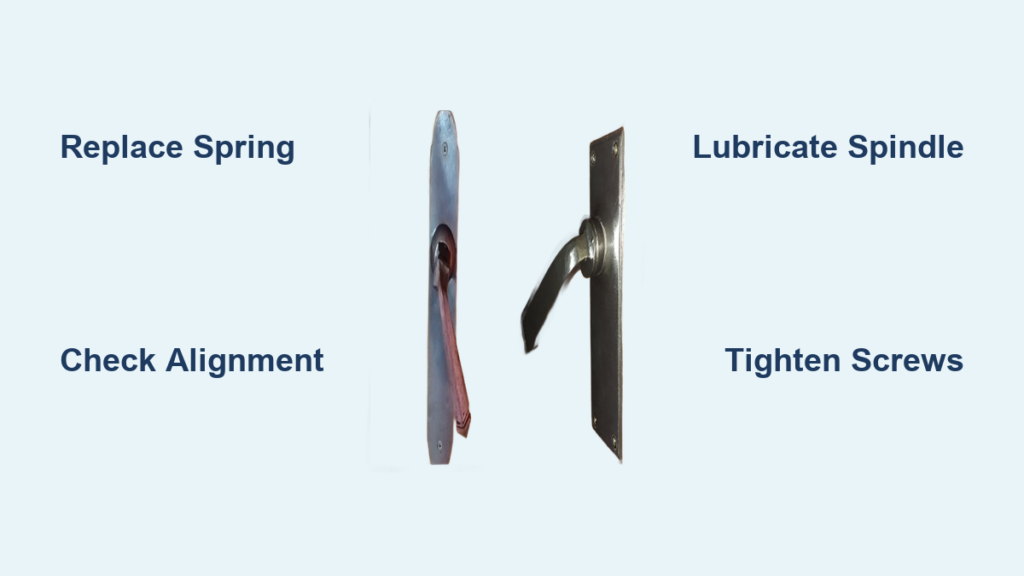
Before grabbing tools, pinpoint why your handle sags. Misdiagnosis wastes time and risks damaging the latch mechanism. Start by observing the handle’s natural resting position—does it droop below horizontal even when untouched? Next, operate the handle while watching the metal latch bolt in the door edge. If the latch retracts smoothly when you press the handle down but the handle itself stays depressed, the problem lives entirely within the handle assembly. This confirms the return spring has failed, not the latch mechanism. Finally, test for play: wiggle the handle side-to-side. Excessive movement indicates worn pivot points compounding the spring issue.
How to Spot a Broken Spring Without Disassembly
Listen for telltale clues during operation. A healthy handle emits a subtle snick as it returns. If you hear only silence or a dull thud, the spring is likely snapped or completely unwound. Visually inspect for the most common failure point: the square spindle where the handle attaches. If the spindle rotates freely when you move the handle (instead of turning the latch), the internal spring has lost tension. This quick test takes 30 seconds but prevents unnecessary disassembly.
When the Problem Isn’t the Spring
Don’t assume every floppy handle needs spring work. If the handle feels stiff before sagging, check the latch mechanism alignment. A misaligned strike plate can bind the latch bolt, mimicking spring failure. Close the door slowly while watching the latch enter the strike plate. If it scrapes or jams, adjust the plate position before touching the handle. Similarly, if the handle feels gritty or sticky, dried lubricant—not spring failure—is likely the villain.
Must-Have Tools for Floppy Handle Repair: Skip #3 at Your Peril

Gather these essentials before starting to avoid mid-repair frustration. You’ll need a Phillips #2 screwdriver for faceplate screws, a 3/32″ or 1/8″ Allen wrench for hidden set screws (common on modern handles), and needle-nose pliers with fine tips for spring handling. Crucially, include safety glasses—torsion springs can fly when released under tension. A small magnetic dish prevents screws from vanishing into carpet. For spring replacement specifically, carry the old spring to a hardware store; match wire diameter (typically 0.8-1.2mm) and outer diameter (8-12mm) precisely. Skipping eye protection risks serious injury when releasing spring tension.
Why a Flathead Screwdriver Is Non-Negotiable
That tiny decorative cap hiding your set screw won’t budge with pliers alone. Slide a thin flathead screwdriver under the cap’s edge (often on the handle’s underside) and gently pry upward. For stubborn caps, wrap the screwdriver tip in tape to avoid marring the finish. Never use knives or improvised tools—this damages caps, making future repairs harder. Replacement caps cost pennies, but mismatched hardware ruins your door’s aesthetics.
Step-by-Step Spring Replacement: Fix Floppy Door Handle for $5
This method works 80% of the time when the handle casing remains intact. First, remove the handle by loosening the set screw. Most caps snap off cleanly with upward pressure, revealing a hex socket. Insert your Allen wrench and turn counterclockwise until the handle slides free from the square spindle. Some handles require removing faceplate screws first—check both sides. Once detached, place the handle mechanism on a towel to prevent spring parts from launching across the room.
How to Remove the Broken Spring Safely
With the handle disassembled, locate the spiral torsion spring coiled around the spindle post. Wear safety glasses immediately—this spring stores serious energy. Using needle-nose pliers, grip the spring’s free end and rotate it away from its winding direction to release tension. Note which notch holds each spring end; take a photo before removal. If the spring is broken, unwind it carefully by hand. Measure the old spring’s wire thickness and coil diameter—these specs are critical for matching replacements at hardware stores.
Installing the New Spring: Orientation Is Everything
Slip the new spring onto the spindle post, mirroring the old spring’s orientation exactly. One end hooks into the handle housing notch; the other anchors to the spindle. The spring must sit flush against both contact points—no gaps. Test tension by rotating the spindle: it should resist movement and snap back when released. If it feels loose, the spring is too large; if it binds, it’s too small. Reassemble components in reverse order, ensuring the spindle aligns with the spring’s anchor point before sliding the handle back on.
Full Handle Replacement: When Spring Repair Isn’t Enough
Choose this route if the handle wobbles excessively, shows visible cracks, or has corroded internals. First, select replacement hardware labeled “non-locking interior” or “return-to-horizontal”—these include pre-installed springs. Measure your existing backset (distance from door edge to spindle center; usually 2 3/8″ or 2 3/4″) and cross-bore diameter (typically 2 1/8”). Budget $25-$75 for standard lever sets at Home Depot or Lowe’s. Avoid cheap knobs; levers provide better mechanical advantage for spring return.
Avoiding the #1 Installation Mistake
Most DIYers misorient the handle during reassembly, causing improper spring action. With the new handle off the spindle, rotate it to the “up” position. Look for a tiny “UP” stamp or directional arrow on the base plate—this must face upward when installed. Test the mechanism before mounting: the handle should spring back crisply when depressed. If it doesn’t, rotate the entire assembly 180 degrees. Reinstall the spindle, latch plate, and faceplates, tightening screws gradually in a star pattern to prevent warping.
Temporary Fixes That Actually Work (Until You Buy Parts)
Need immediate relief before heading to the hardware store? Slide a 1/8″ rubber washer between the handle base and door face. This creates friction that mimics spring tension—crude but functional for days. For sagging handles, wrap the square spindle with 2-3 layers of electrical tape before reinstalling the handle. The added thickness increases grip on the spindle, reducing play. Warning: These are emergency patches only. Tape residue attracts dust, accelerating wear, and washers can slip, causing sudden failure.
Why Annual Lubrication Prevents 90% of Floppy Handle Returns

Skip this step, and your repair won’t last. Every 12 months, apply one drop of silicone-based lubricant (not WD-40—it attracts grime) to the spindle where it enters the handle base. Work the handle 10 times to distribute the oil. Every 2 years, remove the handle to clean built-up dust from the spring housing with compressed air. Crucially, check set screw tightness—loose screws are the top cause of premature spring failure. A 60-second maintenance session saves future repair headaches.
When to Call a Pro: Cost vs. Complexity Breakdown
For antique brass handles or designer hardware, professional help makes sense. Specialty stores like Emtek can source exact spring replacements ($15-$30) when big-box stores fail. If the latch mechanism itself is damaged (indicated by grinding noises or incomplete bolt retraction), expect $150-$400 for pro replacement. But for standard interior doors? Save $100+ by doing it yourself. Only call a locksmith if you’ve stripped set screws or damaged spindle holes—this requires drilling and bushing repairs beyond basic DIY.
Stop tolerating that limp, unresponsive handle. By replacing a $5 spring or installing a new handle set, you’ll restore smooth operation in under an hour. Remember: the spring’s orientation dictates success, annual silicone lube prevents recurrence, and proper handle alignment is non-negotiable. Within minutes of completing this fix, you’ll hear that crisp snick signaling your door works like new—no more wrestling with floppy hardware. Grab your Allen wrench and tackle this tonight; your future self will thank you every time you effortlessly glide through that door.
Pro Tip: Keep spare springs (0.8mm and 1.0mm wire) in your toolkit. They cost pennies at hardware stores and solve future floppy handle emergencies in minutes.


