
That annoying slam of your screen door when a breeze catches it, or the frustration of your door refusing to stay open while you carry groceries inside—these daily irritations almost always trace back to a faulty screen door stopper. When your screen door stopper fails, it doesn’t just create noise and inconvenience; it can lead to damaged hinges, broken glass, and even allow pests to enter your home. The good news is that 90% of screen door stopper problems can be fixed in under 30 minutes with basic tools you probably already own. This comprehensive guide shows you exactly how to fix screen door stopper issues regardless of your door type, from common floor-mounted stops to integrated closer mechanisms, so you can eliminate slamming doors and enjoy smooth operation all season long.
Most homeowners don’t realize there are actually three distinct components that control how your screen door operates: the physical stopper that prevents over-swinging, the door closer that regulates speed, and the weatherstripping that creates the seal. When any one of these fails, your entire door system suffers. Whether you have a standard aluminum screen door, a heavy-duty storm door, or a vintage wooden porch door, the repair principles remain the same. By the end of this guide, you’ll know precisely how to diagnose your specific stopper problem and implement the correct fix—no professional help required.
Why Your Screen Door Stopper Fails and How to Identify the Issue
Screen door stoppers fail for three primary reasons: mechanical wear, improper installation, or environmental damage. The first step in your repair process is pinpointing exactly which component has failed. Stand inside your home and operate your screen door through its full range of motion, watching carefully for where the problem occurs. Does the door slam shut violently? This typically indicates a failing door closer mechanism. Does the door refuse to stay open when positioned at 90 degrees? Your floor stopper is likely loose or broken. If the door latches properly but still allows drafts, your perimeter seal has probably deteriorated.
Common Screen Door Stopper Types and Their Failure Patterns
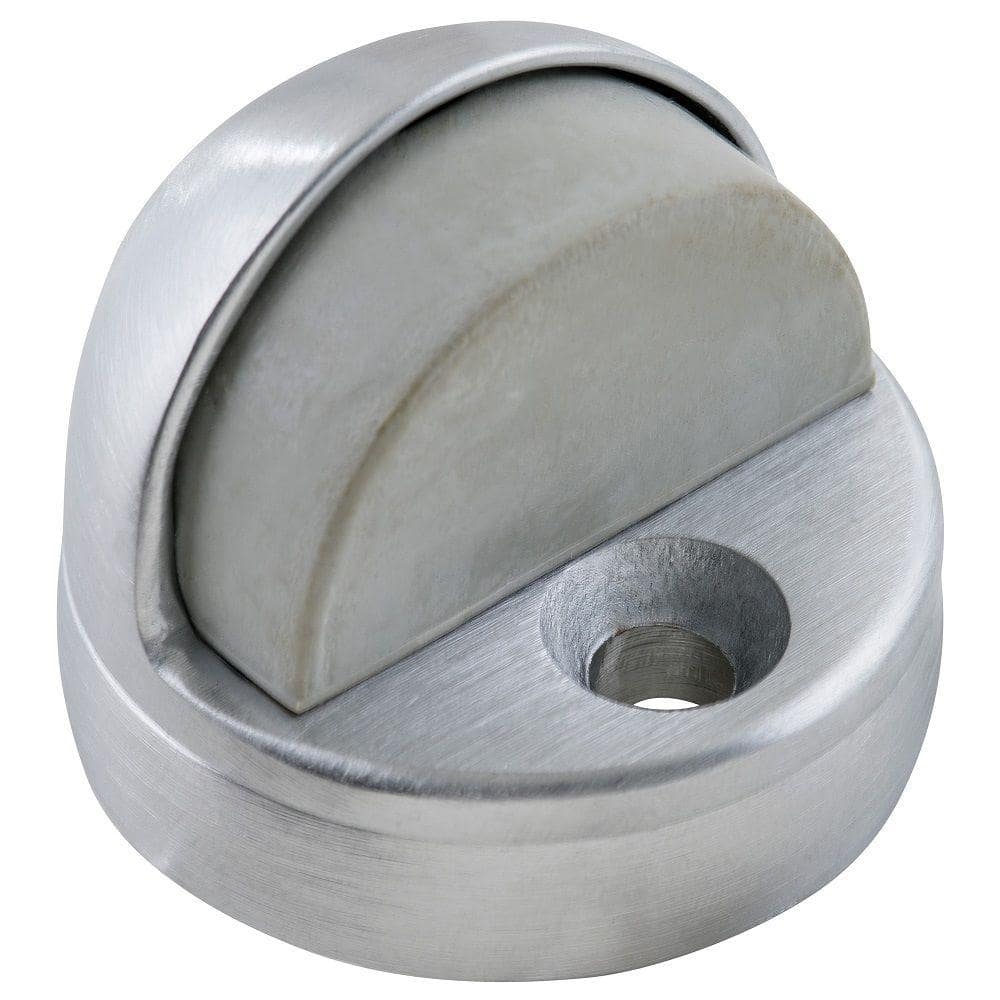
Homeowners encounter three main stopper configurations on modern screen doors. Floor-mounted stops—those small brass or plastic buttons screwed into your threshold—typically fail when the mounting screws loosen in their holes, causing the stopper to wobble or detach completely. Door closer arms with built-in stops develop problems when the hydraulic fluid leaks or the adjustment screws become clogged with dirt. Perimeter seals, the rubber gaskets around your door frame, harden and crack over time from UV exposure, losing their ability to create a proper seal. Identifying your specific stopper type saves hours of unnecessary troubleshooting.
Visual Inspection Checklist for Faulty Door Stoppers
Grab a flashlight and conduct a thorough inspection before grabbing your tools. First, check for stripped screw holes around your floor stopper—run your finger along the mounting surface to feel for looseness. Next, examine the door closer arm for oil streaks, which indicate hydraulic fluid leakage. Finally, inspect the entire perimeter seal for cracks, especially at the corners where stress concentrates. Pay special attention to the bottom rail of the door frame, as this area collects the most dirt and moisture. If you notice your door scraping against the stopper instead of making gentle contact, your door has likely shifted on its hinges and needs realignment before stopper repair.
Required Tools for Screen Door Stopper Repair

Essential Toolkit for Basic Stopper Fixes
You’ll need just six basic tools for most screen door stopper repairs: a Phillips #2 screwdriver, a 1/4-inch hex key (for many modern door closers), a rubber mallet, a tape measure, a pencil for marking, and medium-grit sandpaper. Keep a small container of #8 x 1-inch self-tapping screws on hand—they’re the perfect size for most screen door hardware. For concrete thresholds, add a masonry drill bit and concrete anchors to your kit. Having these tools ready prevents mid-repair frustration when you discover your standard screws won’t bite into concrete.
Specialized Equipment for Advanced Repairs
When facing more complex stopper issues, these additional tools make the job significantly easier. A door puller tool ($15 at hardware stores) safely removes stubborn perimeter seals without damaging the channel. For hydraulic door closer adjustments, a precision screwdriver set prevents stripping the tiny adjustment screws. If you’re working with warped wooden doors, a door shimming kit helps realign the entire assembly. Most importantly, keep a tube of silicone-based lubricant in your toolkit—never use WD-40 on door hardware as it attracts dust and degrades rubber components over time.
Fixing a Wobbly Floor Stopper on Concrete Thresholds
Step-by-Step Repair for Loose Concrete-Mounted Stoppers
Concrete thresholds present unique challenges when fixing loose floor stoppers. Start by removing the stopper’s mounting screws completely. Clean out the old screw holes thoroughly using a wire brush to remove concrete dust. For stripped holes, drill new pilot holes 1/2 inch away from the original locations using a 3/16-inch masonry bit. Insert plastic concrete anchors and allow them to set for 15 minutes before reattaching the stopper. Position the stopper so the door makes contact when opened to 90 degrees—use a carpenter’s square to verify the angle. Tighten screws gradually in a crisscross pattern to prevent cracking the concrete.
Pro Tip: Creating Custom Stopper Height Adjustments
If your door still slams after stopper installation, you likely need height adjustment. For concrete thresholds, mix a small batch of quick-set concrete patch and apply it beneath the stopper base before reinstallation. Allow it to cure for 24 hours, then test the door operation. The ideal contact point creates gentle resistance without bouncing—the door should stop smoothly within 2 inches of the stopper. For wooden thresholds, sand down high spots on the stopper base rather than modifying the threshold itself to maintain structural integrity.
Adjusting Hydraulic Door Closers to Prevent Slamming
Precise Speed Control Using Adjustment Screws
Most hydraulic door closers feature two critical adjustment valves: one controlling sweep speed (the main closing motion) and another regulating latch speed (the final 10 degrees of closure). Using a 1/8-inch hex key, turn the sweep speed valve clockwise in quarter-turn increments to slow the door’s movement. Test after each adjustment—ideal sweep speed allows the door to close completely in 5-7 seconds from fully open. Adjust the latch speed separately to ensure positive latching without slamming. Never turn valves more than 1.5 full rotations from factory settings to avoid damaging the hydraulic mechanism.
Emergency Fix for Leaking Door Closers
If you notice oily residue on your door closer body, the hydraulic fluid has breached its seals. While replacement is ultimately necessary, you can temporarily restore function by tightening the filler plug (usually on the end opposite the arm) with a 7/16-inch wrench. Apply gentle pressure—over-tightening cracks the housing. For immediate relief, wrap several layers of electrical tape around the leak point to maintain internal pressure. This emergency fix typically lasts 2-3 weeks, giving you time to order the correct replacement model. Always note the manufacturer’s name and model number from the existing closer before purchasing replacements.
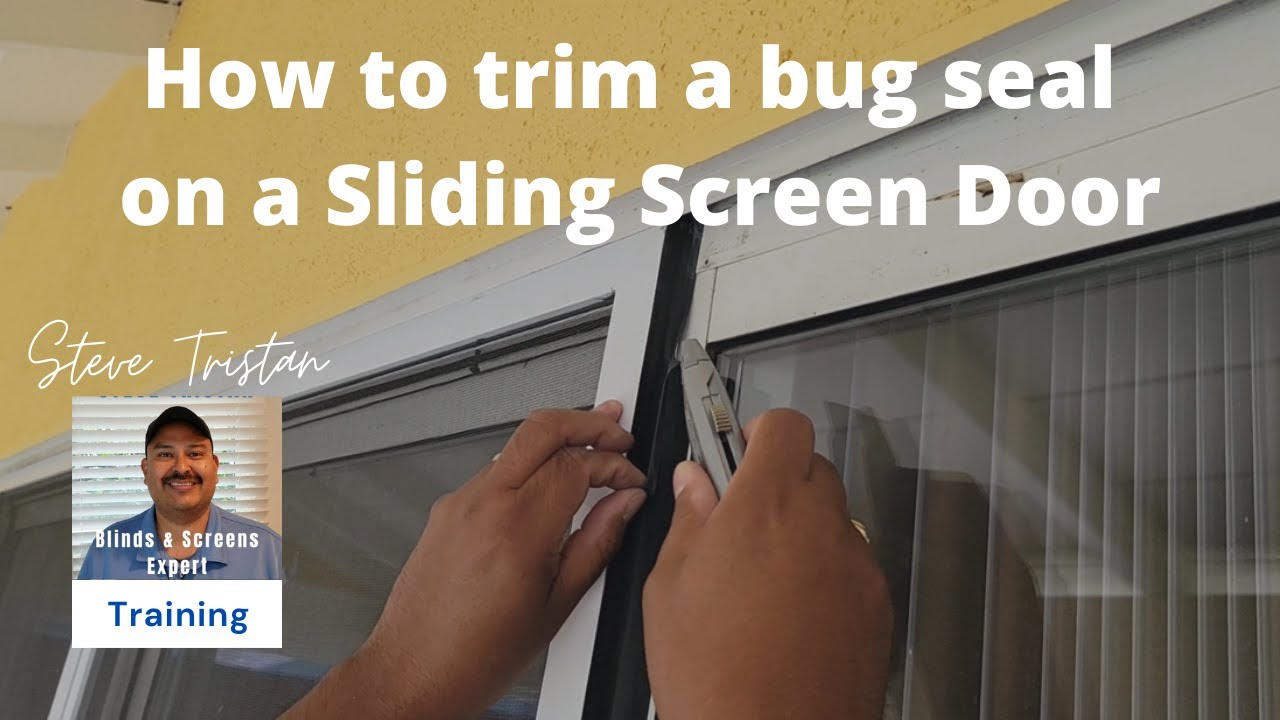
Replacing Damaged Perimeter Seals on Screen Doors
Complete Seal Replacement Process for Draft Prevention
When perimeter seals fail, your door won’t create a proper seal against the stopper. Start by removing the old seal—most snap into an aluminum channel along the door frame. Use needle-nose pliers to pull out stubborn sections, being careful not to bend the channel. Clean the channel thoroughly with isopropyl alcohol to remove old adhesive residue. Measure your door’s perimeter precisely, adding 1/8 inch to each section for compression fit. Insert the new bulb seal by pressing firmly along its entire length, starting at the top center and working toward the hinges. Test the seal by closing the door on a dollar bill—if you can pull it out easily, the seal needs adjustment.
Choosing the Right Replacement Seal Material
Not all perimeter seals work equally well. For most screen doors, 5/8-inch diameter EPDM rubber seals provide the best balance of durability and compression. Avoid cheap vinyl seals that harden quickly in sunlight. In high-wind areas, select seals with dual-durometer construction—softer rubber on the contact side with firmer backing for stability. If your door has a built-in brush seal along the bottom, replace it with a pile weatherstrip that maintains contact while allowing smooth operation over uneven thresholds. Always purchase 10% extra seal material to account for measurement errors and future repairs.
Preventing Future Screen Door Stopper Problems
Monthly Maintenance Routine for Smooth Operation
Extend your stopper’s lifespan with this simple monthly routine. First, wipe all hardware with a damp cloth to remove pollen and dirt buildup. Apply a pea-sized drop of silicone lubricant to pivot points on the door closer arm and floor stopper mechanism—never lubricate the actual stopper contact surface as this reduces friction needed for proper stopping. Check screw tightness on all mounting hardware, but avoid overtightening which strips threads. Finally, operate the door through its full range of motion 5-10 times to work the lubricant into all moving parts. This 3-minute routine prevents 80% of common stopper failures.
Seasonal Adjustments for Changing Weather Conditions
Screen door hardware reacts significantly to temperature fluctuations. In spring and summer, heat causes metal components to expand, often requiring slight loosening of adjustment screws. During fall and winter, colder temperatures contract materials, necessitating tighter adjustments to maintain proper stopping action. Before each seasonal transition, perform a complete stopper system check. Pay special attention to perimeter seals in winter—they become brittle when cold and may need replacement if they’ve hardened significantly. In humid climates, clean the door track monthly with a toothbrush to prevent moisture-related corrosion of metal stoppers.
With these proven repair techniques, you’ve gained the knowledge to fix any screen door stopper issue yourself. Remember that most problems stem from simple wear rather than catastrophic failure, making timely maintenance your best defense against future repairs. By implementing these solutions, you’ll eliminate annoying door slams, prevent costly damage to your door hardware, and enjoy smooth, reliable operation throughout the seasons. The small investment of time required for these repairs pays dividends in daily convenience and extends your screen door’s lifespan by years—keeping bugs out and fresh air flowing through your home all summer long.


