
Your spring door stopper won’t hold the door open, that annoying thud echoes through your hallway every time the draft catches it, and now the bent metal protrudes like a sore thumb against your baseboard. Before you toss it and buy a replacement, know this: 90% of spring door stopper failures can be fixed in under 15 minutes with basic tools you likely own. Most homeowners waste $4-$8 replacing these simple devices when a quick repair could solve the problem. This guide reveals exactly how to fix a spring door stopper—whether it’s slightly bent, severely kinked, or has worn rubber tips—using proven techniques from hardware experts and DIY communities. You’ll learn when straightening works, when trimming damaged coils saves the day, and crucially, when replacement is smarter than repair.
A bent spring door stopper isn’t just ugly; it’s a safety hazard. That warped metal can snag clothing or cause doors to swing unpredictably, especially in homes with kids or pets. The good news? These repairs require no specialized skills—just pliers, a Dremel (or even strong tin snips), and 10 minutes of your time. By the end of this guide, you’ll confidently diagnose the exact failure point, execute the right repair, and prevent future damage. Let’s turn that wobbly, ineffective doorstop into a reliable fixture again.
Why Your Spring Door Stopper Won’t Hold the Door
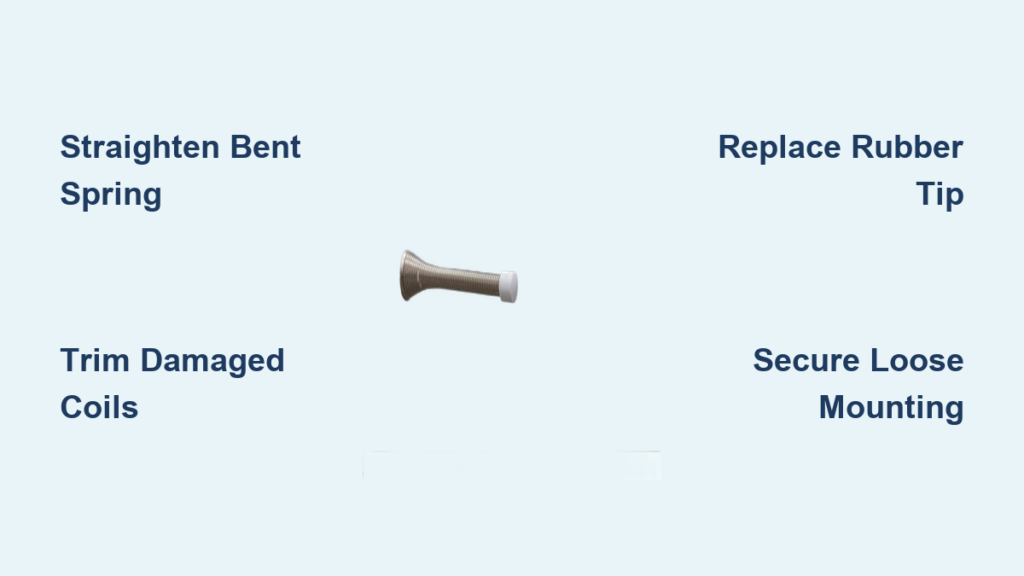
Most spring door stopper failures stem from three specific issues: permanent spring deformation, worn rubber tips, or loose mounting. Ignoring these leads to repeated door-slamming and potential wall damage.
How to Spot a Permanently Bent Spring
Examine the coiled spring closely. If you see gaps between coils, kinks, or sections where the metal curves sharply outward (not the smooth spiral it should be), the spring is deformed. Press the plunger tip inward—if it doesn’t spring back firmly or feels “mushy,” the metal has lost tension. Critical warning: Forcing a severely bent spring often distorts adjacent coils, making the problem worse.
Rubber Tip Wear vs. Mounting Failure
Check the rubber tip for cracks, flattening, or complete detachment—this reduces grip on the door. Simultaneously, test mounting stability: wiggle the base. If it shifts or pulls away from the wall/floor, longer screws or drywall anchors are needed. Many homeowners mistake mounting failure for spring issues, leading to unnecessary disassembly.
Essential Tools for Spring Door Stopper Repair
Gather these before starting—most are common household items:
- Pliers: Needle-nose for precision bending; locking pliers (Vise-Grips) for stubborn coils
- Cutting tool: Dremel with metal-cutting wheel or heavy-duty tin snips (standard scissors won’t cut hardened steel)
- Heat source: Propane torch (low setting) or heat gun for reshaping severely bent springs
- Replacement parts: Rubber tips ($1/pack at hardware stores); #8 x 1.5″ screws for loose mounting
Pro Tip: Skip the trip to the store—Home Depot and Lowe’s won’t cut springs for you. As DIYers confirm, “Snip snip” requires your own tools since hardware staff avoid modifying pre-assembled units.
Straighten a Slightly Bent Spring Without Cutting
This method works when the spring has a gentle curve but maintains coil integrity. Never attempt this on kinked or gapped springs—it risks snapping the metal.
How to Bend the Spring Back Safely
- Remove the door stopper from the wall/floor using a screwdriver.
- Clamp the base in a vise or hold firmly on a workbench.
- Grip the bent section with needle-nose pliers and apply gradual, steady pressure toward the spring’s natural curve.
- Test tension every 5-10 seconds by pressing the plunger—stop when resistance feels even.
Critical Mistake: Rushing this causes “ripple distortion.” As one DIYer warns, “Manipulating one coil often warps neighboring sections, creating new weak points.” If you feel sudden resistance, stop and switch to trimming.
Repair a Severely Bent Spring by Trimming Damaged Coils
For springs with kinks, gaps, or multiple bends, cutting damaged coils restores function faster than straightening. Hardened steel won’t fray, making this surprisingly effective.
Step-by-Step Coil Trimming Process
- Identify the damaged section (usually the last 2-3 coils near the tip).
- Mark the cut point 1 coil above the visible kink using a permanent marker.
- Secure the door stopper in a vise. With your Dremel or tin snips, cut cleanly through the marked coil.
- Deburr sharp edges with sandpaper (a 10-second fix preventing cuts).
Time-Saving Shortcut: Cut only 1-2 coils max. Removing more weakens spring tension, causing failure within weeks. As verified by multiple users: “Trimming two coils fixed my bent stopper—it’s held strong for 8 months.” If tension feels weak after trimming, replacement is your next step.
Replace the Worn Rubber Tip on Your Door Stopper
A frayed rubber tip is the #1 reason door stoppers slip, even with a healthy spring. Replacement takes 60 seconds and costs pennies.
How to Swap Rubber Tips Without Tools
- Pull the old tip straight off the metal plunger—no tools needed (it’s a friction fit).
- Slide the new tip on, ensuring it sits flush against the spring base.
- Test grip by pressing against a door edge; it should resist sliding.
Expert Note: Standard tips fit 95% of models. If yours is oddly sized, bring the old tip to the hardware store—they’ll match it from bulk bins.
Fix Loose Mounting That Causes Door Stopper Failure
A wobbly base undermines even a perfect spring. This repair prevents recurring issues after spring fixes.
Secure Drywall or Weak Flooring Mounts
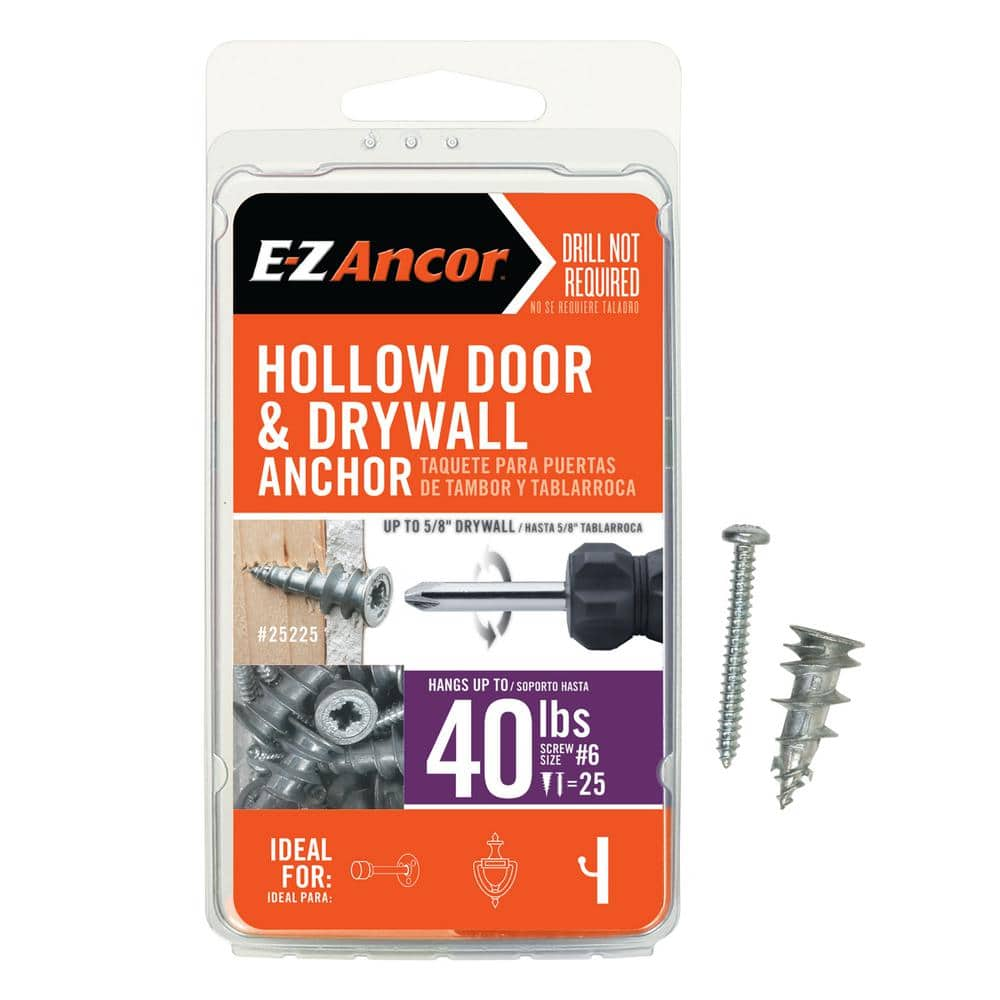
- For drywall: Use plastic wall anchors rated for 10+ lbs. Drill a pilot hole, tap in the anchor, then screw the stopper base tightly.
- For hollow-core doors/floors: Upgrade to #8 x 1.5″ screws (replaces typical 1″ screws). Pre-drill holes to avoid splitting.
- Pro Tip: Apply a dab of wood glue to screw threads before insertion for permanent hold in wooden surfaces.
When to Skip Repair and Buy a New Spring Door Stopper
Not every door stopper deserves repair. Replace it immediately if:
– The spring is shattered or has multiple kinks
– You’ve trimmed >2 coils and tension remains weak
– The base is cracked (common in plastic models)
Here’s the reality: New spring door stoppers cost $3-$5 at hardware stores. As one blunt DIYer states: “They’re $4 at Home Depot—why waste 20 minutes fixing something cheaper than your coffee?” Bulk packs (12 for $8 on Amazon) make replacement economical for whole-house updates.
Prevent Future Spring Door Stopper Damage With These Tips
Avoid repeat failures with these maintenance habits:
– Monthly check: Press the plunger 5x to test spring tension—weak resistance means imminent failure.
– Rust prevention: Wipe metal with a 50/50 vinegar-water mix quarterly if in humid areas.
– Door speed control: Install draft stoppers to prevent violent door swings that bend springs.
Critical Fix: Never slam doors against the stopper. The impact deforms springs 3x faster than normal use. Train household members to close doors gently.
Professional Help vs. DIY: Know When to Call a Pro
Call a handyman only if:
– The stopper is part of an integrated security system (e.g., commercial door closers)
– You’re repairing historic or custom door hardware (risk of devaluing antiques)
– Multiple stoppers fail simultaneously (indicates underlying door alignment issues)
For standard residential models? Skip the pro. As the consensus shows: “These are disposable-grade parts—not worth $75 service calls.”
Final Note: Fixing a spring door stopper is one of the simplest, most cost-effective home repairs you’ll tackle. By straightening minor bends, trimming damaged coils, or replacing worn tips, you’ll restore function in minutes for pennies—not dollars. Remember the golden rule: if cutting or bending doesn’t resolve the issue within 15 minutes, replace the unit. Those $4 stoppers exist for a reason. Implement the monthly tension checks outlined here, and you’ll avoid 90% of failures before they start. Now go silence that slamming door—you’ve earned the quiet.


