
Hanging curtains on sliding glass doors transforms both functionality and aesthetics of your living space, but presents unique challenges that standard windows don’t. Unlike regular windows, sliding doors require careful consideration of curtain movement, structural support for wide spans, and maintaining unobstructed door operation. When done correctly, your curtains will glide smoothly, provide excellent light control, and enhance your room’s design without interfering with the door’s operation. This guide walks you through every step of how to hang curtains on sliding glass door installations that work beautifully for years.
Most homeowners struggle with the center support bracket that blocks curtain movement or rods that sag under heavy fabric weight. Standard sliding glass doors typically measure 80″ x 74″, creating a wide span that demands specialized hardware solutions. Without proper planning, you’ll end up with curtains that won’t fully open, rods that bend under pressure, or hardware that pulls out of drywall. By following these precise steps, you’ll avoid common pitfalls and achieve professional-looking results.
Measure Twice, Hang Once: Precision Planning for Sliding Door Curtains
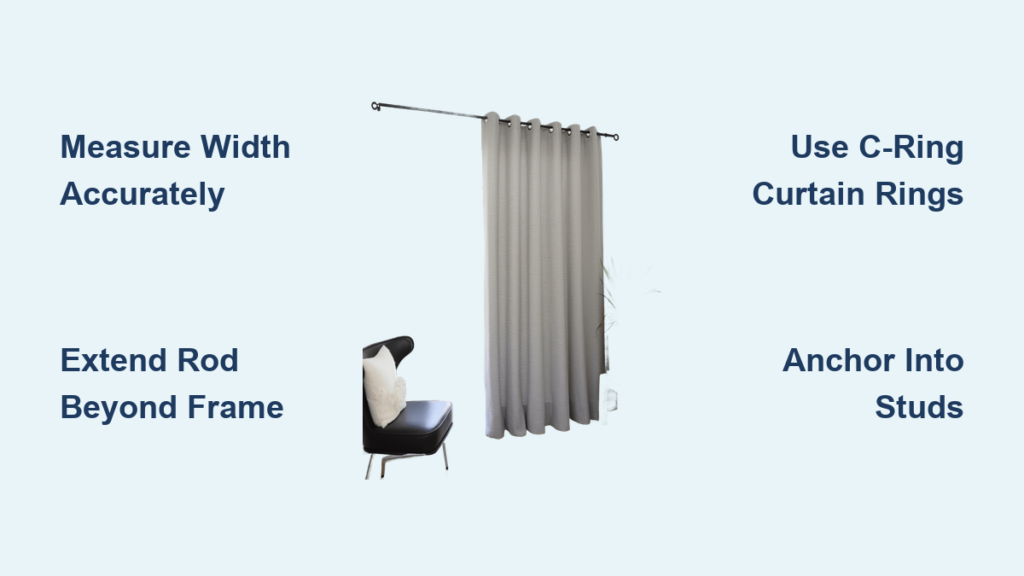
Accurate measurements are non-negotiable when you need to hang curtains on sliding glass door openings. Start by measuring your door’s exact width and height—don’t assume standard dimensions. Most sliding glass doors measure approximately 80″ tall by 74″ wide, but variations exist. This measurement determines your curtain panel size and rod length requirements.
Optimal Rod Length and Height Placement
For proper function, your curtain rod must extend 12-24 inches beyond the door frame on each side. This extra width allows curtains to completely clear the glass when open, maximizing light and access. If your door is 74″ wide, you’ll need a rod between 98-122″ long. Mount the rod 4-12 inches above the door frame for standard installations, or all the way to the ceiling for dramatic floor-to-ceiling effects that make rooms feel larger.
Critical Clearance Measurements
Pay special attention to clearance requirements that many DIYers overlook:
– Minimum 3-inch clearance needed between top of door frame and mounting position for curtain rings
– Less than 1.5 inches of space around moldings often requires creative mounting solutions
– Bottom clearance must remain completely unobstructed for the sliding door mechanism
Measure Wall Space for Bracket Placement
Use a stud finder to determine where wall studs fall relative to your planned rod placement. Brackets should anchor into studs whenever possible. If your wall studs don’t align with ideal bracket positions, you’ll need heavy-duty wall anchors rated for curtain weight plus movement stress. Mark these positions with pencil before proceeding.
Overcoming the Center Bracket Challenge on Sliding Glass Doors

The middle support bracket on long curtain rods creates the most common frustration when you hang curtains on sliding glass door installations—it blocks curtain movement and creates an unsightly gap. For spans exceeding 6 feet (72 inches), a center support becomes structurally necessary, but doesn’t have to interfere with your curtains.
Specialty Hardware Solutions That Work
C-ring curtain rings are your secret weapon—they slide right over center support brackets without catching. These specially shaped rings have a cutout section that bypasses the bracket while maintaining smooth movement. For heavier blackout curtains, consider a ceiling-mounted track system that eliminates wall-mounted center supports entirely.
Bracket-Free Alternatives Worth Considering
If your door span is under 8 feet, explore these bracket-free options:
– Heavy-duty reinforced rods with center support chains or cables
– Thicker diameter rods (minimum 1-inch) that resist sagging
– Telescoping rods with internal reinforcement for extended spans
Warning: Never skip the center support for rods over 6 feet—curtain weight combined with movement will eventually pull brackets from the wall, potentially damaging your curtains and creating a safety hazard.
Install Curtain Rods That Won’t Sag on Wide Sliding Door Spans
Installing a curtain rod for sliding glass doors requires more precision than standard window treatments due to the weight and span involved. The key to success is proper mounting technique and hardware selection that matches your curtain weight.
Step-by-Step Rod Installation Process
- Mark bracket positions using a level and stud finder—brackets should be spaced 18-24 inches apart for heavy curtains
- Pre-drill holes slightly smaller than your screws to prevent wall damage
- Anchor into studs whenever possible; for drywall, use toggle bolts rated for 50+ pounds
- Test rod stability before adding curtains—apply gentle downward pressure to ensure no movement
Weight Management Techniques
Heavy blackout or thermal curtains require special consideration. For fabrics weighing more than 25 pounds per panel:
– Use industrial-grade brackets rated for 50+ pounds
– Space brackets no more than 18 inches apart
– Consider adding a third support bracket for spans over 8 feet
– Install rods with a slight upward bow (1/4 inch per foot) to counteract sagging
Choose Curtain Fabrics That Work With Your Sliding Glass Door

The right fabric makes all the difference in both function and longevity when you install curtains on sliding glass door openings. Standard sliding doors experience more movement and light exposure than regular windows, demanding durable, appropriately weighted fabrics.
Optimal Fabric Weight and Durability
Look for fabrics with a double rub count exceeding 15,000 for heavy traffic areas. The ideal weight is 8-12 oz per square yard—light enough to move smoothly but heavy enough to drape well. Sheer fabrics (10-20% light transmission) work well for privacy during daytime, while blackout fabrics (99-100% light blocking) are essential for bedrooms or media rooms.
Panel Configuration for Maximum Function
For standard 80-inch sliding doors:
– Use 250-300″ wide panels to achieve proper fullness (2:1 to 3:1 ratio)
– Ensure panels stack to 20-25% of the opening width when fully opened
– Consider dual-layer systems with sheers for daytime and blackout panels for night
Pro Tip: Add 2-3 inches of overlap between panels when closed to prevent light gaps along the center seam—critical for blackout effectiveness.
Professional Tricks for Perfect Curtain Stackback on Sliding Doors

Achieving clean, compact stackback (the bundled curtain when fully opened) makes the difference between a professional installation and a DIY disaster. Poor stackback blocks light and makes rooms feel smaller—exactly what you’re trying to avoid when you hang curtains on sliding glass door openings.
Optimize Curtain Fullness for Clean Stacking
Too much fabric creates bulky stacks that don’t clear the glass; too little looks skimpy. For sliding doors, aim for 2.5 times the width of your rod in total curtain fabric. This provides ample fullness while allowing compact stacking. Use a center-draw configuration for balanced stackback on both sides of the door.
Specialized Hardware for Perfect Stack Management
Center-draw rings create symmetrical stacking from the middle, while bypass systems work well for limited side space. For the cleanest look, install ceiling-mounted tracks that allow curtains to disappear completely into side return areas when open. Add weighted curtain bottoms to ensure panels hang straight and stack neatly.
Maintain Your Sliding Door Curtains for Smooth, Long-Lasting Operation
Proper maintenance ensures your sliding door curtain system functions smoothly for years. Unlike standard windows, sliding door curtains experience more frequent use and movement, requiring specific care routines.
Quarterly Maintenance Checklist
- Lubricate tracks with silicone-based lubricant for silent operation
- Check bracket integrity for signs of stress or pulling away from wall
- Clean curtain rods to prevent buildup that impedes ring movement
- Test weight capacity by gently pulling down on fully extended curtains
Safety and Longevity Considerations
Child safety is critical with sliding door curtains—replace corded systems with cordless or motorized options. Inspect hardware annually for signs of fatigue, especially if you have heavy blackout curtains. For motorized systems, follow manufacturer guidelines for battery replacement and software updates to maintain optimal performance.
By following these precise steps for how to hang curtains on sliding glass door installations, you’ll create beautiful, functional window treatments that enhance your space without compromising door operation. Proper planning, the right hardware, and attention to detail transform what many consider a challenging project into a rewarding DIY success that adds value to your home.


