
You’ve selected the perfect holiday wreath, but that elegant door knocker stands between you and a picture-perfect entrance. Hanging a wreath on a door knocker seems simple until you realize standard hooks won’t work and improper techniques can scratch your finish or leave the wreath lopsided. This common decorating dilemma leaves many homeowners frustrated when trying to achieve that classic, welcoming look. Following the precise method for how to hang wreath on door knocker ensures your decoration stays secure through wind and weather while protecting your door’s hardware. In this guide, you’ll discover foolproof techniques that work with any knocker style—no special tools required—and learn why most DIY approaches actually damage your door over time.
Why Door Knockers Complicate Wreath Hanging
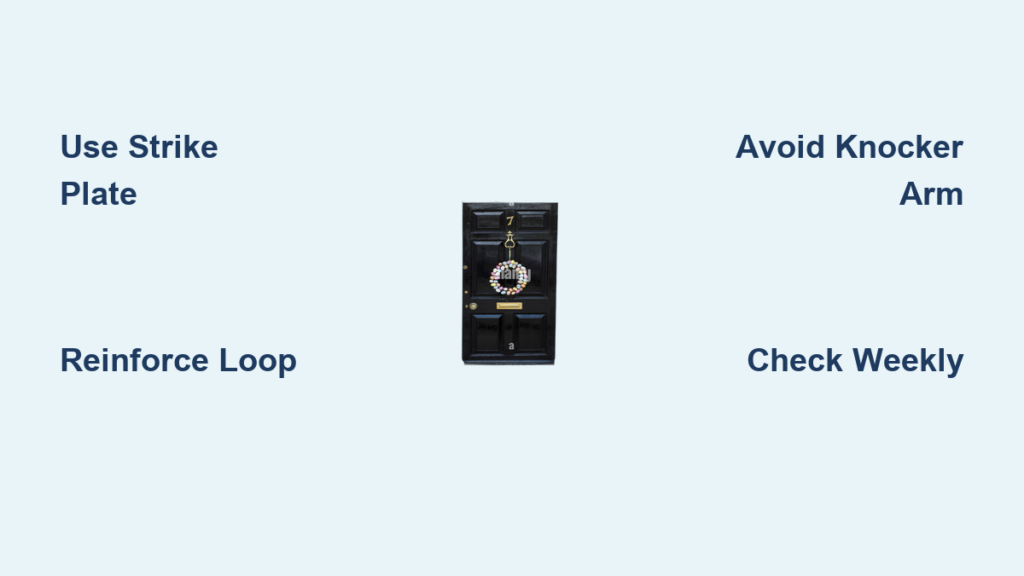
Standard wreath hooks fail on doors with knockers because they block the ideal mounting position and create imbalance. When you force a wreath onto a centered hook, the knocker pushes it off-center, causing the decoration to tilt toward the hinges. This uneven weight distribution strains both the wreath frame and your door hardware. More critically, many homeowners make the mistake of tying directly to the knocker’s moving arm, which prevents the knocker from functioning and risks bending the mechanism. The real solution lies in using the strike plate—the flat metal surface the knocker hits—as your anchor point. This stationary component provides the stable foundation needed for secure wreath hanging without interfering with your door’s operation.
How Knockers Damage Wreaths When Hung Incorrectly
Tying ribbon directly around the knocker’s arm creates three hidden problems. First, the constant tension warps the wreath frame, causing unnatural gaps in the foliage. Second, every time someone uses the knocker, it jerks the wreath downward, loosening the attachment over days. Third—and most damaging—the metal edges gradually cut through ribbons or wires during movement. You’ll notice frayed cords and bent metal within weeks, requiring frequent re-hanging. The strike plate method avoids all these issues by securing your wreath to a fixed point that doesn’t move.
Choosing the Right Hanging Material for Your Knocker

Your ribbon or wire choice determines whether your wreath survives seasonal weather or ends up on your porch. Thin satin ribbons look elegant but snap in wind within days, while cheap twine stains wood finishes. For how to hang wreath on door knocker successfully, select materials based on your knocker’s metal type and expected weather exposure.
Best Material Options by Knocker Finish
- Brass or Polished Knockers: Use 1.5-inch-wide grosgrain ribbon (weather-resistant and won’t scratch)
- Iron or Black Finish Knockers: Choose coated metal wire (18-gauge holds 5+ lbs without cutting)
- Ornate Lionhead Styles: Opt for raffia (flexible enough to wrap intricate details)
- Avoid: Nylon cord (slips on smooth metal) or thin satin (shreds in wind)
Always cut materials 4 inches longer than needed—this prevents tension when tying knots. For heavy wreaths over 3 pounds, double your ribbon width or use two parallel wires. Test your material by wrapping it around your finger tightly; if it cuts skin, it will damage your knocker’s finish.
Creating a Reinforced Wreath Hanging Loop
Your wreath’s built-in loop often fails under knocker mounting stress because it’s designed for wall hooks, not downward pull. Reinforcing this point prevents the common frustration of finding your wreath dangling by one vine. Start by locating the original attachment stem at the wreath’s top back—this is where factory loops connect.
Step-by-Step Loop Reinforcement
- Position your wreath face-down on a table with the front side touching the surface
- Locate the central wiring stem where the original loop attaches (usually visible through foliage)
- Thread 14 inches of your chosen material through the stem’s base wiring
- Cross the ends tightly and twist 5 times around the stem
- Pull both ends through the twisted loop to create a surgeon’s knot
- Trim excess to leave 2-inch tails, then tuck them into the wreath base
This double-knot technique distributes weight evenly, preventing the loop from rotating or slipping. For pine wreaths, wrap the knot area with floral tape to stop sap from gumming up the ribbon. Never tie loops directly to fragile decorative elements like berries or bows—they’ll tear under pressure.
Positioning Ribbon on the Strike Plate Correctly

The strike plate is your secret weapon for how to hang wreath on door knocker securely. This often-overlooked component provides a stable, non-moving anchor that won’t scratch your door. Most homeowners miss this spot because they focus solely on the knocker itself. Proper placement requires working with the door’s mechanics rather than against them.
Exact Placement for Maximum Security
- Open the strike plate by gently lifting the metal flap away from the door surface
- Lay your ribbon horizontally across the gap where the knocker arm rests
- Position it 1/4 inch below the top edge of the strike plate opening
- Close the strike plate firmly to clamp the ribbon between metal layers
- Verify security by tugging the ribbon—no slippage should occur
Crucially, never wrap ribbon around the knocker’s hinge pin or moving arm. This blocks functionality and creates dangerous leverage points. The strike plate method keeps your knocker fully operational while holding 90% of the wreath’s weight. If your strike plate lacks a movable flap, use the alternative lionhead technique described later.
Securing the Wreath Without Damaging Hardware
The final knot placement makes the difference between a professional display and a DIY disaster. Most tutorials show tying directly on the strike plate, but this creates pressure points that mar metal finishes. Your goal is even tension distribution that prevents the wreath from riding up under the knocker.
Professional Knotting Technique
- Hold the wreath against the door with knocker centered at the top back
- Cross ribbon ends behind the wreath to form an “X” pattern
- Pull both ends through the reinforced loop from bottom to top
- Tie a square knot (right over left, then left over right) with medium tension
- Test stability by gently shaking the wreath—no movement should occur
Critical warning: If the wreath lifts toward the knocker when tied, your ribbon is too short. This upward pull bends the knocker arm over time. The wreath should hang freely 1-2 inches below the strike plate. For heavy wreaths, add a second “safety knot” 3 inches above the main knot—this catches slippage if the primary knot loosens.
Lionhead Knocker Hanging Technique
Ornate lionhead knockers require special handling because their detailed surfaces can snag ribbons and their curved shapes prevent standard strike plate mounting. The key is leveraging the knocker’s protruding elements without obscuring its craftsmanship. This method preserves the knocker’s visibility while providing superior support for heavy wreaths.
Creating the Decorative Ribbon Loop
- Measure the knocker’s widest point (usually the lion’s cheeks)
- Cut ribbon 3 inches longer than this measurement
- Tie ends into a secure loop using a double fisherman’s knot
- Slide a small S-hook through the loop (ensure it’s rated for 5+ lbs)
- Attach your wreath’s hanging loop to the S-hook’s bottom
The loop must sit snugly against the knocker’s base where it meets the door. Never drape ribbon over the lion’s mouth or eyes—this damages delicate casting details. For antique knockers, wrap the ribbon loop with felt padding to prevent micro-scratches from metal contact.
Preventing Seasonal Damage to Your Knocker
Even perfect installation can cause harm if you ignore environmental factors. Winter moisture causes metal expansion that stresses attachments, while summer heat makes ribbons brittle. Proactive measures extend both your wreath’s display life and your knocker’s finish.
Critical Weatherproofing Steps
- Before hanging: Apply clear nail polish to ribbon ends to prevent fraying
- In rain/snow: Check knots weekly for stretching and retighten
- During temperature swings: Allow 1/2 inch extra slack in ties
- After 10 days: Replace ribbons showing >10% stretch
- When removing: Cut knots rather than pulling to avoid metal gouges
Never leave wreaths mounted longer than 30 days—extended pressure creates permanent indentations in wood doors around the strike plate. For holiday displays, use this technique only during peak celebration periods.
Troubleshooting Common Knocker Hanging Failures
When your wreath slips or tilts within hours, it’s always one of three fixable errors. Diagnose your issue using these visual checks before starting over.
Why Your Wreath Rides Up Under the Knocker
This happens when the ribbon is too short between strike plate and wreath loop. The wreath naturally seeks the highest point, pulling upward against the knocker. Solution: Untie completely and add 3 inches to your ribbon length before reattaching. The wreath should hang freely without touching the knocker’s bottom edge.
Why Ribbons Cut Into Your Knocker Finish
Thin materials concentrate pressure on microscopic metal points. Solution: Switch to wider ribbon or double your wire thickness. For immediate repair, wrap the contact area with electrical tape before rehanging—this distributes pressure evenly.
Maintaining Your Knocker-Wreath Display
The secret to professional results isn’t just installation—it’s ongoing care. Check your display every 3 days using this 30-second routine:
- Gently lift the wreath bottom to check for tension
- Inspect ribbon contact points for fraying or metal discoloration
- Wipe moisture from strike plate with microfiber cloth
- Adjust knots if wreath has shifted more than 1 inch
For multi-month displays, replace ribbons monthly even if they appear intact. Hidden fiber weakening occurs from constant UV exposure. When removing your wreath, clean metal surfaces with vinegar-dampened cloth to prevent sticky residue buildup.
Hanging a wreath on a door knocker successfully requires respecting your hardware’s mechanics while using strategic attachment points. By leveraging the strike plate as your anchor and reinforcing critical connection points, you achieve that coveted centered display without risking damage. Remember the three non-negotiables: always use the strike plate—not the moving arm—for standard knockers, reinforce your wreath’s hanging loop, and maintain proper slack to prevent upward tension. For ornate lionhead styles, the ribbon-loop method preserves intricate details while providing superior support. These techniques transform what seems like a decorating obstacle into your door’s most elegant feature. When winter winds howl, your securely mounted wreath will stay perfectly positioned—proof that how to hang wreath on door knocker correctly turns seasonal frustration into lasting holiday pride. For ongoing success, inspect attachments weekly and never exceed 30 days of continuous display to protect your door’s finish.


