

Your pocket door sticks halfway into the wall, the handle scraping against the frame with an annoying metallic screech. This frustrating scenario happens to thousands of homeowners who install standard door handles without considering the unique clearance challenges of pocket doors. Unlike traditional doors, pocket doors slide into wall cavities, making handle selection and installation a precision task where even 1/8 inch can determine success or failure. Installing the wrong handle or positioning it incorrectly can prevent your door from closing completely, damage the wall, or leave you with an unusable pocket door system. This guide reveals exactly how to install pocket door handle hardware that functions smoothly for years while maintaining your door’s sleek aesthetic. You’ll learn to measure clearance accurately, select appropriate hardware for your door type, and follow step-by-step installation procedures that avoid the most common DIY pitfalls.
Essential Tools for Pocket Door Handle Installation
Before you begin how to install pocket door handle hardware, gather these specialized tools to ensure precision and avoid damaging your door or wall cavity. Standard door handle installation tools won’t suffice for the tight tolerances of pocket doors.
Must-Have Measurement and Marking Tools
Accurate measurements prevent the #1 pocket door handle failure: interference with the pocket frame. You’ll need a digital caliper to measure the exact clearance between your door and the pocket frame—typically just 1/8 to 1/4 inch on each side. A laser level ensures perfectly horizontal markings, while a high-quality tape measure with fractional inch markings helps position handles at the standard 34-38 inch height. Don’t skip the marking gauge; this specialized tool transfers measurements precisely from one side of the door to the other, critical for symmetrical handle placement.
Specialized Drilling and Installation Equipment
For hollow-core doors (which most pocket doors are), a 1/8-inch pilot drill bit prevents the thin door skin from cracking when you drill. Pair this with a spade bit matching your handle’s mounting hardware diameter. A right-angle drill attachment proves invaluable for reaching tight spaces inside the pocket, while a router with template guide creates clean recesses for flush-mounted pulls. Keep a #2 square drive bit on hand—Phillips heads often strip when working with pocket door hardware’s small screws.
How to Measure Clearance for Pocket Door Handles

Skipping precise clearance measurements causes 70% of pocket door handle installation failures. Your handle must fit within the narrow gap between the door edge and pocket frame when fully retracted.
Step-by-Step Clearance Assessment
Slide your pocket door completely into the wall opening and measure the gap between the door edge and the pocket frame using your digital caliper. Repeat this measurement at three points: top, middle, and bottom of the door. The smallest measurement determines your maximum allowable handle projection—typically no more than 1/4 inch for most pocket door systems. Critical warning: Never rely on manufacturer specifications alone; wall construction variances mean your actual clearance may differ significantly from standard measurements.
Accounting for Door Movement During Operation
Pocket doors don’t travel perfectly straight; they often shift slightly up, down, or side-to-side during operation. Add a 1/16-inch safety margin to your measured clearance to accommodate this movement. Test by slowly opening and closing the door while watching for any rubbing or binding. If you notice even slight contact, reduce your maximum handle projection by that amount—this extra step prevents future headaches when the handle eventually wears a groove in your wall.
Choosing the Right Handle Type for Your Pocket Door

Standard knobs and levers won’t work for most pocket doors—their projection exceeds available clearance. Selecting appropriate hardware is the foundation of how to install pocket door handle systems correctly.
Low-Profile Handle Options That Actually Work
Edge pulls mount directly on the door’s leading edge, providing grip without protruding into the pocket space. Look for models with less than 3/4-inch projection like the Prime-Line Diecast Satin Nickel option. Recessed pulls sit flush within a routed cavity in the door face—you’ll need to create a 3-inch wide by 4-inch high cutout for most standard models. Finger pulls offer minimal 3/4-inch projections and come in various finishes to match your decor. Avoid traditional knobs or levers unless they’re specifically labeled “pocket door compatible” with documented clearance specifications.
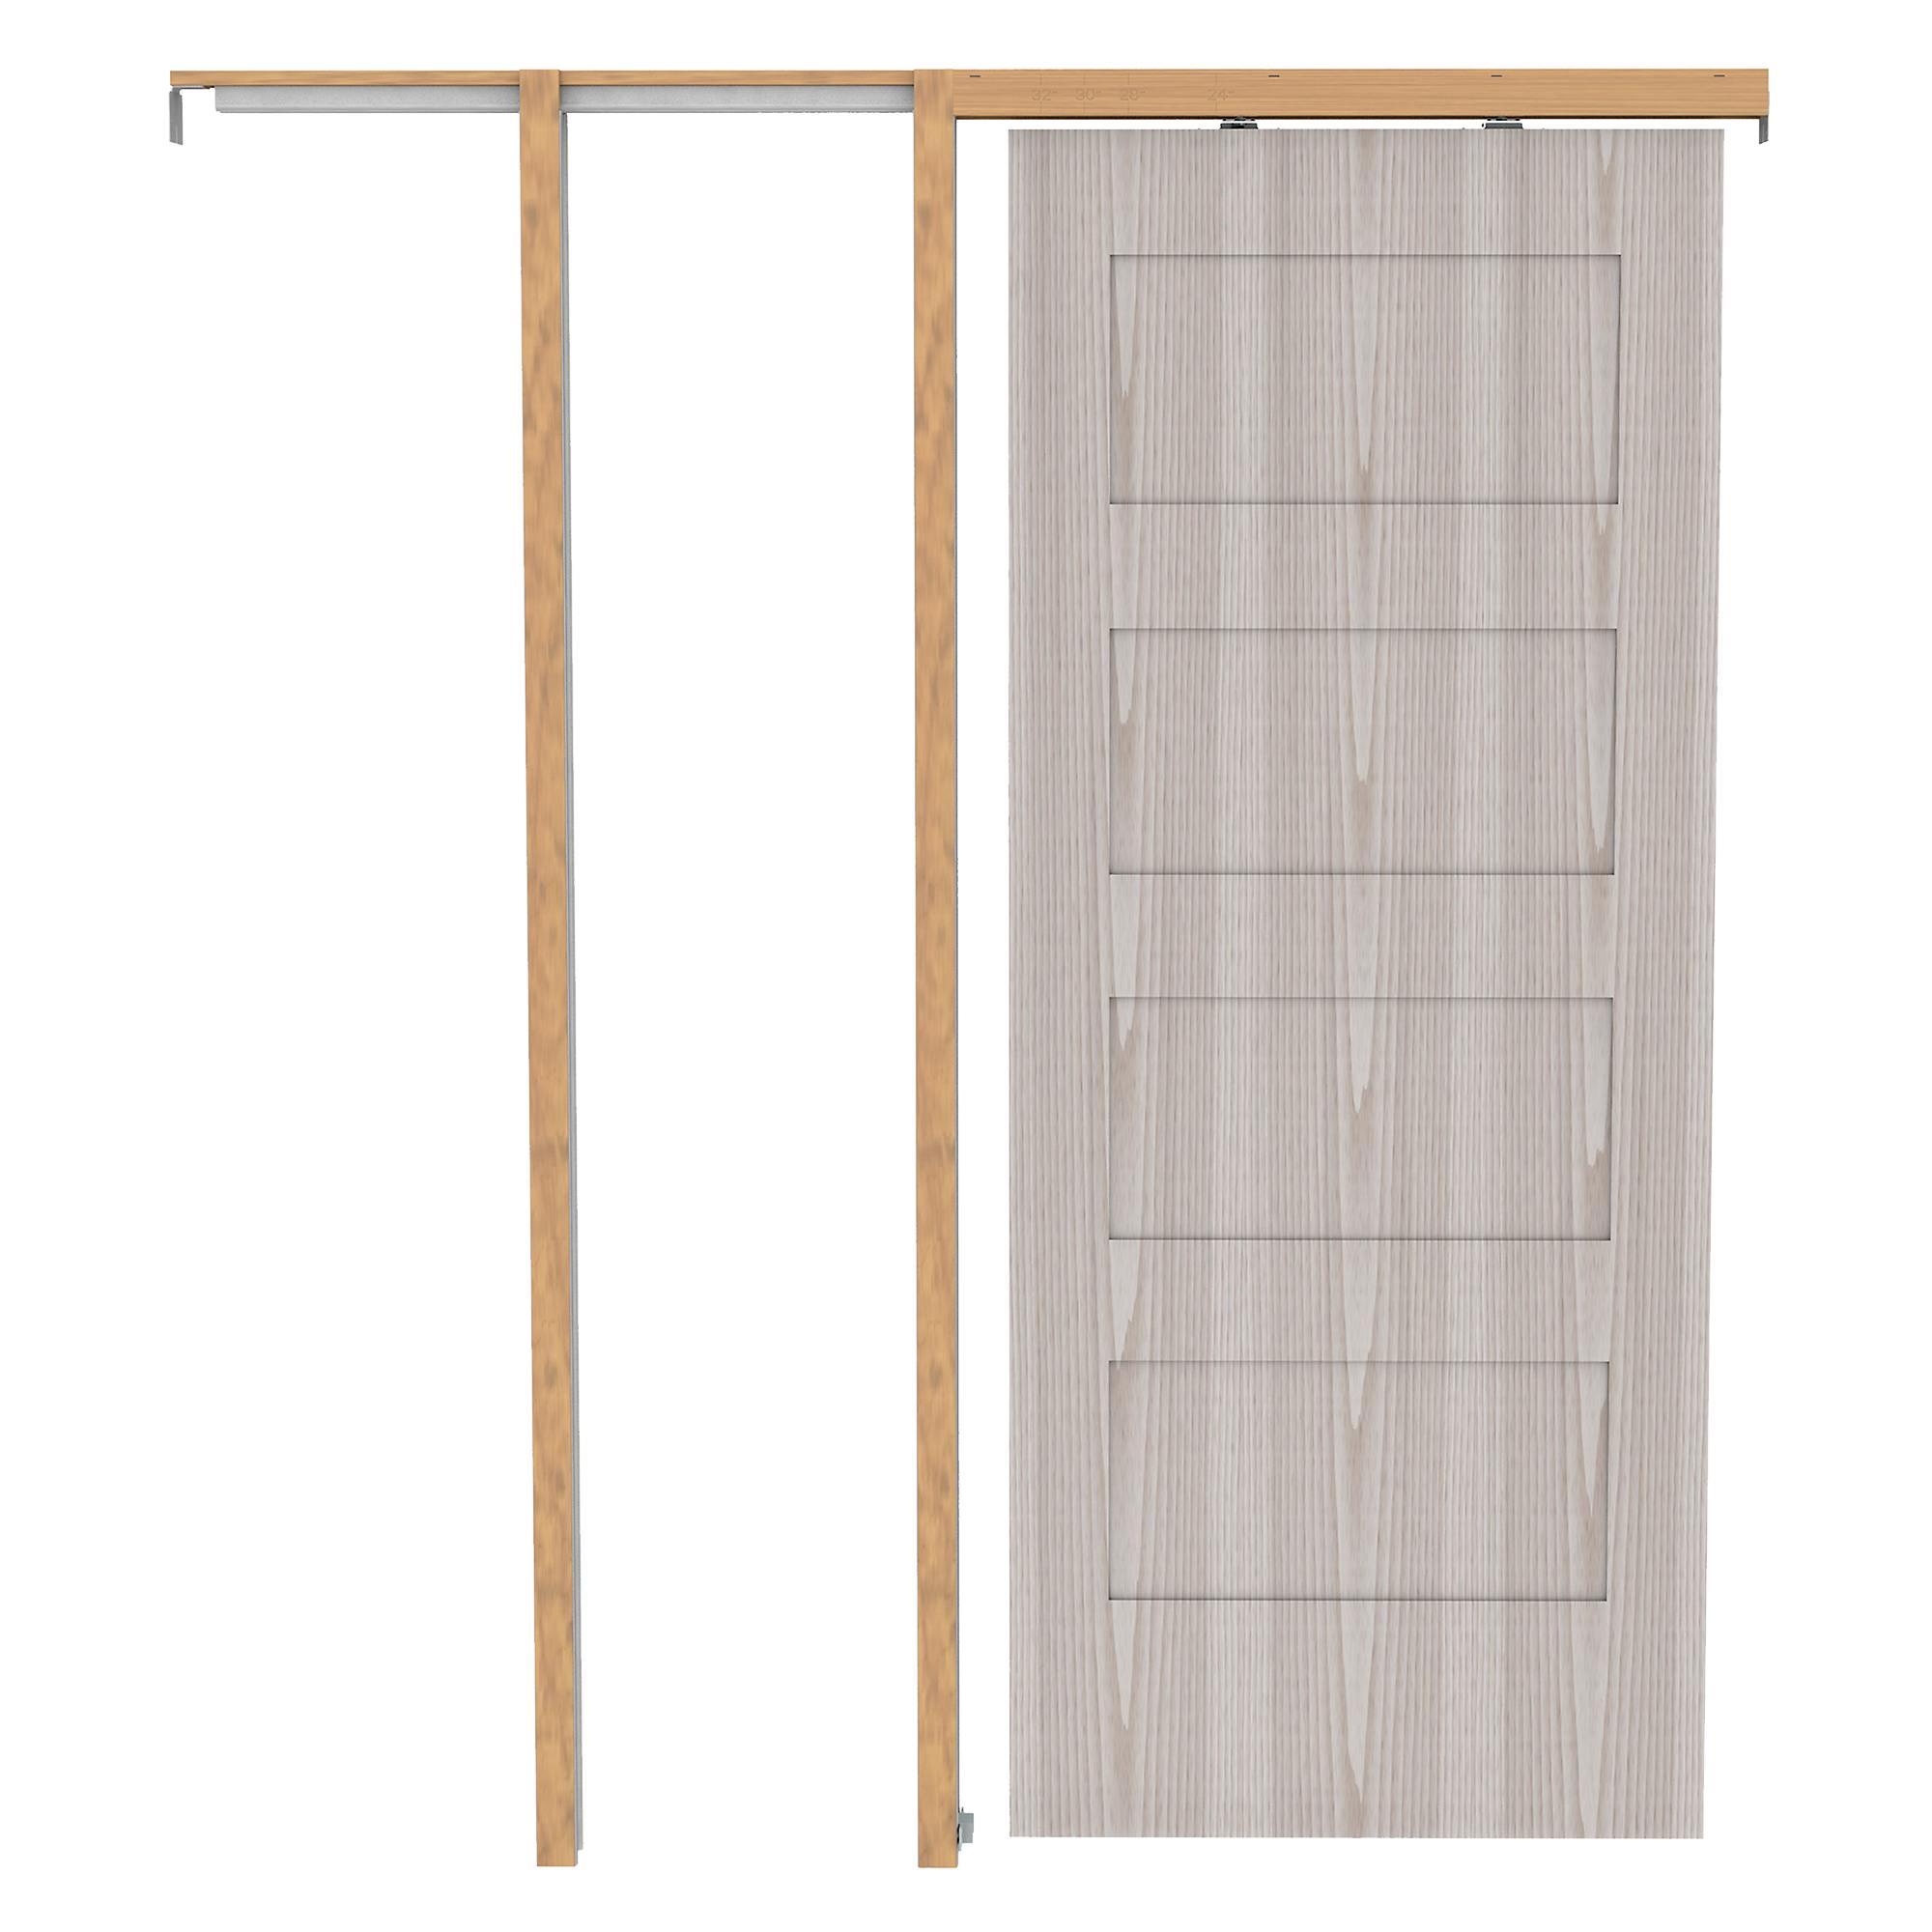
Hollow-Core vs. Solid-Door Hardware Requirements
Hollow-core doors (common for pocket installations) require special mounting considerations that solid-core doors don’t. For hollow doors, you must install a mounting block inside the door cavity—simply screwing into the thin outer skin will cause handles to pull out within weeks. Solid-core doors allow more hardware flexibility but still require proper clearance measurements. Check your door’s construction before purchasing hardware; most hollow-core pocket doors measure 1 3/8 inches thick, while solid-core versions typically measure 1 3/4 inches.
Step-by-Step: Installing Edge Pull Handles
Edge pulls provide the simplest solution for how to install pocket door handle hardware without clearance issues. Follow these precise steps for a secure, functional installation.
Positioning and Marking for Perfect Alignment
With the door fully open and braced with shims, measure 36 inches from the floor and mark this point on the door edge. Use a combination square to transfer this mark across the edge, creating a perfectly horizontal line. Position your edge pull centered on this line, then mark the exact screw hole locations with a fine-point pencil. Pro tip: Place a small piece of masking tape over the marking area first—this prevents the pencil from slipping on the smooth door surface.
Drilling and Mounting Without Damaging Hollow Doors
For hollow-core doors, drill 1/8-inch pilot holes through the door edge at your marked locations. Insert a 1×2 mounting block inside the door cavity, applying wood glue to the contact surface before positioning it behind your pilot holes. Clamp the block in place for 30 minutes until the glue sets. Now drill final mounting holes through the door edge into the block, then secure the edge pull with the provided screws—never overtighten, as this can crack the door edge. Test the door’s movement immediately; if you hear scraping, the pull protrudes too far and needs replacement.
Common Pocket Door Handle Installation Mistakes
Even experienced DIYers make critical errors when learning how to install pocket door handle systems. Avoid these costly mistakes that compromise functionality and require rework.
Ignoring Pocket Clearance Measurements
The most frequent error: installing handles without measuring actual pocket clearance. Standard door handle projections (1-1/2 to 2 inches) far exceed the typical 1/4-inch pocket clearance. Consequence: Your door won’t close completely, leaving an unsightly gap and potentially damaging the track mechanism over time. Always measure clearance first—this single step prevents 90% of installation failures.
Improper Hollow-Door Mounting Techniques
Screwing handles directly into hollow-core doors without reinforcement guarantees future failure. The thin door skin (often just 1/8 inch thick) can’t hold screws under repeated use. Solution: Always install a wood mounting block inside the door cavity. Without this reinforcement, your handle will pull out within weeks, leaving unsightly holes that require professional repair.
Testing Your Installation for Proper Clearance
Never assume your handle installation succeeded without thorough testing—this final step determines whether your pocket door functions properly.
The Critical Slow-Motion Test
Open and close your pocket door at half-speed, watching and listening carefully for any contact between the handle and pocket frame. Pay special attention as the door enters and exits the pocket, where clearance is most limited. If you hear even the slightest scraping sound, stop immediately—forcing the door will damage both the handle and wall cavity. Mark the contact point with chalk, then remove and modify or replace the handle.
Long-Term Functionality Check
Operate the door through 10 complete open-close cycles, checking for consistent smooth movement. Pocket doors often develop binding issues after repeated use that aren’t apparent during initial testing. If the door becomes harder to move with each cycle, your handle still has too much projection. A properly installed pocket door handle should allow completely silent, effortless operation for thousands of cycles.
Maintenance Tips for Long-Lasting Pocket Door Handles
Even perfect installations fail prematurely without proper maintenance. Pocket door handles endure unique stress that requires specific care.
Monthly Security Checks
Every 30 days, grasp the handle firmly and check for looseness. Tighten mounting screws incrementally—overtightening strips the threads in hollow-core doors. For recessed pulls, inspect the edges for cracks or splitting that indicates mounting stress. Apply a drop of clear silicone lubricant to any moving parts to prevent squeaks without attracting dust.
Seasonal Adjustments for Wood Doors
Wood pocket doors expand and contract with humidity changes, altering clearance by up to 1/16 inch. Before winter heating season begins, perform a clearance test and consider switching to an even lower-profile handle if needed. During dry summer months, check for increased rattle in handle mounting and tighten screws as necessary—wood shrinkage creates gaps that weren’t present during installation.
Final Note: Properly learning how to install pocket door handle systems requires attention to clearance measurements, appropriate hardware selection, and precise installation techniques tailored to your door’s construction. By following these guidelines, you’ll avoid the most common installation pitfalls that leave pocket doors partially stuck or difficult to operate. Remember that hollow-core doors demand special mounting considerations, and even 1/16 inch of excess projection can prevent smooth operation. Test your installation thoroughly before considering the job complete, and perform regular maintenance to ensure years of trouble-free use. When in doubt about clearance measurements or mounting techniques, consult a professional—reinstalling a handle after damage occurs costs significantly more than getting it right the first time.


