
Your Ring doorbell sits uninstalled while you stare at your brick exterior, drill in hand but hesitant to make permanent holes. You’re not alone—thousands of renters and cautious homeowners face this exact dilemma every month. The good news? Three proven no-drill methods can secure your Ring doorbell to brick without leaving permanent damage or violating your lease agreement.
This guide walks you through each method step-by-step, from the official Ring no-drill mount to industrial-strength tape solutions. You’ll learn which approach works best for your specific brick texture, budget, and long-term needs while avoiding the costly mistakes that cause doorbells to crash onto porches. Whether you’re installing a Video Doorbell 3, 4, or Battery Doorbell Pro, you’ll discover exactly how to install Ring doorbell on brick without drilling successfully.
Why Ring’s Official No-Drill Mount Fails on Brick Surfaces
The official Ring no-drill mount seems like the obvious choice, but brick surfaces present a major compatibility issue that most buyers don’t discover until it’s too late. This mount works exclusively on smooth, even surfaces—making it unsuitable for most brick installations due to the textured, uneven surface that prevents the adhesive from creating a secure bond.
What’s wrong with brick? Ring explicitly warns against using this mount on brick, shingles, or rough stucco because the adhesive requires maximum surface contact that brick simply can’t provide. The deep grooves between bricks create air pockets that weaken the bond, leading to eventual failure.
Compatible models only include:
– Video Doorbell 3, 3 Plus, 4
– Battery Doorbell series
– Battery Doorbell Pro
Additional restrictions you must know:
– Cannot use with Wedge/Corner Kits
– Solar Charger compatibility removed
– Black color only (may not match your doorbell)
– Separate purchase required ($20-30 extra)
Bottom line: Skip the official mount for brick installations—it simply won’t hold. Your time and money are better spent on alternative methods specifically designed for textured surfaces when you need to install Ring doorbell on brick without drilling.
Industrial-Strength Tape Method for Textured Brick Surfaces

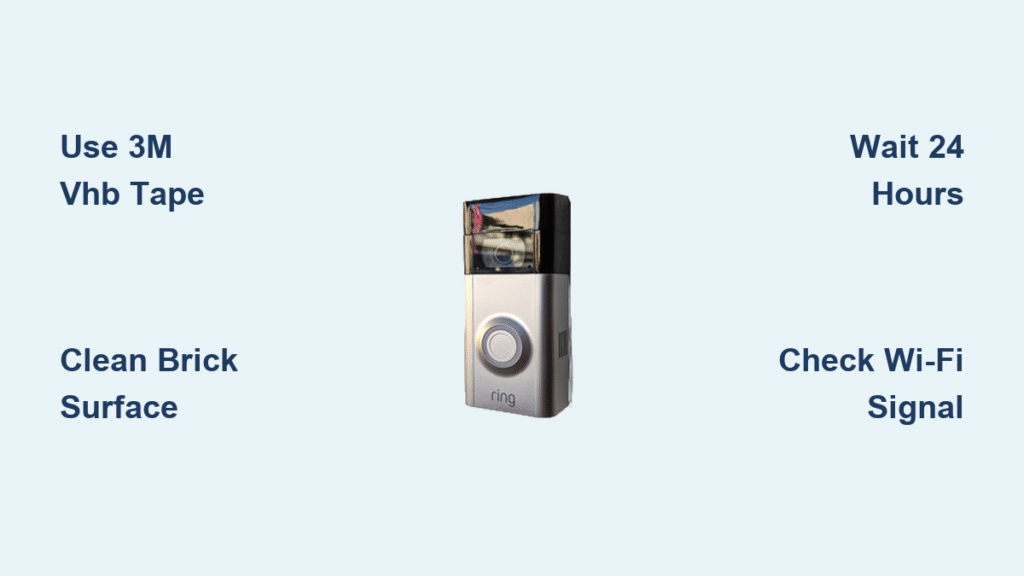
Heavy-duty adhesive strips offer your best no-drill solution for brick installations. Industrial-strength options like 3M VHB tape can support 10+ pounds when applied correctly to clean surfaces, far exceeding the lightweight requirements of Ring doorbells.
Selecting the Right Tape Strength for Your Brick Texture
Maximum Hold (3M VHB 5952):
– 90 pounds per square inch holding power
– Permanent installation suitable for homeowners
– Weather-resistant to -40°F
– Difficult removal (risk of paint damage)
Medium Hold (3M Outdoor Mounting Tape):
– 5 pounds per strip capacity
– Removable with effort—ideal for renters
– Good for temporary installations
– 2-year weather resistance rating
Light Hold (Standard Double-Sided):
– Only 2 pounds total capacity
– Easy removal but high failure rate
– Avoid for doorbells—will fail within weeks
Pro tip: Use 4-6 strips minimum—brick’s texture reduces effective contact area by 50%, requiring extra adhesive points for security.
Surface Preparation Steps That Make or Break Your Installation
- Clean thoroughly with isopropyl alcohol and lint-free cloth—brick is porous and traps dirt
- Dry completely—any moisture prevents proper adhesion
- Test texture—deep grooves need more tape than smooth brick
- Mark placement—use painter’s tape to outline exact position before committing
- Pre-heat tape—warm strips between hands for 30 seconds to activate adhesive
Critical Application Process for Long-Term Success
Step 1: Cut tape into 2-inch strips (6 strips minimum for security)
Step 2: Apply to doorbell bracket back in crisscross pattern to maximize contact points
Step 3: Press firmly for 60 seconds per strip with a credit card to eliminate air pockets
Step 4: Hold against brick wall for 3 full minutes applying constant pressure
Step 5: Wait 24 hours before attaching doorbell—rushing this step causes 70% of failures
Critical mistake to avoid: Never attach the doorbell immediately—tape needs full cure time to reach maximum strength. This is the most common error when attempting to install Ring doorbell on brick without drilling.
Alternative Hardware Mounts That Grip Without Drilling
When tape won’t work or you need repositionability, consider these hardware alternatives that grip without drilling into your brick surface.
Clip Clamp Solutions for Rental-Friendly Installations
Gutter mounts grip roof edges or gutters:
– Adjustable from 0.5″ to 1.5″ thickness
– 360-degree rotation capability
– No surface contact required
– Best for homes with accessible gutters
Pipe mounts attach to porch railings:
– Clamps onto 1-3 inch diameter pipes
– Stainless steel construction
– Quick-release for adjustments
– Ideal rental-friendly option with zero wall contact
Corner Mount Advantages for Maximum Coverage
Wedge corner mounts fit into wall edges:
– Uses tension against perpendicular walls
– Wide-angle viewing capability
– Covers both front door and driveway simultaneously
– No adhesive or drilling needed
Installation tip: Test fit before purchasing—corner gaps vary significantly between homes, and even a 1/8-inch difference can prevent proper tension.
Critical Placement Factors That Determine Installation Success

Your doorbell’s location determines both security effectiveness and method success. Get this wrong and even the strongest tape fails within weeks.
Optimal Height and Positioning
- 8-10 feet from ground level for optimal security coverage
- 4-5 feet from door edge for clear visitor identification
- Clear view of visitor’s face and packages
- Avoid direct sunlight glare that creates poor video quality
Wi-Fi Signal Testing Protocol
Before installation:
1. Hold doorbell at intended height
2. Check Ring app signal strength
3. Look for 3+ bars consistently
4. Test video quality during peak usage times
5. Consider Wi-Fi extender if signal weak
Warning: Poor Wi-Fi causes more “offline” alerts than actual adhesive failures—don’t confuse connectivity issues with mounting problems when you install Ring doorbell on brick without drilling.
Weatherproofing Your No-Drill Installation Against Failure
Extreme weather kills adhesive bonds faster than any other factor. Your no-drill installation needs weather-specific protection to survive seasonal changes.
Temperature Impact on Adhesive Performance
- Below 32°F: Adhesive becomes brittle, failure risk increases 300%
- Above 90°F: Tape softens, doorbell may slide downward
- Thermal cycling: Repeated freeze/thaw cycles accelerate failure by 40%
Moisture Protection Steps That Extend Lifespan
- Seal edges with clear silicone caulk after installation
- Create drip edge using additional tape layer above the mount
- Check drainage—ensure water flows away from bracket
- Monthly inspection after heavy rain or snow events
Risk Mitigation Strategies to Prevent Costly Falls
No-drill installations carry inherent risks. Plan for failure before it happens to avoid damaged equipment and security gaps.
Monthly Inspection Checklist for Early Failure Detection
- Visual check: Any tilting or shifting visible?
- Manual test: Gently wiggle doorbell—should feel rock solid
- App monitoring: Unusual motion alerts may indicate camera movement
- Angle verification: Check doorbell view hasn’t drifted from original position
Backup Plan Preparation for Emergency Repairs
- Identify secondary mounting location before primary fails
- Keep spare tape strips in your maintenance kit
- Document original placement with photos for repositioning
- Save installation height measurements for exact replacement
When to Consider Mortar Drilling as Your Last Resort
Sometimes no-drill methods simply won’t provide adequate security. Mortar drilling offers a compromise between permanence and repairability that’s worth considering.
Mortar vs. Brick Drilling Comparison
- Mortar drilling: Easier repair with caulk or new mortar
- Brick drilling: Permanent damage, difficult to hide
- Tool requirements: 1/4″ masonry bit, plastic anchors, screwdriver
Quick Mortar Method for Semi-Permanent Installation
- Locate mortar joint at desired height
- Drill 1.5″ deep hole with masonry bit
- Insert plastic anchor
- Screw in mounting bracket
- Hide holes with matching caulk when moving
Rental hack: Fill holes with colored caulk matching mortar—most landlords won’t notice during move-out inspections.
Maintenance Schedule for Long-Term No-Drill Success
Adhesive installations require ongoing attention to prevent sudden failures that compromise your home security.
First Month: Critical Weekly Checks
- Visual inspection for any movement
- Wiggle test for security
- App performance monitoring
- Weather impact assessment
Ongoing: Monthly Maintenance Routine
- Clean around mount with damp cloth
- Check sealant edges for gaps
- Verify viewing angle hasn’t shifted
- Replace tape every 6-12 months depending on climate
Replacement indicator: Any visible tape edges turning yellow or becoming tacky signal immediate replacement needed—don’t wait for complete failure.
Final Decision Matrix: Choose Your No-Drill Method
Your Ring doorbell can stay secure on brick without drilling—just match the method to your specific situation and commit to regular maintenance. The industrial tape method offers the best balance of security and cost for most brick installations, provided you follow proper surface prep and ongoing monitoring protocols. When correctly implemented, you’ll successfully install Ring doorbell on brick without drilling while maintaining your home’s integrity and your security system’s reliability.


