
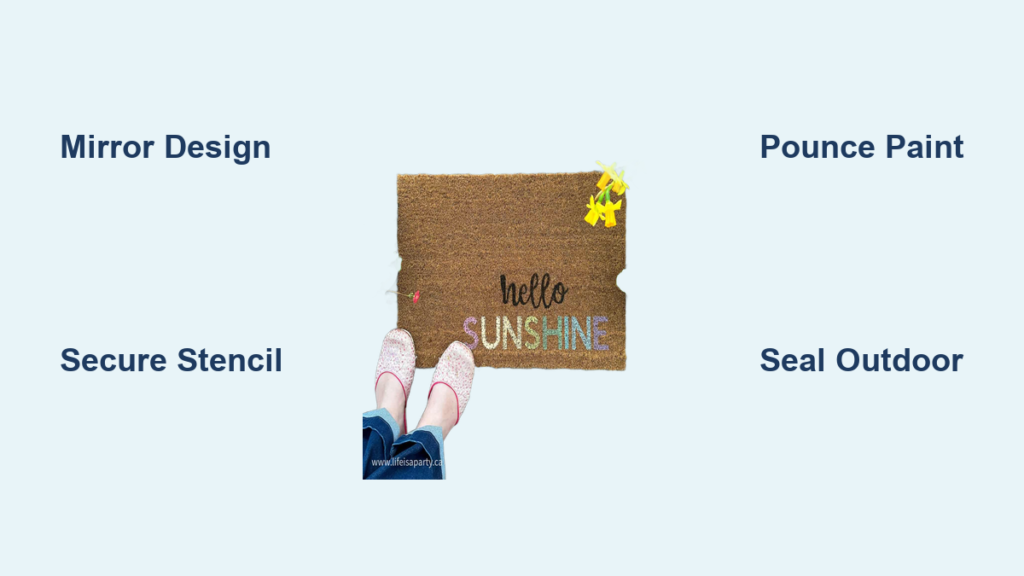
Your front door mat is the first impression guests get of your home—yet most store-bought options look identical and wear out within months. With your Cricut machine, you can transform a $10 coir mat from Target into a durable, personalized welcome sign that survives muddy boots and seasonal weather. Forget flimsy decals or faded paint jobs; this method uses professional stenciling techniques to create crisp, long-lasting designs that withstand daily foot traffic. By the end of this guide, you’ll know exactly how to cut flawless stencils, prevent paint bleeding, and seal your mat for years of use—no prior crafting experience required.
Choosing the Right Mat and Stencil Material for Crisp Results
Skip the expensive custom mats and head straight to Target or Home Depot for a standard coir doormat. These natural fiber mats cost $5-$10 (IKEA has smaller options for $5), and their rough texture grips paint better than smooth alternatives. Never use rubber or woven plastic mats—paint won’t adhere properly. For stencil material, your choice impacts durability and bleed prevention:
- Cricut Stencil Vinyl: Best for beginners. Its rigidity prevents paint seepage, and it’s reusable for 5+ projects. Use with transfer tape for precise placement.
- Permanent Vinyl: Budget-friendly but thinner. Requires extra sealing with repositionable spray adhesive to prevent bleeding on textured coir.
- Freezer Paper: Ideal for one-time projects. The wax backing bonds to coir when ironed, but edges lift during painting—reserve this for simple designs.
Pro Tip: Test your stencil material on a coir swatch first. Press paint through with a pouncer—if lines blur, switch to thicker stencil vinyl.
Essential Tools Checklist: Avoid These Costly Oversights
Gather these supplies before starting to prevent mid-project delays. Skipping any item risks paint bleeding or stencil misalignment:
- Cricut machine (Explore, Maker, or Joy) with fine-point blade
- Stencil vinyl (12″x24″ sheet) or freezer paper
- Transfer tape (for vinyl) or repositionable spray adhesive
- Weeding tools and scraper
- Blank coir mat (24″x36″ standard size)
- DecoArt Patio Paint (outdoor acrylic—not regular craft paint)
- Foam pouncers or stencil brushes ($3 at craft stores)
- Straight pins and painter’s tape
- Clear matte outdoor sealer (like Minwax Polycrylic)
- Drop cloth and paper plates for paint
Critical Mistake Alert: Using indoor acrylic paint guarantees peeling within weeks. Patio paint’s UV resistance and flexibility survive foot traffic and sun exposure.
Design Space Setup: The Mirror Mistake 90% of Crafters Make
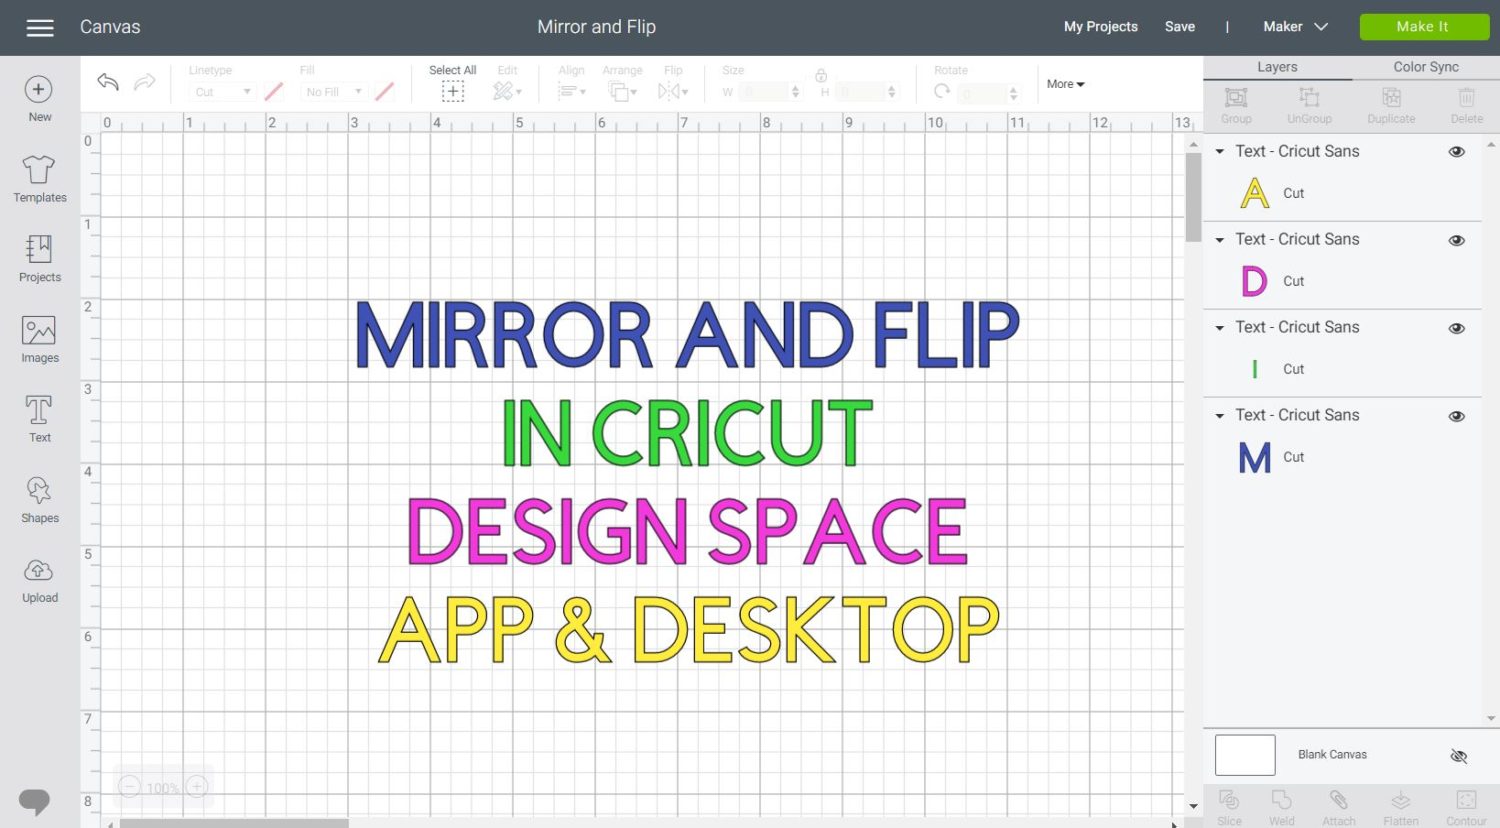
Your design must be mirrored before cutting—this is non-negotiable. Open Cricut Design Space and:
- Type your text or upload a SVG file (size to 18″x12″ max for standard mats)
- Click “Mirror Image” under Linetype—this flips the design horizontally
- Set material to “Stencil Vinyl” or “Iron-On (for freezer paper)” in the cut settings
- Load stencil material onto a LightGrip mat, shiny side down
Why this matters: Coir’s texture requires paint application through the stencil. Without mirroring, your “Welcome” sign reads “emocleW” when stenciled. For complex designs like monograms, use the “Slice” tool to separate layers.
Weeding and Applying Your Stencil: Securing Floating Letters
Weeding intricate designs (like the center of “O” or “A”) demands patience. Use a hook tool to lift excess vinyl, working from the center outward. Never pull vinyl toward cut lines—this tears delicate sections. For freezer paper, skip transfer tape; iron the shiny side onto the mat at medium heat (no steam!) for 10 seconds per section.
Secure floating cutouts—those pesky inner letters that detach during painting—with this pro method:
1. Position the stencil on the mat
2. Push straight pins through both the mat and stencil’s interior sections
3. Gently press pins flat against the mat’s underside
4. Seal outer edges with painter’s tape
Visual Cue: If light shines through stencil gaps, reposition it. Any lift = paint bleed.
Painting Technique: Why Brushing Ruins Your Design
Paint application makes or breaks your mat. Using a side-to-side brush motion forces paint under the stencil, causing blurry edges. Instead:
- Pour pea-sized paint dollops onto a paper plate
- Dip foam pouncer lightly—wipe excess on plate edge
- Pounce vertically in a dab-and-lift motion (like a helicopter)
- Start at the stencil’s outer edges, working inward
- Apply 2 thin coats (5 minutes between coats) for full opacity
Time Saver: Mix paint with 10% Floetrol additive—it extends drying time, reducing lap marks on large designs. Thick paint = clean lines; watery paint = bleeding disaster.
Why Your Paint Bleeds Through Stencils (and How to Stop It)

Bleeding happens in 3 scenarios—here’s how to fix each:
| Cause | Solution | Prevention Tip |
|---|---|---|
| Loose stencil edges | Lift stencil gently, re-adhere with spray adhesive | Seal edges with painter’s tape before painting |
| Excess paint on brush | Blot brush on paper towel immediately | Use 50% less paint than you think you need |
| Coir fibers lifting stencil | Press stencil down with scraper after placement | Iron freezer paper for 15 seconds pre-painting |
Critical Timing: Remove the stencil when paint is tacky (not wet or fully dry). Peel back at 180 degrees slowly—if paint lifts, wait 2 minutes and try again.
Sealing for All-Weather Durability: The Forgotten Step
Skipping sealer cuts your mat’s lifespan by 70%. After 24 hours of paint drying:
- Apply matte outdoor sealer with a foam brush
- Use light, even coats—no pooling in coir fibers
- Wait 4 hours between coats; 3 coats total
- Cure for 72 hours before outdoor use
Why matte finish? Glossy sealers make mats slippery when wet. Matte provides traction while protecting against UV fading.
Spot-Cleaning Fixes and Long-Term Maintenance
Your mat will survive seasons with proper care:
* Daily: Shake out loose dirt over grass
* Stains: Dab with mild soap/water mix; never scrub
* Deep Clean: Hose down, scrub gently with soft brush, dry in sun for 2 hours
* Revive Faded Paint: Touch up with patio paint + 1 thin sealer coat
Never power-wash or machine-wash—this strips paint and warps fibers. Store indoors during snowstorms to prevent salt damage.
Transform Your Entryway in One Weekend
Creating a custom Cricut doormat isn’t just about saving money—it’s crafting a durable welcome sign that reflects your personality. By using patio paint, securing floating letters with pins, and sealing properly, your design will stay crisp through muddy seasons and holiday traffic. Start with a simple monogram on an IKEA mat ($5), then scale to intricate family names as you master the pouncing technique. The key is respecting coir’s texture: less paint, more precision, and never skipping the mirror step. In under two hours, you’ll have a professional-looking mat that guests compliment—and that outlasts store-bought versions by years. Ready to personalize your porch? Grab that Cricut and reclaim your entryway’s first impression today.


