
That tired, faded doormat by your front door deserves a creative upgrade. Transforming a plain coir mat into a vibrant, personalized welcome sign is easier than you think—and this guide shows exactly how to make a door mat with paint that withstands seasons of foot traffic. Forget expensive custom orders; with $20 in supplies and a Saturday afternoon, you can craft a weather-resistant masterpiece that reflects your style. I’ve tested every step using only proven techniques from durable materials to sealing tricks that prevent peeling. By the end, you’ll know how to avoid common pitfalls like paint bleed and premature fading while creating a mat that says “home” before guests even cross the threshold.
Must-Have Supplies for Painting a Doormat at Home
Skipping the right materials guarantees a disappointing result. Your painted doormat will peel within weeks if you use craft store acrylics meant for canvas, not coir fibers. Invest in these non-negotiables for lasting outdoor durability.
Choosing the Right Coir Mat for Painting
Grab a natural coir mat—not rubber-backed or synthetic—from home improvement stores. Its rough, open-weave texture grips paint like Velcro. Avoid tightly woven mats; they repel paint. Before painting, unroll it in a warm, dry spot for 48 hours to flatten stubborn creases, then vigorously brush away loose fibers. This prep step prevents paint from clinging to debris instead of the mat. Pro tip: Lay it on concrete overnight to weight down curls—never skip this or your design will warp.
Selecting Weather-Resistant Paint and Tools
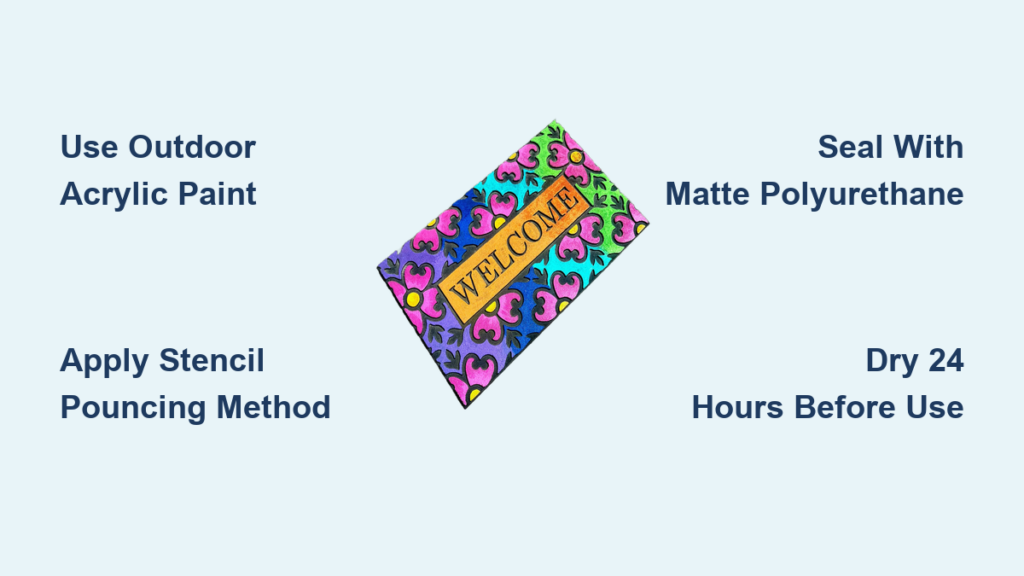
Outdoor acrylic paint is non-negotiable. Brands like FolkArt Multi-Surface or CraftSmart Outdoor work because they flex with coir fibers during temperature swings. A single 8oz bottle covers one standard mat. Pair it with:
– Stiff-bristle stencil brushes (1-2 inches wide) for pouncing paint into fibers
– Low-tack painter’s tape (like FrogTape) to secure stencils without tearing coir
– Clear mylar sheets (or plastic report covers) for reusable stencils
– Matte-finish polyurethane spray rated for exterior use
Never use fabric paint—it cracks on coir. And skip cheap foam brushes; they shed bristles into your design. Test paint on a mat corner first: if it beads up, the mat needs fiber brushing.
Design Your Custom Doormat: Stencils and Layout
Complex designs turn into muddy blobs on coarse coir. Stick to bold, high-contrast shapes that read clearly from 10 feet away—like a giant monogram or “WELCOME” in block letters. Intricate details vanish as paint soaks into fibers.
Simple Design Ideas That Won’t Fade on Coir
Sketch directly on graph paper at 1:1 scale using your mat’s dimensions. Opt for:
– Single-color silhouettes (paw prints, state outlines)
– Thick-font words with 1+ inch stroke width
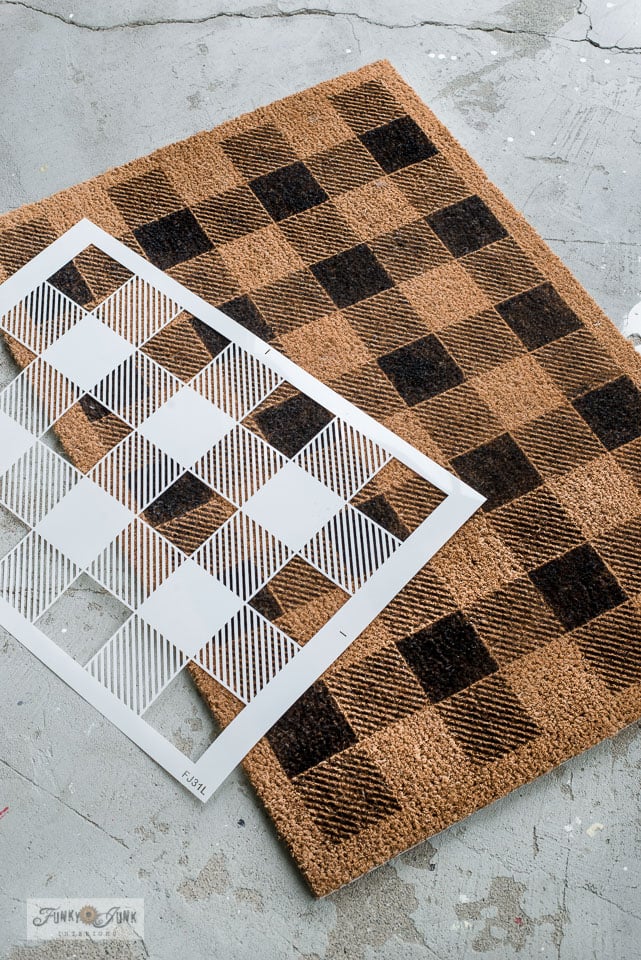
– Geometric patterns (stripes, chevrons) using painter’s tape
Avoid thin lines under ½ inch—they’ll blur. For monograms, use a stencil generator online; print your design at full size, then trace onto mylar. Pro tip: Enlarge designs 10% on your printer to compensate for coir’s texture eating up edges.
Step-by-Step Stencil Creation for Crisp Letters
- Tape your printed design onto clear mylar (or a plastic report cover)
- Cut out shapes with a craft knife on a cutting mat—apply even pressure to avoid jagged edges
- Secure the stencil to your prepped mat with painter’s tape, pressing edges flat with a credit card
- Mist stencil adhesive spray underneath if paint bleeds (a $3 fix for frustrating smudges)
Never freehand complex designs. Even “simple” words like “HELLO” need stencils—coir’s uneven surface makes hand-painting letters nearly impossible. Burnish tape edges thoroughly; gaps cause more bleed than excess paint.
Painting Techniques for a Professional-Looking Doormat
The #1 mistake? Dipping brushes fully into paint. Oversaturated bristles flood coir fibers, causing runs and bleed. Instead, master the dry-brush pounce method for razor-sharp lines.
Avoiding Paint Bleed: The Pouncing Method
Dab paint onto a paper plate. Dip only the brush tips into paint, then vigorously wipe on paper towels until almost dry—your brush should feel stiff, not wet. Hold the brush vertically and stipple (up-down dabbing) through the stencil. Never swipe sideways. Start at stencil edges to seal boundaries, then fill centers. Apply two ultra-thin coats 20 minutes apart for opacity. If paint seeps under edges, stop immediately—thick layers won’t dry properly on porous coir.
How Many Coats of Paint Does a Doormat Need?
One coat looks patchy; three causes cracking. Two is the sweet spot. After the first stippled layer, wait 15 minutes until touch-dry (not glossy). Test opacity by squinting at the mat—if coir shows through, add a second coat. Thick paint traps moisture, leading to peeling within weeks. Time estimate: 30 minutes for painting, plus 10 minutes per color change. Pro tip: Paint outdoors on a calm day—indoor humidity slows drying and increases bleed risk.
Sealing Your Painted Doormat for All-Weather Durability

Skipping sealant turns your mat into a chalkboard after one rainstorm. This final step fuses paint to coir fibers, blocking UV rays and foot traffic abrasion.
Drying Times That Prevent Smudges
Let paint cure 24 hours before sealing—no shortcuts. Rushing traps moisture, causing bubbling. Speed drying with a fan on cool setting (never heat), but keep it 3 feet from the mat. Test readiness by gently touching a painted area; if no color transfers, it’s sealed. Never stack mats during curing; weight creates permanent creases.
Best Sealants to Protect Paint from Foot Traffic
Use matte-finish polyurethane spray (Minwax Helmsman works well). Shake the can vigorously for 2 minutes. Hold 10 inches from the mat and spray in slow, overlapping arcs—never in one spot. Apply two light coats 15 minutes apart. Heavy coats create sticky patches that attract dirt. For indoor mats, a single coat suffices; outdoor mats need two. Sealant fumes are strong—do this in a breezy, open area away from kids/pets. Cure time: 72 hours before heavy use.
Maintaining Your Hand-Painted Doormat Year-Round
Even sealed mats fade faster than store-bought if cleaned wrong. Protect your work with these field-tested aftercare rules.
Cleaning Without Damaging Your Design
Shake loose dirt weekly. For mud, dry-brush with a stiff nylon brush—never wet. Spot-clean stains with a damp microfiber cloth and mild soap. Critical: Never soak, hose down, or pressure-wash. Waterlogged coir swells, cracking paint. If sealant wears thin (check for chalky spots), recoat with polyurethane—not paint—to avoid texture buildup. Store indoors during snowstorms; ice melt chemicals eat sealant.
When to Reapply Paint and Sealant
Expect 1-2 years of outdoor use under a covered porch. Signs it’s time for a refresh:
– Paint feels powdery when rubbed
– Colors look washed out
– Fibers show through designs
Don’t repaint over peeling areas—sand lightly with 220-grit paper first. Re-seal annually in spring; it takes 10 minutes and doubles your mat’s lifespan. Pro tip: Place mats on concrete, not soil—ground moisture accelerates wear.
10 Custom Painted Doormat Ideas to Try Today

Skip boring “Welcome” mats. These designs leverage coir’s texture for maximum impact:
1. Bold monogram in navy with gold shadowing
2. “HOME” in chunky sans-serif font (ideal for beginners)
3. Paw print trail leading to your door
4. Geometric rainbow stripes using painter’s tape
5. Seasonal switch-outs (pumpkins for fall, snowflakes for winter)
6. House number in high-contrast black/white
7. “COFFEE WELCOME” with coffee cup icon
8. State outline filled with your school colors
9. “GRANDMA’S HOUSE” in playful script
10. Minimalist leaf using negative space
Start small—a single-color paw print builds confidence. Remember: simplicity wins on coir. That $35 custom mat you’ve been eyeing? You just made it for $12. Now step outside, admire your handiwork, and watch neighbors stop to compliment your vibrant new welcome sign.


