
Nothing ruins the aesthetic of a beautiful patio door faster than curtains that don’t fit properly. Ill-fitting patio door curtains can leave gaps that compromise privacy, create awkward bunching when drawn, or fail to clear the door properly when open. Getting how to measure curtains for patio door dimensions right the first time saves money, prevents frustration, and ensures your window treatment enhances rather than detracts from your space. Whether you’re dealing with a standard sliding glass door or a French patio door pair, precise measurements determine whether your curtains will function beautifully or become a constant annoyance. This guide eliminates guesswork by providing exact measurement techniques for every patio door configuration.
Selecting the Right Mounting Position Before Measuring
Your curtain rod placement fundamentally changes how you should measure for patio door curtains. Choosing between inside-mount and outside-mount options affects every subsequent measurement you’ll take.
Outside-the-frame mounting provides the most versatile and visually appealing solution for patio doors. When you mount outside the trim, your curtains can extend well beyond the glass area, allowing maximum light when fully open. For proper patio door coverage, your rod must extend at least 6 inches beyond each side of the door frame—8 inches is even better for wider doors. This extension prevents light gaps and ensures curtains clear the door completely when opened. Measure from wall to wall where you plan to install brackets, not from the door frame itself.
Inside-mount tension rods work only for specific scenarios. If your patio door has deep trim or a recessed area where a tension rod can fit securely, this no-drill option might work for lightweight sheers. However, tension rods rarely provide adequate support for heavier blackout or thermal curtains. Before committing to this approach, measure the exact width between the innermost points where the rod will sit, then select a tension rod approximately 1 inch longer to ensure proper tension. Most patio doors lack sufficient depth for inside-mount tension rods to work effectively with substantial curtains.
Essential Tools for Accurate Patio Door Measurements
Having the right tools makes the difference between professional-looking results and frustrating errors when you measure curtains for patio door installations. A standard cloth tape measure simply won’t provide the precision needed for large patio door treatments.
Must-Have Measuring Equipment
- Steel Tape Measure (25+ feet): The rigidity of steel prevents sagging during long measurements. Measure twice at different heights to account for any out-of-plumb door frames.
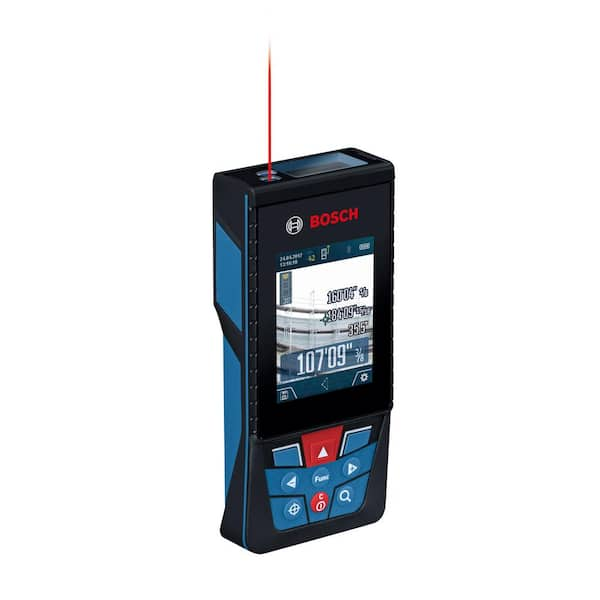
- Laser Level: Critical for ensuring your rod brackets align perfectly across the width of your patio door. Even a 1/4-inch discrepancy becomes glaringly obvious with floor-length curtains.
- Painter’s Tape: Mark bracket positions on the wall without damaging paint. Label each measurement point clearly with height and width specifications.
- Digital Camera: Document your measurements in context. Photograph each side of the door with your tape measure in place to reference later when ordering.
Precise Measurement Techniques for Every Rod Type
Different patio door curtain installations require distinct measurement approaches. Using the wrong technique for your chosen hardware guarantees improper fit.
Measuring for Standard Outside-Mount Curtain Rods
Follow these exact steps when you measure curtains for patio door with a standard decorative rod:
-
Determine bracket placement: Measure horizontally from wall to wall where you want the rod to sit. For optimal light control, extend 8-12 inches beyond each side of the door frame. Mark these points with painter’s tape at your desired height—typically 6-8 inches above the door frame for dramatic height.
-
Verify level alignment: Use your laser level to ensure both bracket marks are perfectly horizontal. Patio doors often sit in frames that aren’t perfectly square, so measuring from the floor at each side might yield different heights. Always measure from the highest point to maintain consistent curtain height.
-
Calculate curtain width requirements: Your total curtain width should be 2-3 times the rod length for maximum fullness. For a 96-inch rod (standard for many patio doors), you’ll need 192-288 inches of total fabric width. Divide this by two if using two panels.
-
Determine exact curtain length: Measure from the bottom of where the curtain rings will hang to your desired endpoint. For the popular “kiss” effect, measure to 1/2 inch above the floor. For puddling, add 3-5 inches to your floor measurement. Critical tip: Measure at three points (left, center, right) as floors often slope toward drainage—use the longest measurement to prevent uneven hems.
Measuring for Traverse Rod Systems
Traverse rods require special considerations that differ significantly from standard curtain rods when you measure curtains for patio door installations:
-
Account for stacking depth: Traverse rods need extra width to accommodate the curtain stack when fully open. Add 10-12 inches to your total rod width (5-6 inches per side) beyond your door frame measurements.
-
Measure for proper overlap: The two curtain panels should overlap by at least 8-12 inches in the center when closed. This prevents light gaps that compromise privacy. Your total curtain width must accommodate this overlap plus the full door width.
-
Verify hardware clearance: Measure the distance from your planned rod position to any obstructions like door handles or nearby furniture. Traverse rods typically project 4-5 inches from the wall—ensure this won’t interfere with door operation.
Measuring for Inside-Mount Tension Rods
Only attempt this method if your patio door has sufficient recess depth (at least 2 inches):
-
Measure exact recess width: Record the narrowest point between the inner trim where the rod will sit. Tension rods require precise sizing—select a rod 1/2 to 1 inch longer than your measurement for proper tension.
-
Check recess depth: Measure from the glass to the outer edge of the trim. Your curtain panel plus rod diameter must fit within this space without compressing the fabric. Most patio doors lack adequate depth for this installation method with substantial curtains.
-
Confirm height limitations: Measure from the top of the recess to the floor. Remember that tension rods sit within the frame, so your curtain length will be shorter than with outside-mount options.
Calculating Exact Curtain Dimensions for Perfect Coverage

Many homeowners make the critical error of measuring only the door itself when they measure curtains for patio door treatments. Proper curtain dimensions depend on multiple factors beyond the door size.
Width Calculation Formula
Your curtains need significant excess fabric to achieve proper fullness. Use this calculation:
– Minimum width = Rod length × 1.5
– Standard width = Rod length × 2
– Maximum fullness = Rod length × 2.5
For a typical 8-foot wide patio door with a 110-inch rod, you’ll need 165-275 inches of total fabric width. If purchasing pre-made panels, check the “finished width” on the label, not the flat width—most shrink slightly during manufacturing.
Height Measurement Guidelines
Patio door curtain lengths follow specific conventions that affect your measurements:
– Floor-length: Measure from rod to 1/2 inch above floor for clean look
– Puddle-length: Measure from rod to 3-5 inches below floor for dramatic effect
– Apron-length: Measure from rod to 4 inches below the bottom of any adjacent windows
Pro tip: For rooms with significant slope, measure from the highest corner of the door to the floor at that point, then add 1/2 inch for the kiss effect. This prevents one side from dragging while the other hangs too high.
Critical Mistakes That Ruin Patio Door Curtain Installations

Avoid these common errors when you measure curtains for patio door treatments:
-
Measuring only the door width: Your curtains must extend beyond the glass area to prevent light leakage. Always measure your intended rod placement, not just the door.
-
Ignoring bracket projection: Standard curtain brackets typically extend 2-3 inches from the wall. If your wall space is limited, measure how far your chosen brackets project to ensure curtains won’t hit adjacent walls when open.
-
Forgetting finial measurements: Decorative finials can add 2-4 inches to each end of your rod. Include these in your total width calculation to prevent curtains from hanging too short.
-
Single-point height measurement: Floors often slope, especially near exterior doors. Measuring only in the center frequently results in one side of your curtains dragging while the other hangs too high.
Professional Installation Tips for Flawless Results
Implement these expert techniques to achieve designer-quality results:
For maximum light control: Extend your rod 12 inches beyond each side of the door frame. This ensures curtains clear the entire glass area when fully open, revealing unobstructed views.
To prevent fabric bunching: When measuring for heavy blackout curtains, add 1 inch to your width calculation per panel. Heavy fabrics require slightly more fullness to drape properly without excessive bunching at the sides.
For thermal efficiency: When measuring for insulating curtains, ensure your panels overlap by at least 10 inches in the center and extend 6 inches beyond the door frame on each side. This creates an airtight seal that significantly improves energy efficiency.
Time-saving shortcut: Before ordering custom curtains, hang a length of ribbon at your planned rod height. Open and close the door repeatedly to verify your measurements allow full functionality without obstruction.
By following these precise measurement techniques, you’ll avoid the most common pitfalls that plague DIY patio door curtain installations. Remember that accurate measurements save money in the long run—returns and alterations often cost more than professional installation. When in doubt about your measurements, consult a professional before ordering custom curtains. Properly measured patio door curtains transform a functional necessity into a stunning design feature that enhances both the aesthetics and functionality of your living space.


