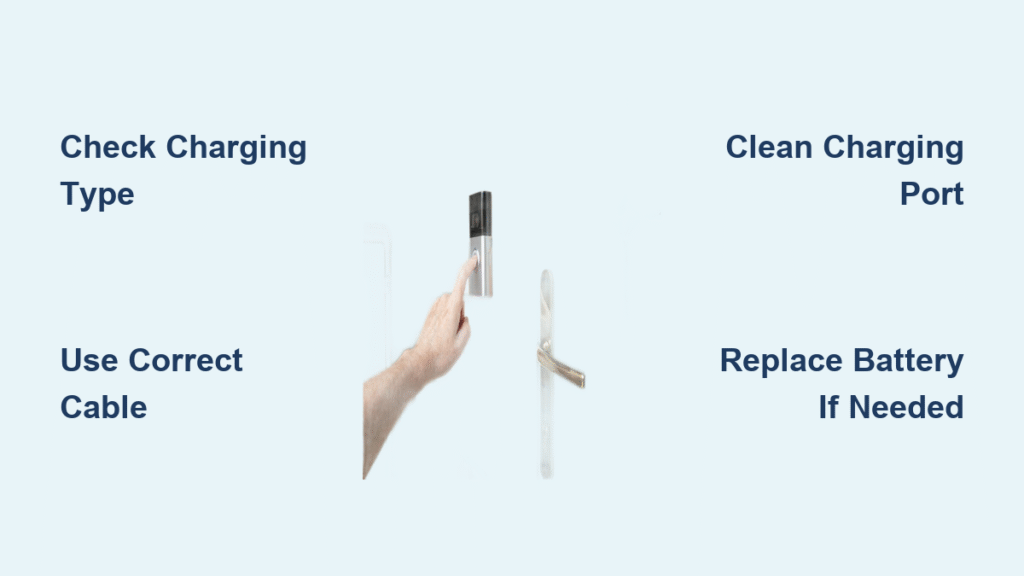
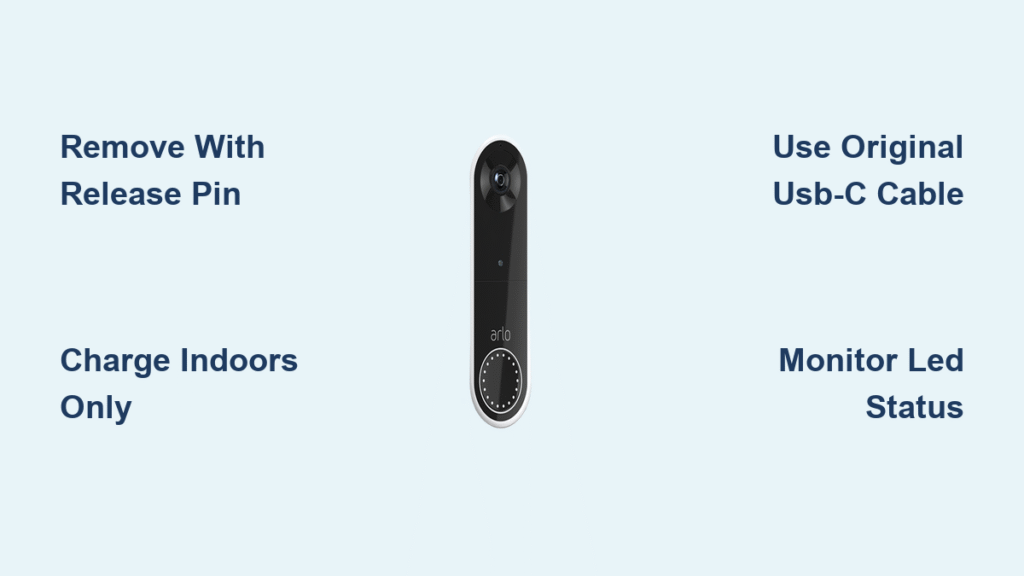
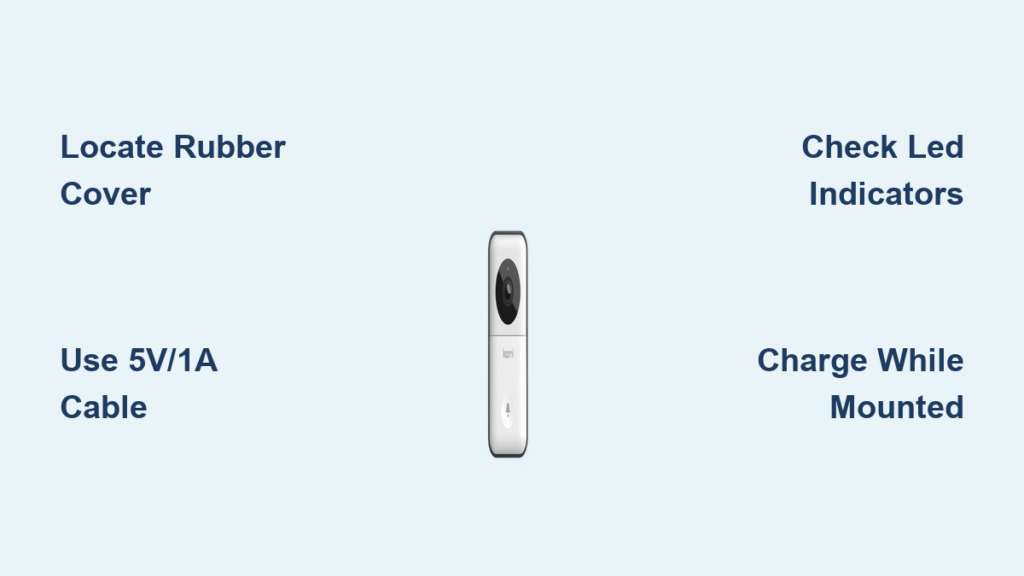
Your doorbell suddenly stopped working, and that persistent “no ring” silence is driving you crazy. Whether it’s a weathered wired button or a finicky wireless model, knowing how to open doorbell button housing properly is the critical first step to diagnosing the problem. Forcing components or mishandling wiring can turn a simple fix into a costly replacement. This guide delivers the exact techniques to safely access both wired and wireless doorbell internals without damaging delicate parts. You’ll learn to identify your specific model type, manage hidden wires, spot common failures, and reassemble everything correctly—all with basic tools you likely already own.
Safety Protocol: Managing Doorbell Voltage Risks

Critical Voltage Verification Steps
Before touching a single screw, confirm your system’s voltage. Most doorbell transformers output 16V or 24V—low enough to be generally safe—but mismatches can cause dangerous overheating. Grab your multimeter: set it to AC voltage, locate your transformer (typically in basements near the front door), and test between the two output wires. If readings exceed 24V, shut off the breaker immediately—this indicates a faulty transformer requiring professional replacement. For standard low-voltage systems, skip the power shutdown but never skip these safety measures: always use tools with insulated handles rated for electrical work, and if the button housing feels warm during operation, stop immediately. That heat signals a critical voltage mismatch that could damage your chime unit.
Live-Work Safety Checklist
Working on live doorbell circuits is usually safe at 24V, but these precautions prevent avoidable mistakes. First, secure the wiring before detaching the button—tape wires to the wall or use locking pliers to prevent them from retracting behind siding. This simple step avoids the nightmare of fishing wires through walls. Second, inspect for paint or caulk seals around the button edges; cutting through these with a utility knife requires 15-degree angled strokes to avoid scratching your siding. Third, never let bare wire ends touch metal surfaces during testing—this can short-circuit your transformer. Pro tip: Place a rubber mat under your ladder for added insulation, especially in damp conditions.
Identify Your Doorbell Type Before Opening
Wired vs. Wireless Identification Clues
Your opening method depends entirely on this distinction. For wired doorbells, look for two thin wires emerging from behind the button housing—usually copper-colored with cloth or plastic insulation. These connect directly to your home’s electrical system via a transformer. The button itself will have screw terminals inside for wire attachment. Wireless models reveal themselves through dead giveaways: a battery compartment (often requiring a coin to twist open), absence of external wires, and visible RF indicator lights. If you see rubber seals around the edges or a completely smooth face with no visible screws, it’s almost certainly wireless. Attempting to disassemble sealed wireless units typically destroys them, so confirm your type before proceeding—check manufacturer labels on the back or search your model number online.
Remove Button from Wall Without Damaging Siding
Hidden Screw Location Strategies
Most homeowners miss critical mounting points because manufacturers hide screws under deceptive covers. For front-access models, gently pry the decorative faceplate upward with a plastic spudger—many snap off to reveal Phillips screws beneath. Paint-sealed buttons require careful scoring: run a utility knife along all four edges at a shallow angle while applying masking tape to the surrounding wall to prevent nicks. When encountering caulked units (common in coastal areas), heat the sealant with a hairdryer for 30 seconds to soften it before cutting. Always pull the button straight out—yanking at an angle can snap fragile plastic tabs. If wires resist movement, do not force it; instead, use needle-nose pliers to create slack by gently feeding more wire through the wall opening.
Wire Management Techniques That Prevent Disasters
The moment wires slip behind siding, your simple repair becomes a major project. Before detaching the button, secure wires using the “double-loop method”: twist the bare ends into tight J-shapes, then hook them over the mounting screws still partially inserted. Alternatively, clip a binder clip to the wires with the free end clamped to your ladder. For wireless units, note the battery orientation with your phone camera before removal—many have non-standard configurations. When disconnecting wired terminals, never cut wires; instead, loosen terminal screws just enough to slide out the J-loop while maintaining tension. This preserves wire length for reinstallation and prevents frustrating shortfalls.
Open Button Housing: Wired vs. Wireless Approaches
Wired Button Disassembly Sequence
Wired models typically separate into front and back sections, but the access method varies by brand. Screw-secured units (like older Leviton models) have four tiny Phillips screws around the housing perimeter—remove these with a #00 screwdriver. Snap-fit designs (common in newer Ring and Nest buttons) require strategic prying: insert a plastic opening tool at the bottom seam where the button stem protrudes, then work clockwise while applying even pressure. If resistance occurs, stop immediately—many have hidden latches near the weather gasket. Never use metal tools directly against plastic housings; this creates stress points that cause cracks during reassembly. Once open, you’ll see the contact mechanism: two brass plates that touch when pressed, often with a small diode for illuminated models.
Wireless Button Limitations Reality Check
Attempting to open most wireless doorbells (like Skybell or Eufy) voids warranties and destroys units. These are intentionally sealed with ultrasonic welding—no screws, no serviceable parts. Your only legitimate access point is the battery compartment, usually opened by twisting the bottom counter-clockwise. If the button fails after battery replacement, do not force it open; instead, check these common wireless killers: verify the receiver’s dip switches match the button’s configuration (black blocks must align identically), test within 50 feet of the receiver to rule out range issues, and inspect for aluminum siding interference. For persistent failures, replacement is the only practical solution—most wireless buttons cost less than $30.
Diagnose Problems While Button Is Open

Instant Function Test Without Tools
With the button detached, perform this 10-second diagnostic: touch the two bare wire ends together. If your chime sounds, the button itself is faulty. If silent, the problem lies elsewhere (transformer, wiring, or chime unit). For wireless models, remove the battery and hold the button contacts against the battery terminals—if the LED flashes, the button works but may have pairing issues. Critical warning: Never test wired connections with the transformer active if you see melted insulation or burn marks; this indicates dangerous voltage spikes requiring electrician intervention.
Multimeter Troubleshooting Flowchart
Set your multimeter to continuity mode (the diode symbol) for the most accurate button diagnosis. Touch probes to the two terminal screws while pressing the button: you should hear a continuous beep. No beep? The internal contacts are corroded or broken. For precise resistance readings (Ohms mode), expect near-zero resistance when pressed and infinity when released. If readings are inconsistent, clean contacts with 400-grit sandpaper folded into a “V” shape to reach narrow gaps—never use steel wool, which leaves conductive fibers. Pro tip: Test the diode in illuminated buttons by reversing multimeter probes; it should show high resistance one way and low the other. Failure here causes flickering lights and premature burnout.
Reassembly Process: Avoiding Costly Mistakes

Weatherproofing Techniques That Last
Skipping proper sealing guarantees repeat repairs. Before remounting, scrape all old caulk from the mounting surface using a 5-in-1 painter’s tool, then wipe with isopropyl alcohol to remove residue. Apply new silicone caulk in a continuous bead around the housing’s outer edge—not the mounting holes—to create a watertight barrier that still allows drainage. For siding gaps, insert foam backer rod before caulking to prevent “caulk volcano” bulges. When driving screws, stop when the housing makes firm contact with the wall; overtightening cracks plastic housings. Test for gaps by running your fingernail around the perimeter—any movement means re-caulking is needed.
Wire Connection Security Checklist
Loose wires cause 70% of reinstallation failures. Create perfect J-loops using needle-nose pliers: bend 1/2 inch of bare wire into a tight U-shape, ensuring the hook faces downward so gravity won’t loosen it. Position loops under terminal screws with the open end pointing toward the screw head—this prevents wires from slipping out during tightening. Snug terminal screws until the wire is immobilized, but never overtighten (most require only 15 inch-pounds of torque). Final verification: gently tug each wire—zero movement means a secure connection. For wireless units, apply dielectric grease inside battery contacts to prevent corrosion before inserting new batteries.
Troubleshoot Post-Installation Failures
Wired System Voltage Verification
If the chime stays silent after reassembly, your transformer may be failing. Test output voltage with wires connected to the button: readings below 10V indicate a dying transformer, while spikes above 24V mean immediate replacement is needed. Check for “phantom voltage” by disconnecting the button and testing transformer output directly—if voltage disappears, wiring has a hidden short. For intermittent issues, inspect wire paths for staples piercing insulation (common at door frames) and replace damaged sections with 18-gauge bell wire.
Wireless Pairing Reset Protocol
When wireless buttons refuse to sync after battery changes, perform a full system reset: remove batteries from both button and receiver, unplug the receiver for 60 seconds, then reinstall batteries while holding the button pressed continuously. Most systems require this “sync dance” within 30 seconds of receiver power-up. If pairing fails, check for conflicting signals from Wi-Fi routers or baby monitors—temporarily turn these off during resync. For models with physical dip switches, photograph both units’ configurations before adjustment; mismatched switches are the #1 cause of wireless failures.
Maintenance Tips for Decade-Long Operation
Seasonal Prevention Routine
In high-moisture climates, perform this 5-minute quarterly ritual: remove the button faceplate (no full disassembly needed), wipe contacts with a microfiber cloth dampened with electronics cleaner, and apply a pea-sized amount of dielectric grease to moving parts. For coastal homes, replace standard screws with stainless steel versions to prevent rust-jacking. Every spring, inspect mounting screws for tightness—wood siding expands/contracts seasonally. Wireless users should replace batteries annually even if functional; lithium CR2032s last longer in extreme temperatures than alkalines.
Longevity Boosters You’ve Never Heard
Extend button life significantly with these pro techniques: Install a 0.1μF ceramic capacitor across the button terminals to suppress arcing (doubles contact lifespan), position wired buttons under eaves to avoid direct rain exposure, and for wireless models, mount the receiver away from metal appliances that cause signal interference. Most importantly: never press the button harder when it sticks—this accelerates wear. Instead, clean the stem channel with compressed air to remove debris. A well-maintained doorbell button should operate reliably for 15+ years with minimal intervention.
Opening your doorbell button correctly transforms a frustrating mystery into a solvable puzzle. For wired systems, 90% of failures stem from corroded contacts or loose wires—both easily fixable once you’ve safely accessed the internals. Wireless units demand different tactics: battery vigilance and precise pairing rather than mechanical repairs. Remember that proper weatherproofing during reassembly prevents most repeat failures, while seasonal maintenance extends service life exponentially. By following these specific, tested procedures, you’ll avoid costly electrician calls for what’s usually a 20-minute DIY fix. Keep this guide accessible for future reference—your future self will thank you when the next silent doorbell crisis strikes.


