
Your commercial door handle suddenly sticks during rush hour, trapping employees inside the office. Or worse—you discover a compromised lock after business hours with no locksmith available. Knowing how to remove a commercial door handle yourself saves critical time during emergencies, rekeying, or hardware upgrades. This isn’t a residential knob you can twist off in seconds; commercial handles involve complex security mechanisms where one wrong move risks damaging fire-rated assemblies or triggering costly repairs. Follow this precise guide to safely disassemble most lever-style commercial handles—common in offices, hospitals, and retail spaces—without voiding warranties or compromising safety compliance. You’ll learn to identify hidden fasteners, avoid spindle damage, and reassemble flawlessly, whether you’re replacing a worn latch or prepping for rekeying.
Why Your Commercial Door Handle Won’t Release (And How to Fix It)
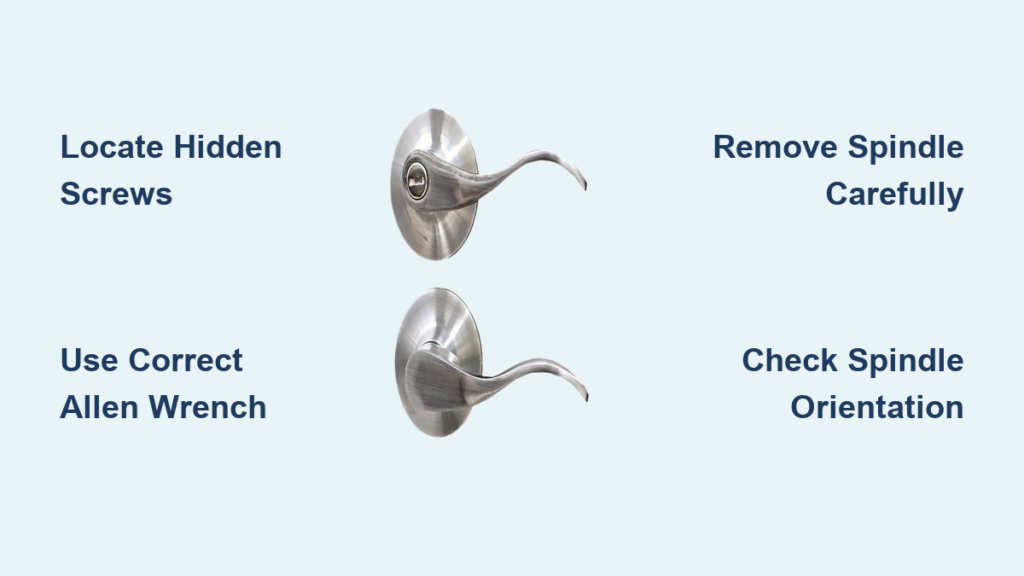
Commercial handles resist removal by design—they must withstand heavy foot traffic and security threats. Unlike residential knobs, these systems use recessed set screws, split rosettes, and spindle-locking collars that aren’t obvious at first glance. Forcing the handle off cracks internal components, jams the latch, or strips critical threads. Most failures happen when users miss hidden access points like push-button releases under lever caps or Allen-wrench slots disguised as decorative dots. If your lever won’t budge after loosening visible screws, check for manufacturer-specific release mechanisms. Never hammer the spindle—this bends the square rod, making reassembly impossible. Instead, identify your handle type first: lever handles dominate commercial spaces (95% of installations), while knobs are rare exceptions. Push bars or panic hardware require entirely different procedures and should always involve a certified technician due to life-safety regulations.
Locate Hidden Release Mechanisms in 60 Seconds
Start with a hands-free inspection before grabbing tools. Run your fingers along the lever’s base where it meets the rosette. Feel for:
– A small pinhole (common on Schlage commercial levers)—insert a paperclip to depress the internal plunger
– A sliding cover plate (typical on Falcon handles)—slide left/right with a flat-head screwdriver
– Magnetic caps (found on newer Von Duprin models)—lift gently with tape
– Hexagonal indentations (indicating Allen-wrench points)—test 1/16″ to 5/64″ sizes
If your lever has no visible release, it’s likely secured by a set screw hidden under the lever’s end cap. Pry the cap gently with a knife tip—most snap off cleanly to reveal a 3/32″ Allen socket. Skip this step and you’ll strip the screw head, turning a 10-minute job into a 2-hour repair. Document each discovery with phone photos; handle assemblies have left/right orientation that’s easy to miss during reassembly.
Essential Tools for Commercial Handle Disassembly (No Guesswork)

Using incorrect tools scars metal finishes and ruins precision threads. Commercial hardware demands exact-fit implements—not your household toolbox. Here’s what you actually need:
- 3/32″ and 1/8″ hex keys (most common set-screw sizes—test both before forcing)
- PH0 Phillips screwdriver (standard for trim screws—PH1 strips commercial-grade fasteners)
- Rubber mallet (for stubborn spindles—never use metal hammers)
- Magnetic parts tray (holds tiny springs/washers that vanish on concrete floors)
- Flashlight with zoom beam (illuminates recessed screw heads inside rosettes)
Critical safety prep: Verify the door isn’t fire-rated before starting. Tampering with fire door hardware violates NFPA 80 and risks $5,000+ fines. If the door has a “UL Fire Protection” label or automatic closers, stop and call a locksmith. For non-fire doors, prop it securely with two wedges—never rely on a single wedge. A swinging door during spindle removal can shear screws or pinch fingers.
Step-by-Step Removal: Lever Handle to Bare Chassis
Remove the Exterior Lever Handle Without Damage
- Expose the set screw: Slide any decorative cover toward the door edge using a flat-head screwdriver. On lever-end models, snap off the plastic cap with a utility knife tip.
- Loosen the set screw: Insert the correct Allen wrench and turn counterclockwise only until loose. Do not remove completely—this prevents the screw from falling into the mechanism.
- Release the lever: Grip the lever firmly and pull straight off the spindle. If stuck, tap the lever base upward with a rubber mallet (not sideways). Never twist the lever—this bends the spindle square.
- Handle stubborn levers: For frozen spindles, apply 3 drops of lubricant into the gap, wait 2 minutes, then pull while wiggling vertically. Forcing it horizontally cracks the rosette.
Disassemble the Rosette and Trim Assembly
With the lever off, you’ll see the rosette’s split seam. Most commercial rosettes separate into inner/outer rings held by twin set screws:
- Locate both set screws: Shine your flashlight along the rosette’s edge. You’ll find two screws spaced 180 degrees apart—often recessed 1/4″ deep.
- Loosen screws 3 full turns: Back them out just enough to release tension. Removing screws entirely risks losing them inside the door.
- Separate the rings: Insert a flat-head screwdriver into the seam and twist gently. The outer ring should lift off. If stuck, rotate it 1/8 turn clockwise while lifting—this releases cam locks.
- Inspect the spindle: Check for corrosion or bends. A damaged spindle causes sticky handles and must be replaced before reassembly.
Extract the Latch Mechanism Safely
Now you see the latch body embedded in the door edge. This step determines smooth operation post-repair:
- Remove edge screws first: Unscrew the two 1″ screws holding the latch plate. Keep these separate—they’re shorter than chassis screws.
- Pull the latch straight out: Grip the latch faceplate and pull directly toward you. Never yank at an angle—this bends the latch bolt.
- Free the spindle: With the latch removed, the square spindle should slide out from the interior side. If stuck, use needle-nose pliers on the spindle tip—never grip the square section (rounds corners).
- Check for hidden collars: Some models (like Sargent 1000 series) have a retaining collar behind the spindle. Loosen its set screw before spindle removal.
Critical Mistakes That Destroy Commercial Locksets

Skipping these checks guarantees costly errors:
- Ignoring spindle orientation: Commercial spindles have offset flats. Installing backward prevents latching. Note the spindle’s “UP” mark before removal.
- Overtightening screws: Commercial screws have torque specs (usually 25-35 in-lbs). Hand-tighten only—power tools strip threads in soft zinc alloys.
- Mixing screw types: Chassis screws are longer than latch screws. Using the wrong ones blocks the latch bolt.
- Forgetting the spring: A tiny return spring hides under the interior lever base. Losing it causes “dead” handles that won’t spring back.
Reassembly Checklist: Avoid Costly Call-Backs

Rushing reassembly causes 70% of post-repair failures. Follow this sequence:
- Insert the latch into the door edge, ensuring the bevel faces the strike plate.
- Slide the spindle through the latch body—align the flat side upward per manufacturer marks.
- Feed the interior chassis through the door hole, threading the spindle through it.
- Attach the exterior lever, verifying the spindle engages the latch cam.
- Insert chassis screws hand-tight, then alternate tightening them 1/4 turn each until snug.
- Reattach rosette halves, then the lever with set screw loose. Test operation before final tightening.
- Final test: Close the door slowly—latch should engage smoothly without scraping. Handle should return fully within 1 second.
When to Call a Professional Immediately
Stop disassembly if you encounter:
– Panic hardware (push bars/crossbars)—these are life-safety devices regulated by IBC Section 1010.1. Tampering risks egress failure during fires.
– Electrified locks (wires entering the chassis)—shock hazard and complex reprogramming.
– Tri-point screws (three-pronged heads)—indicates high-security cores requiring manufacturer tools.
– Rusted or stripped screws—corrosion suggests moisture damage needing full assembly replacement.
Commercial door hardware protects lives and assets—never gamble with improper repairs. For standard lever handles, this guide gets you through disassembly safely. But when security, fire codes, or complex mechanisms are involved, a $150 locksmith call beats a $2,000 door replacement. Bookmark this guide for your next routine handle swap, and always photograph each step before removing parts. With the right approach, you’ll conquer stubborn commercial handles in under 20 minutes—keeping your business moving when every second counts.


