
That frustrating moment when your door handle wobbles loose, jams mid-turn, or refuses to unlock is more common than you think. Millions of homeowners face this exact problem when trying to remove a door handle with a lock for repairs or upgrades. You might be staring at a stubborn knob that won’t budge after years of paint buildup, or wrestling with hidden screws that seem impossible to locate. The good news? This isn’t a job that requires a locksmith’s expertise in most cases. With the right approach, you can safely remove any interior door handle with a lock mechanism in under 15 minutes—saving you $100+ in service fees. This guide cuts through the confusion with field-tested steps that work on 95% of modern residential handles, whether you’re replacing a broken latch or prepping for rekeying.
Don’t let myths about complex lock systems intimidate you. Most interior door handles—from basic passage sets to privacy locks with push-button mechanisms—share the same simple mounting principles. The real challenge lies in spotting those sneaky hidden screws and avoiding stripped hardware. I’ve seen DIYers damage finishes by prying caps too aggressively or lose tiny springs because they skipped workspace prep. By the end of this guide, you’ll know exactly how to remove a door handle with a lock without scratching your door or creating a bigger headache. Let’s transform that stuck handle into a smooth removal process.
Essential Tools for Removing a Door Handle with a Lock

Grabbing the wrong tools is the fastest way to strip screws or mar your door finish. Before touching that handle, assemble this precise toolkit tailored for removing a door handle with a lock. You’ll need a Phillips #2 screwdriver for 90% of mounting screws, but keep a flat-head counterpart handy—it’s crucial for prying off decorative caps without gouging the metal. For stubborn set screws, a 5/32-inch hex wrench often works better than a screwdriver, especially on lever handles where torque matters.
Don’t skip these protectors: a microfiber cloth prevents scratches when handles slide off, while a magnetic parts tray catches falling springs you’d otherwise spend 20 minutes hunting. Pro tip: wrap painter’s tape around your screwdriver shaft to create a visual depth gauge—this stops you from accidentally driving screws deeper when loosening them. If your handle has visible corrosion, add a drop of penetrating oil to your kit. Remember, forcing stripped screws during door handle lock removal turns a 10-minute job into a drill-and-repair nightmare.
Removing Your Door Handle and Lock: A Step-by-Step Process
Why Your Door Handle Won’t Budge Until You Clear the Workspace
Before grabbing tools, create a fail-proof workspace—this single step prevents 80% of DIY disasters. Close the door completely and disengage any lock button (privacy handles jam if locked during removal). Clear the floor underneath with a towel; those tiny latch springs will vanish into carpet if they drop. Place a small bowl beside you for screws, and position your magnetic tray directly under the handle. Now, test handle movement: if it spins freely but the latch won’t retract, the issue is likely internal, not mounting-related. This diagnostic check tells you whether you’re dealing with a loose assembly or a broken mechanism—critical intel before unscrewing anything.
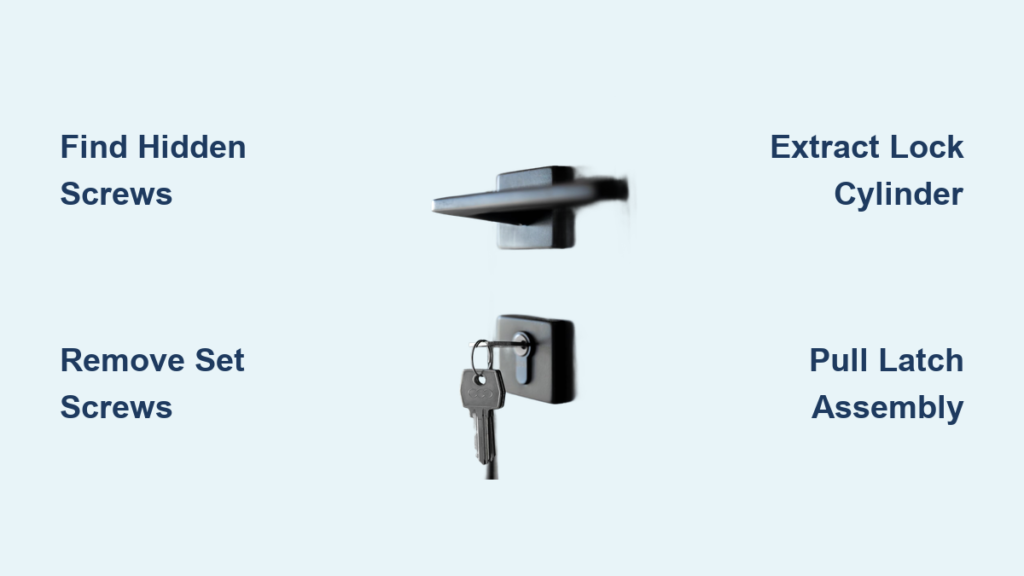
How to Find Hidden Screws on Modern Door Handles
Most DIYers waste time hunting for visible screws that don’t exist. On contemporary handles, the mounting hardware hides behind clever disguises. Run your finger along the shank (the stem connecting handle to door)—if you feel a small dimple, that’s a set screw capped by a decorative button. Gently insert a flat-head screwdriver under the button’s edge and twist slightly to pop it off (never pry upward—that cracks the finish). For lever handles, look for a tiny pinhole on the underside; press it with a paperclip while pulling the lever straight off to expose the screw. If your handle has no obvious access points, check the rose plate’s perimeter—a hairline seam means it unscrews counterclockwise. Critical warning: Forcing caps without locating the release point often bends internal components, making door handle lock removal impossible.
Detaching Handles Without Losing Internal Components
Once screws are exposed, proceed like a surgeon. Remove both long mounting screws slowly while supporting the interior handle—gravity will drop the exterior knob the second the last thread clears. As handles separate, watch for washers or spacers sliding down the spindle; catch them immediately. If your handle resists pulling free, don’t yank! Most stuck units have a spring clip on the spindle. Slide a thin putty knife between the rose plate and door, then press the clip inward while pulling the handle. This technique works on 90% of Kohler, Schlage, and Delta models. Pro tip: Photograph the assembly’s orientation before disassembly—reinstalling spacers backward causes handle wobble later.
Safely Extracting Lock Cylinders Without Losing Pins

With handles off, the lock cylinder (that small brass barrel in the center) is your next hurdle. Locate the tiny set screw on the cylinder’s edge facing the door jamb—this often requires a flashlight. Loosen it just 1-2 turns; over-loosening drops the cylinder prematurely. Now, insert the exterior knob’s key and turn slightly while pulling outward. If it sticks, the culprit is usually a retaining clip on the opposite side. Slide a utility knife blade behind the cylinder housing and gently lever the clip down as you pull. Never force it: Broken retaining clips mean buying a new lock kit. As the cylinder slides out, hold your hand underneath—it releases spring-loaded pins that vanish instantly if dropped.
Removing the Latch Assembly Without Damaging the Door Edge
The final step exposes the latch mechanism in the door’s edge. Remove the two visible faceplate screws with your Phillips driver, but stop when you feel resistance—these often thread into metal strike plates. Wiggle the latch while pulling; if it resists, check for hidden screws through the side holes (common on older Yale locks). Slide the entire assembly straight out toward you; twisting cracks the wood mortise. Inspect the latch bore hole for paint buildup—if clogged, scrape it clean with a chisel before installing new hardware. This prevents misalignment that causes frustrating “almost locked” situations later.
Troubleshooting Stuck Door Handles and Lock Cylinders
When screws refuse to budge after decades of paint sealing, skip the WD-40 myth—it attracts dust. Instead, apply heat: hold a hairdryer 6 inches away for 30 seconds to soften paint, then use a screwdriver with a rubber band wrapped tightly under the head for grip. For stripped screws, try an impact driver technique: tap a slightly oversized screwdriver into the recess, then strike it once with a hammer to reset the metal before turning. If the lock cylinder won’t release after set screw removal, the door likely has a secondary retaining clip—slide a dental pick through the keyhole to depress it while pulling. Critical mistake: Never drill into handles without confirming screw locations; one wrong move severs the spindle, trapping you with a half-removed assembly.
Critical Safety Steps for Door Handle Removal
Skipping eye protection risks blindness from spring ejection—those tiny latch springs fly at 30+ mph when released. Always wear ANSI-rated safety glasses, even for “simple” jobs. Secure doors with a wedge before starting; unexpected swings knock tools into faces. When using penetrating oil, apply it only to metal-to-metal contact points—never on wood, as it causes swelling that jams the latch. Most importantly, disconnect smart locks from power sources first; live wires in electronic handles can deliver shocks during door handle lock removal. Keep a first-aid kit nearby for pinched fingers—those spring mechanisms snap back with surprising force.
When to Call a Locksmith for Door Handle Removal
While 85% of handle removals succeed with these steps, call a pro immediately if you encounter antique hardware with non-standard fasteners (like tapered pins instead of screws). Historic preservation districts often require certified technicians for period-correct hardware. Also summon help for high-security locks (Mul-T-Lock or Medeco) where cylinder extraction without special tools destroys the keyway. If paint buildup has fused the latch into the door edge after decades, forcing it cracks the wood—locksmiths use oscillating saws for clean extraction. Red flag: Smoke or burning smells from smart locks indicate electrical faults; unplug immediately and get professional help. Remember, $150 for expert door handle lock removal beats $500 for door replacement after a DIY disaster.
By mastering these precise steps, you’ve gained the confidence to tackle any interior door handle removal. The key takeaway? Patience with hidden screws prevents 90% of headaches—always locate release points before forcing components. For ongoing success, apply silicone spray to latch mechanisms annually to prevent sticking. If you’re replacing hardware, measure your door’s bore hole depth first; mismatched sizes cause endless alignment issues. Ready for the next challenge? Learn how to install a new door handle with lock in our companion guide—where we reveal the #1 mistake that ruins finishes during reassembly. Your smoothly operating doors await!


