
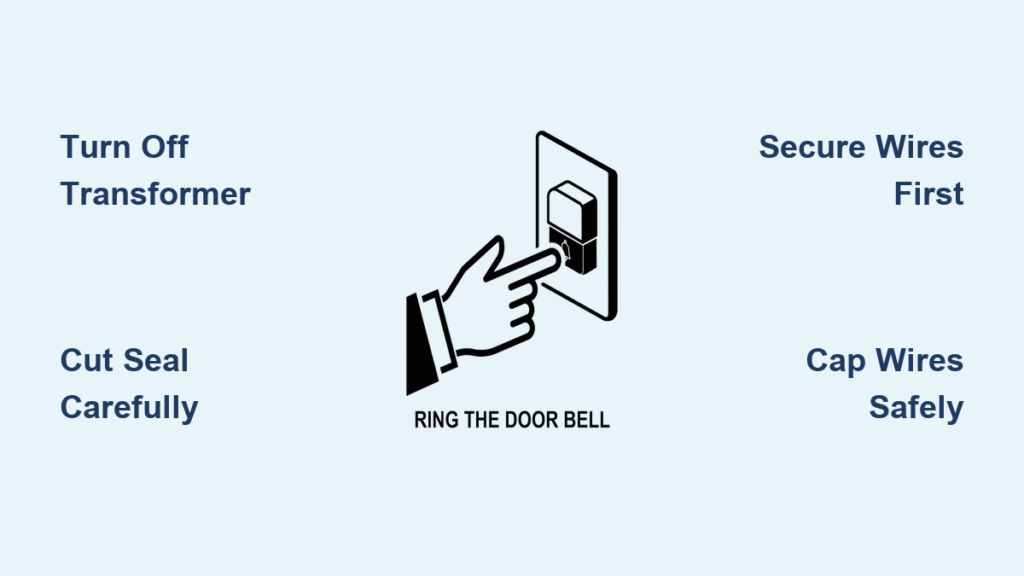
Your doorbell button cracks under winter frost or sticks after summer humidity. Guests stand stranded while you scramble to answer—yet replacing it seems risky. What if you accidentally shock yourself? Or worse, tear your expensive vinyl siding during removal? The truth is, removing a doorbell button is one of the safest DIY electrical projects when done correctly. With low-voltage wiring (12–24V AC) posing minimal risk, you’ll complete this task in 15–30 minutes using basic tools. This guide reveals exactly how to remove any doorbell button—surface-mounted or recessed—while protecting your home’s exterior and avoiding common pitfalls like lost wires or transformer mishaps.
Stop Before You Touch: Critical Safety Checks
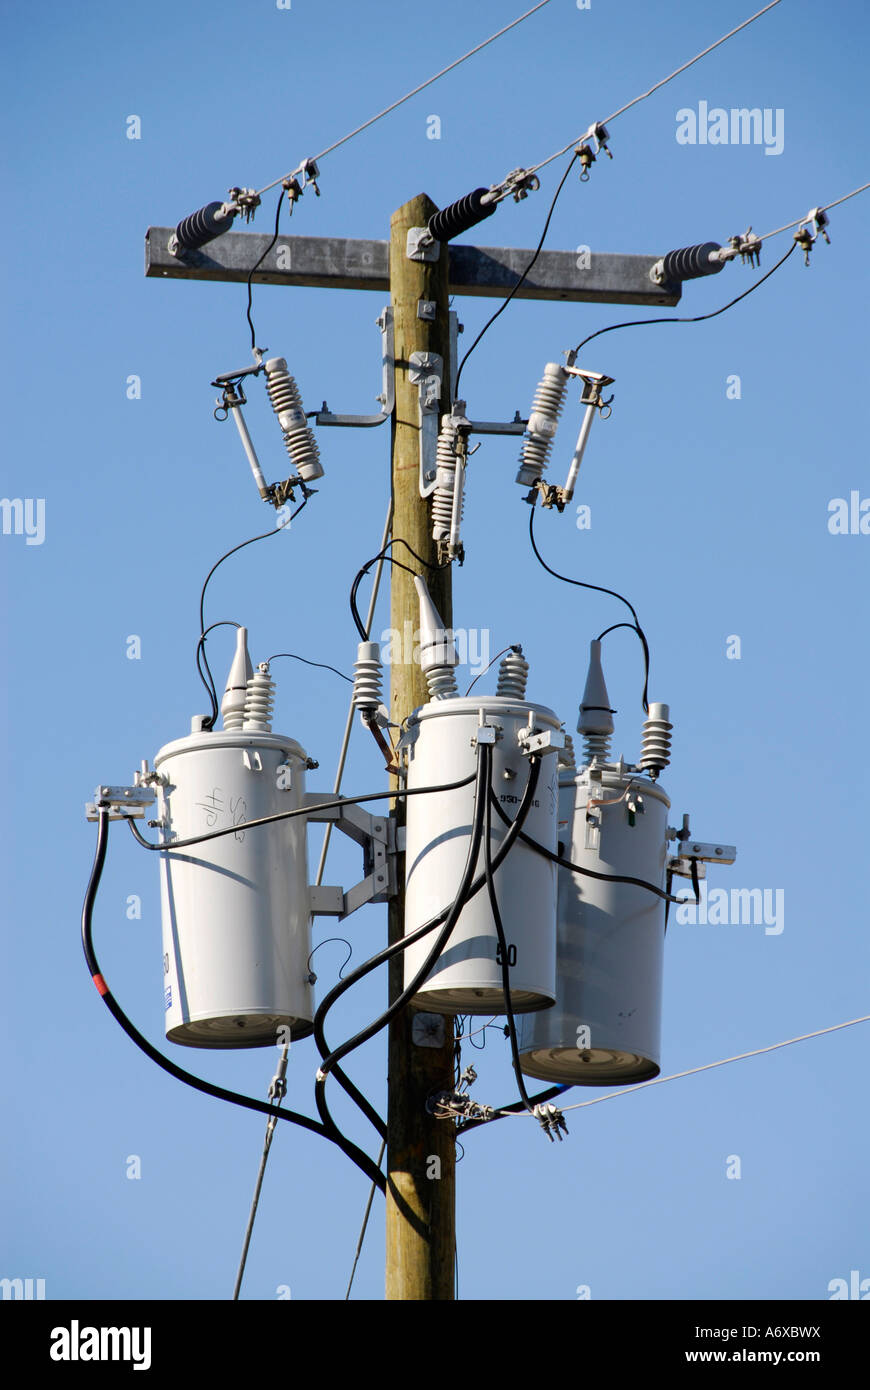
Locate and Deactivate the Transformer First
Before touching the button, identify your transformer’s location—it’s typically a small metal or plastic block (2″ x 2″ x 2″) mounted near your electrical panel, basement ceiling joists, or garage. If you hear a faint hum when the doorbell rings, that’s your target. Never skip this step: While low-voltage button wires are generally safe, the transformer connects to 120V household current. Shut off the correct breaker by systematically flipping switches while someone presses the button until the chime stops. Verify 0V at the transformer using a multimeter—this prevents accidental contact with live 120V wires during removal.
When You Can Skip Power-Down (Safely)
Replacing only the outdoor button? You likely don’t need to cut power. Low-voltage wires (12–24V AC) won’t deliver a dangerous shock. Confirm by disconnecting one wire from the button and briefly touching it to the other terminal—if the chime rings, the button is faulty and safe to handle. Pro Tip: Still verify transformer voltage reads 10–16V (or 27V for 24V systems) to rule out dangerous overvoltage that could damage new components.
Gather These 5 Essential Tools Before Starting
Must-Have Removal Kit
- Utility knife: Cuts caulk/paint seals without scratching siding
- Small screwdrivers (Phillips & flat-head): Removes mounting screws on all button types
- Needle-nose pliers: Grips stubborn wires and terminal screws
- Electrical tape: Secures loose wires to prevent wall cavity drops
- Voltage meter: Confirms power is off at the transformer (non-negotiable for safety)
Helpful Extras for Tricky Situations
Keep painter’s tape ready to anchor wires before disconnecting. For recessed units, add a scratch awl to mark wire positions and a short pry bar for gentle frame release. Exterior caulk and touch-up paint ensure seamless cosmetic repairs afterward—skip these and moisture will invade your wall cavity within months.
Remove Surface-Mounted Doorbell Button in 4 Steps
Break the Seal Without Damaging Siding
Run a sharp utility knife along the button’s entire perimeter where it meets your trim or siding. This severs years of paint and caulk buildup. Critical mistake to avoid: Forcing the button off without cutting the seal tears siding or peels paint. Work slowly—this step takes 60 seconds but prevents $200 in repair costs.
Extract Mounting Screws Properly
Most surface buttons have two screws (top/bottom). Turn counterclockwise until fully removed. If screws spin without backing out, the wall anchors are stripped—push the button gently away from the wall to regain screw access. Never use excessive force: Stripped anchors require patching and repositioning the new button.
Secure Wires Before Disconnecting
Tape both low-voltage wires to your siding with painter’s tape before loosening terminal screws. This prevents wires from retracting into the wall—a nightmare requiring drywall cuts to retrieve. Pro Tip: Note wire positions with a marker, though polarity doesn’t matter for doorbell circuits.
Disconnect and Cap Wires Safely
Loosen the terminal screws on the button’s back and remove both wires. Wrap exposed ends in electrical tape until installing the new button. If abandoning the system, push capped wires into the wall cavity—they’re harmless once the transformer is disconnected.
Extract Stubborn Recessed Doorbell Assemblies
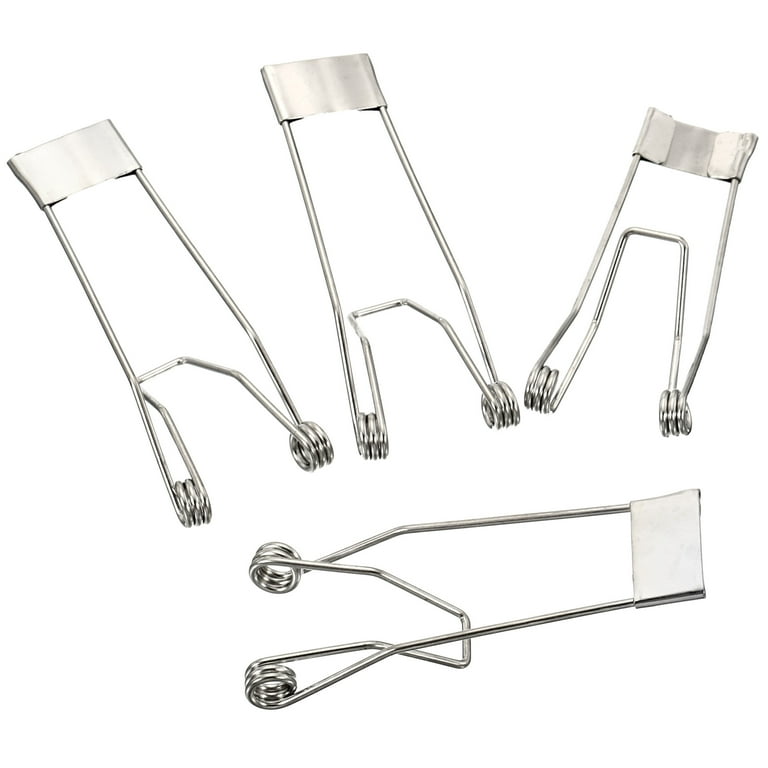
Release the Hidden Spring Clips
Recessed units hide behind metal frames secured by spring clips or micro-screws. Slide a flat screwdriver along the frame’s edge to locate fasteners. Never pry aggressively: Apply gentle outward pressure at multiple points to avoid cracking drywall. If adjustment screws exist (usually four), turn them counterclockwise to release tension.
Remove the Metal Frame Without Wall Damage
Four metal tabs grip your drywall/plaster. Once tension is released, pull the frame straight out. Save this frame if patching later—it provides structural support for skim-coating with joint compound. For larger holes, mount a PVC plate behind the frame before refinishing.
Manage Wires to Prevent Shorts
Cap each wire with small wire nuts before disconnecting from chime terminals. This isolates circuits and prevents accidental shorts during removal. Label wires if replacing the chime unit—though most modern systems don’t require specific polarity.
Permanently Abandon Your Doorbell System Correctly
:max_bytes(150000):strip_icc()/how-to-cap-dangling-electrical-wires-1821573_05_push_wires_1444-e1a835b6ed1a4264a35def36b92a85de.jpg)
Disconnect Transformer Circuits Safely
When removing the entire system (e.g., switching to wireless), address both circuits:
1. 120V supply: Cap transformer feed wires individually with wire nuts inside the junction box
2. Low-voltage wires: Push button/chime wires into wall cavities—no special treatment needed
Patch Holes Like a Pro
Small button holes fill with exterior spackle; sand smooth after drying. For chime cut-outs:
– Small gaps: Apply painter’s caulk, then prime/paint
– Large holes: Install a wood mounting plate behind drywall before skim-coating
Never drywall over the transformer box—electrical code requires it to remain accessible with a blank cover plate.
Troubleshoot Removal Nightmares Instantly
| Problem | Immediate Fix |
|---|---|
| Button feels hot | Test transformer voltage—replace if over 24V AC to prevent fire risk |
| Chime buzzes constantly | Disconnect wires at transformer; indicates stuck button or short circuit |
| Fiberglass insulation itch | Rinse skin with cold water first (closes pores), then wash with soap |
| Wires retract into wall | Fish them out with a bent coat hanger before patching the hole |
Finish With Flawless Cosmetic Repairs
Seal Against Weather and Pests
Apply a thin bead of paintable exterior caulk around the entire perimeter of your new button. This blocks moisture and insects—skip this and you’ll face mold or ant invasions within a year. Smooth caulk with a damp finger for professional results.
Match Paint Perfectly
Touch up scraped siding using these steps:
1. Clean area with mild soap/water
2. Apply exterior primer to bare spots
3. Use small foam brush for paint matching
Pro Tip: Save leftover siding paint in labeled containers for future touch-ups.
Quick Answers to Critical Removal Questions
Can I cut low-voltage wires without disconnecting the transformer?
Absolutely not. Always de-energize the transformer first. Once disconnected, cut and abandon wires safely in walls.
Do I need an electrician to remove a doorbell?
Rarely. Only hire one if rewiring 120V circuits or if no existing wiring exists for upgrades.
Why does my multimeter show 27V on a 24V system?
This is normal—transformers output higher voltage when unloaded. Ensure replacement parts match your system’s rating.
Is it safe to leave low-voltage wires in walls?
Yes, once the transformer is disconnected. These wires pose no fire hazard and don’t require junction boxes.
What if the transformer box is buried in insulation?
Never cover it. Relocate the box by cutting mounting nails with a hacksaw blade, then reattach it facing downward on the joist with a blank cover plate.
Removing your doorbell button is a satisfying DIY win when you follow these precise steps. By prioritizing transformer safety, securing wires before disconnection, and sealing gaps properly, you’ll avoid the top three removal disasters: lost wires, wall damage, and electrical hazards. Whether upgrading to a video doorbell or simplifying your entryway, this process takes under 30 minutes with basic tools. Remember—low-voltage systems are beginner-friendly, but never compromise on verifying power is off at the source. Your freshly cleared wall space now awaits the perfect modern replacement or a seamless paint touch-up.


