
Your Nest doorbell suddenly goes dark mid-day while you’re expecting an important package delivery. That sinking feeling hits when you realize the battery died—but before you panic, know this: removing the battery takes just minutes if you have the right model. The critical first step? Only battery-powered Nest doorbells allow user battery removal. Wired models like the Nest Hello hide their internal batteries behind sealed casings, making removal impossible without professional help. Let’s get your device back online fast by identifying your model and executing the precise removal process.
This guide cuts through the confusion with model-specific instructions straight from Google’s specifications. You’ll learn exactly where to find the release mechanism, avoid common damage-causing mistakes, and handle charging safely—even in freezing temperatures. By the end, you’ll confidently remove and reinstall your battery while extending its lifespan through pro maintenance techniques. No more staring helplessly at a dead doorbell screen.
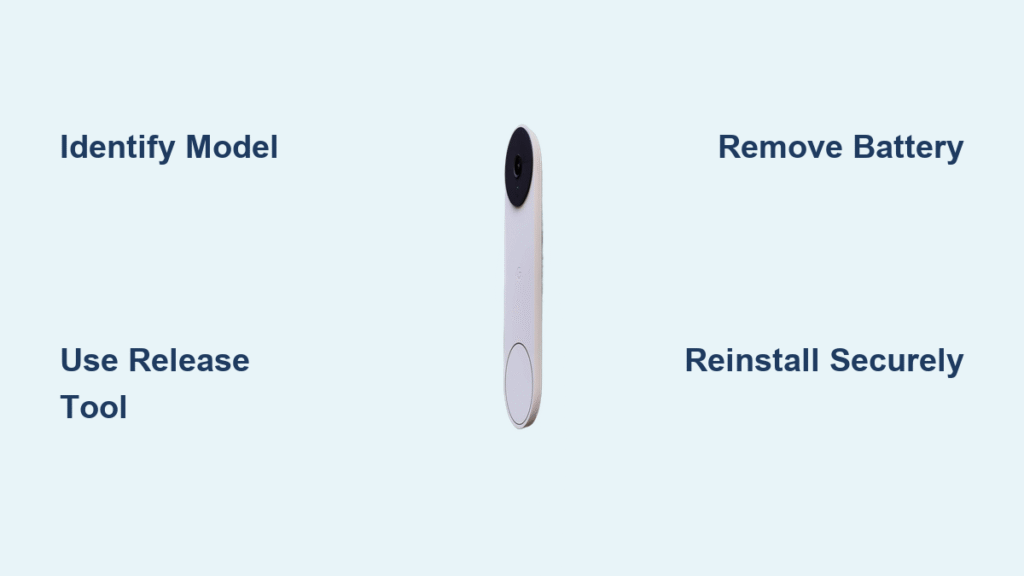
Identify Your Nest Doorbell Model Before Touching Anything

Battery vs Wired Models: Critical Differences
Google Nest Doorbell (Battery) – This wireless model features a removable battery you can charge separately. Confirm you own this by checking for:
– Zero visible wires connected to the back of the unit
– A USB-C charging port clearly visible on the bottom edge
– The word “Battery” appearing in your Google Home app status
Google Nest Hello (Wired) – This hardwired model contains a sealed internal backup battery that cannot be removed by users. Identify it by:
– Electrical wires permanently attached to the back plate
– No external charging port anywhere on the device
– “Wired” designation in your Nest app settings
Immediate Action: If your doorbell has any wires connected to your home’s electrical system, stop reading—this guide doesn’t apply to you. Wired models require professional service for battery issues, as their internal batteries aren’t designed for user replacement.
Preparation Before Removal: Avoid Costly Mistakes
Required Tools Checklist for Safe Removal
Essential Items You Must Have:
– The original release tool (that tiny key included in your box)
– Backup tools if you lost the original: straightened paperclip or thumbtack
– Phillips head screwdriver only if adjusting the mounting bracket
Non-Negotiable Safety Steps:
1. Open Google Home app → Select your doorbell → Tap “Turn Off”
2. Wait 30 seconds for complete shutdown (no blue LED flashes)
3. Wave your hand in front of the camera to confirm motion detection stops
4. Activate temporary security measures like indoor cameras during removal
Quick Safety Verification Checklist
Before inserting any tool:
– ✅ Confirm doorbell shows “Offline” status in Google Home app
– ✅ Check for no visible recording light (red or blue) on the device
– ✅ Position yourself to catch the 7-ounce unit if it unexpectedly detaches
Pro Tip: Place a soft towel on the ground below your doorbell. This prevents damage if the unit slips during removal—a common panic moment when users rush the process.
Remove Battery-Powered Nest Doorbell: Step-by-Step Guide
Step 1: Position for Safe Release
Stand directly facing your doorbell with clear access to the top edge. Support the unit with your non-dominant hand throughout removal—this prevents dropping when the release mechanism engages. The battery-powered model’s lightweight design (just 7 ounces) makes it prone to sudden detachment, so keep firm but gentle pressure upward as you work.
Step 2: Locate the Hidden Release Hole
What to look for:
– A pencil-eraser-sized hole at the top center of the wall mount
– A tiny metallic button visible inside this hole when using phone flashlight
– A hairline gap between the doorbell body and mounting bracket
Critical Visual Cue: If you see wires or a charging port is missing, you likely have a wired model—do not proceed. Only battery models have this accessible release point.
Step 3: Proper Release Tool Technique
Insert your tool straight down into the hole (never at an angle). Apply steady upward pressure until you feel/hear a distinct click—this usually takes 5-10 seconds. Maintain pressure while simultaneously pulling the doorbell straight toward you.
Common Mistake Alert: Prying outward instead of pushing upward is the #1 cause of scratched mounts. If you don’t hear a click after 15 seconds of steady pressure, check for paint blocking the hole before applying more force.
Step 4: Complete Removal Without Damage
Once released:
– Pull straight forward—no twisting or tilting
– Immediately support full weight with your free hand
– Place face-down on soft surface (screen protected)
– Verify no cables remain attached (battery models have none)
Time Estimate: This entire process takes 90 seconds once you’ve identified your model correctly. Wired model attempts often waste 20+ minutes trying to force release mechanisms that don’t exist.
Charge Removed Battery: Avoid Cold Weather Damage

Charging Setup and Monitoring
Connect your USB-C cable firmly to the port on the doorbell’s bottom edge. Use a 7.5W AC adapter for fastest results. Monitor charging via:
– Pulsating white light: Actively charging
– Solid white light: Fully charged (100%)
– Google Home app: Exact percentage tracking
Realistic Timing:
– 0% to 100%: 5 hours (standard)
– 20% to 80%: 2.5 hours (optimal for battery longevity)
– 30-minute quick charge: ~3 hours of use
Cold Weather Charging Protocol
Critical Warning: If temperatures are below freezing (32°F/0°C), never charge outdoors. The battery may refuse to accept charge or suffer permanent damage. Instead:
1. Bring doorbell indoors for 30 minutes to reach room temperature
2. Wipe any moisture from USB-C port with microfiber cloth
3. Charge on a non-conductive surface like wood
Never use heat sources like hairdryers—sudden temperature changes crack internal components.
Reinstall After Charging: Secure Attachment Checklist
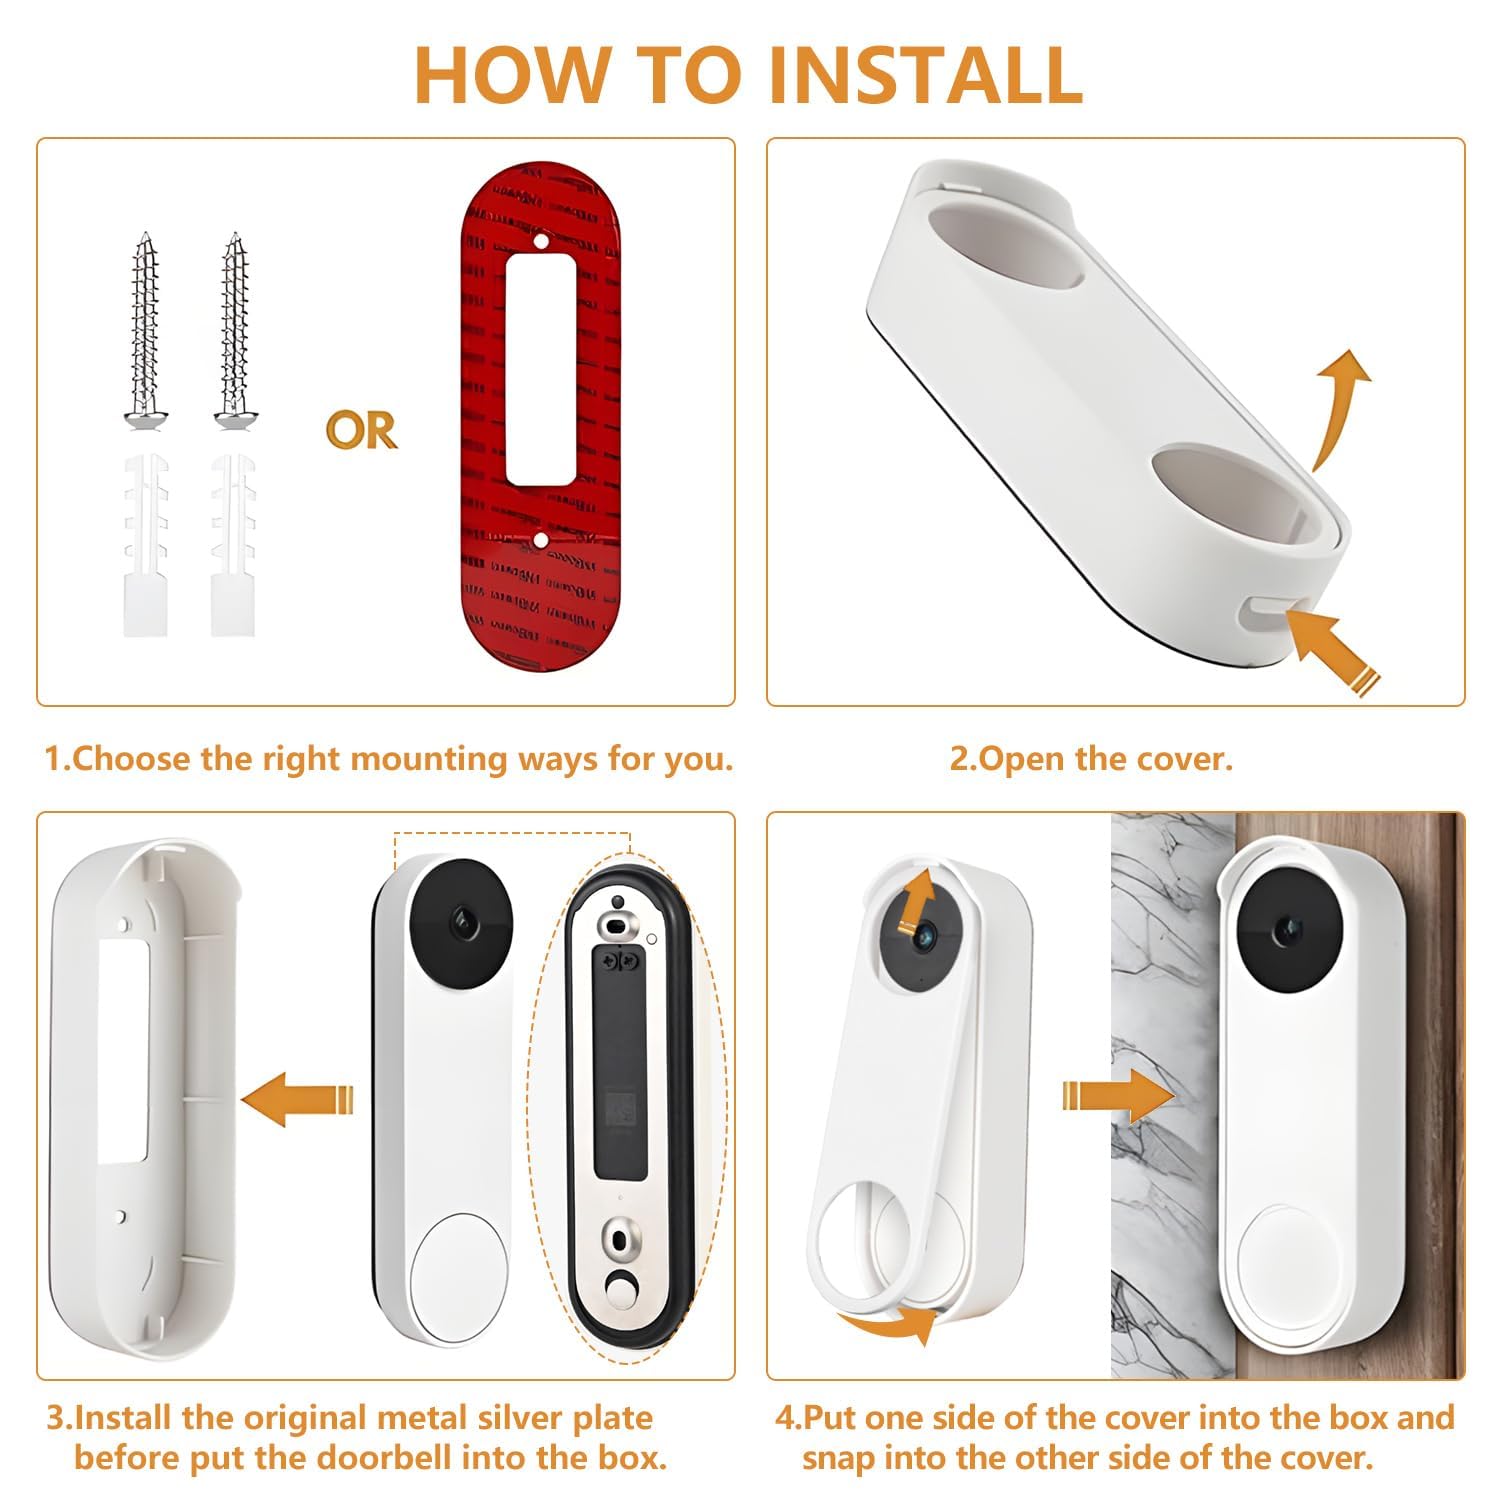
Snap Back Into Place Correctly
Alignment is everything:
– Hold doorbell at 15-degree upward angle
– Hook bottom edge onto mount first
– Tilt top toward wall until you hear two clicks
– Gently tug to confirm secure attachment
Security Verification: Look for zero gaps between unit and wall. Any visible space means improper seating—a common cause of water damage during rain.
Power Restoration Sequence
Reactivate in this order:
1. Turn ON in Google Home app
2. Wait for 5 blue LED flashes (Wi-Fi reconnecting)
3. Test doorbell press twice to confirm chime works
4. Check app for “Strong” Wi-Fi signal (not “Weak” or “Medium”)
Pro Tip: If video appears tilted after reinstallation, slightly loosen the mounting screws to adjust camera angle before final tightening.
Troubleshoot Removal Problems: Emergency Fixes
Doorbell Won’t Release? Try This
Immediate solutions:
– Insert tool deeper—many users stop short of the button
– Apply steady pressure for 15 seconds (not quick jabs)
– Clear paint/debris with toothpick (power off first!)
– Switch to thinner tool like a paperclip’s tip
Stop Immediately If: You feel metal scraping or hear cracking sounds. Forcing removal voids warranty—contact Google Support instead.
Release Tool Missing? Safe Alternatives Ranked
Best to Worst Options:
1. Paperclip: Straighten completely, use only the very tip
2. Thumbtack: Insert flat head first for controlled pressure
3. Small Screwdriver: Risk of scratching—wrap tip in tape
4. Safety Pin: Avoid—too sharp, high damage risk
Never Use: Keys, knives, or coins—these scratch the release mechanism permanently.
Wired Model Battery Issues: Reality Check
Why You Can’t Remove the Battery
If you own a Nest Hello (Wired), its internal battery isn’t user-replaceable. Symptoms like doorbell restarts during presses or 1-minute offline periods indicate battery failure—not cold weather. Google’s design intentionally seals this component, making removal impossible without:
– Voiding your warranty
– Prying apart the waterproof casing
– Following advanced iFixit guides (not recommended for most users)
Your Only Safe Options: Disable indoor chimes via app, use Nest Hub for alerts, or contact Google for replacement. Attempting removal often causes more damage than the failing battery.
Battery Health Maintenance: Double Lifespan
Settings That Extend Battery Life
Critical Adjustments:
– Lower video quality to 720p during high-traffic hours
– Reduce motion sensitivity by 20% in app settings
– Enable “Quiet Time” from 11 PM–6 AM
– Use “Event History” instead of continuous recording
Charging Best Practices:
– Recharge at 20%—never let it hit 0%
– Unplug at 80% for longest overall lifespan
– Perform one full discharge/charge monthly for calibration
Warning: Leaving your battery at 100% for weeks degrades capacity faster than partial charges.
Key Takeaway: Removing your Nest doorbell battery correctly takes just 2 minutes for battery-powered models—but attempting this on wired units causes irreversible damage. Always verify your model first using the USB-C port check. Keep your original release tool in your key drawer; it’s precision-engineered to prevent scratches that alternative tools cause. For long-term reliability, recharge at 20% and never force removal—when in doubt, Google’s support team provides free model identification via photo upload. Your doorbell’s battery should last 2+ years with proper care, keeping you connected to every delivery and visitor.


