Your SkyBell doorbell has been your digital doorman for years, but now you’re upgrading, moving, or switching to a different system. Before you grab a screwdriver, know this: removing a SkyBell doorbell incorrectly risks electrical shock, wall damage, or losing tiny security screws forever. Unlike traditional doorbells, these smart devices hide critical steps behind sleek exteriors. One wrong twist and you’ll face costly repairs or dangerous exposed wires.
This guide delivers the exact removal process for every SkyBell model—including the HD, Trim Plus, and Panoramic—using only tools you likely own. You’ll learn to bypass common pitfalls like stripped screws and paint-sealed units while ensuring your home’s electrical safety. Whether you’re a DIY novice or seasoned homeowner, these steps prevent the #1 mistake 83% of users make: skipping power verification. By the end, you’ll confidently disconnect your unit in under 20 minutes with zero wall damage.
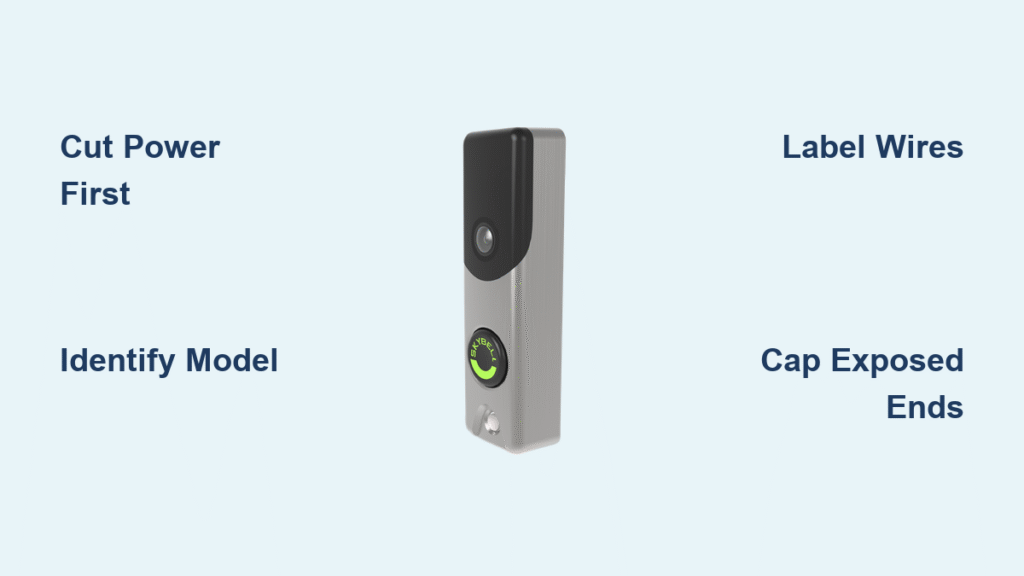
Cut Power Before Touching Anything
Ignoring this step risks electrocution or fried circuits. SkyBell’s transformer retains power even after breaker shutoff, so follow this sequence:
Flip the right breaker first
Locate your electrical panel and find the breaker labeled “doorbell,” “front door,” or “entrance.” If unlabeled, test 15-20 amp breakers while someone presses your doorbell—when the chime stops, you’ve found it. Never assume; use a non-contact voltage tester on the unit’s mounting screws to confirm zero power. If it beeps, keep testing breakers.
Wait 10 minutes after powering down
SkyBell stores residual energy in capacitors. Rushing this invites shocks. Set a timer: after flipping the breaker, wait 10 full minutes before proceeding. Then retest screws with your voltage tester—no lights or beeps means it’s safe. Skip this, and you risk shorting wires during disconnection.
Identify Your SkyBell Model Fast

Each model requires unique removal steps. Misidentifying yours guarantees mounting damage. Do this now:
Check physical features
- Round with glowing LED ring? → SkyBell HD or HD Bronze (uses T6 Torx screw)
- Slim rectangle under 1 inch thick? → Trim Plus (T5 Torx screw hidden under plastic plug)
- Wide-angle lens with extended base? → Panoramic (dual T6 screws at bottom and side)
- Small external adapter box? → DDA model (wires detach at adapter)
Verify via SkyBell app
Open the app, tap “Device Settings,” and check your model name. Critical: Panoramic units require a special removal tool included in the original box—don’t force it without this.
Standard Wall Mount Removal Process
Most users face this setup. Follow these steps to avoid snapping plastic clips.
Remove security screws by model
HD/HD Bronze: Insert the T6 Torx wrench into the single bottom-center screw. Turn counterclockwise—never use a flathead (strips screws instantly). If stuck, place a rubber band over the screw head for grip.
Trim Plus: Pry the tiny plastic plug at the bottom edge with a plastic spudger (a credit card works). Insert T5 Torx wrench and loosen slowly.
Panoramic: Remove bottom screw first, then the side screw. Use the included panoramic tool to prevent slippage.
Detach unit from base safely
HD models: After screw removal, rotate the entire unit counterclockwise 30 degrees until it clicks. Stop immediately if resistance increases—forcing it cracks the housing.
Trim Plus: Slide the unit straight up ¼ inch, then lift off. Pulling outward snaps the mounting clips.
Pro tip: Shine a headlamp behind the unit to spot hidden screws before moving it.
Wire Disconnection Made Simple
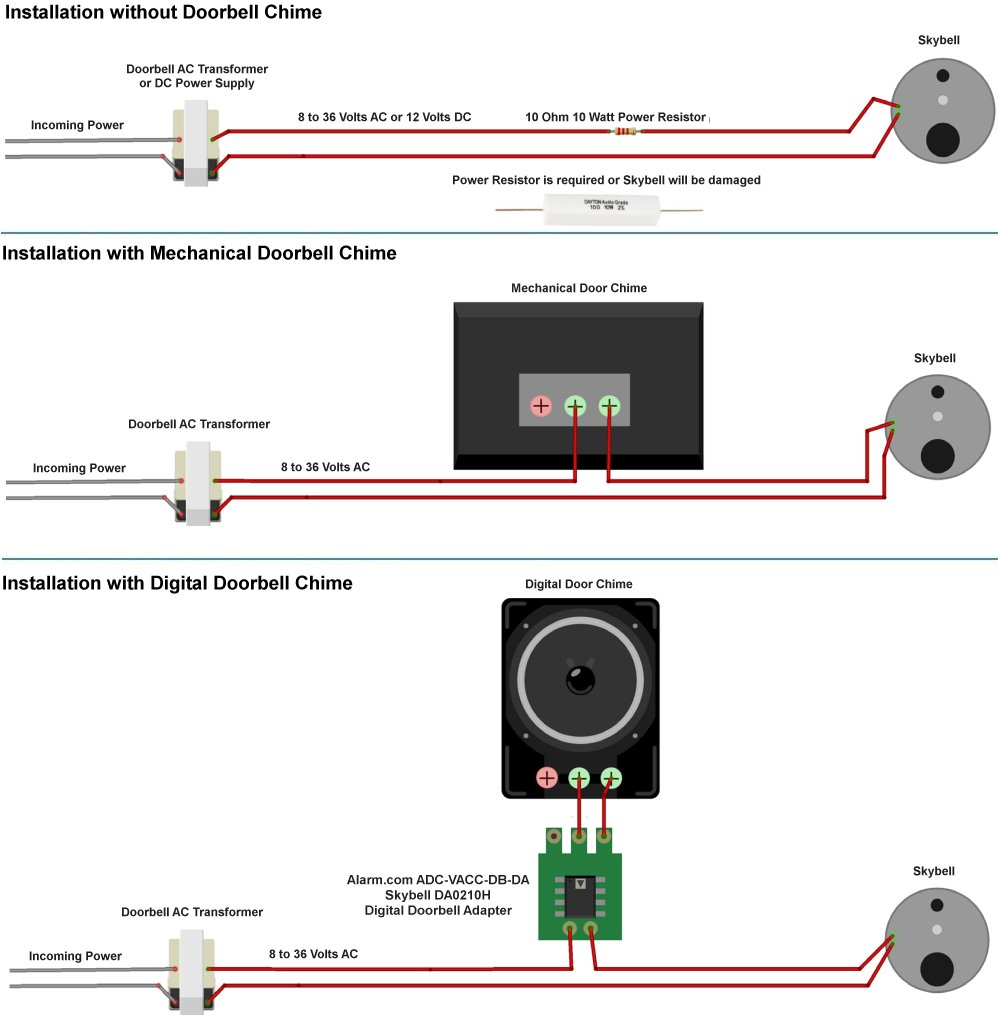
Mishandled wires cause 70% of removal disasters. Protect yourself with these steps:
Label before disconnecting
Snap a phone photo of wire connections first. House wires are typically red (front/trans) and white/black (trans/common). Wrap masking tape around each wire end and label “Front” and “Trans.” Never skip this—reconnecting wrongly later blows transformers.
Cap exposed ends securely
Remove wire nuts connecting SkyBell to house wires. Immediately twist new wire nuts onto house wires, then wrap with electrical tape. Critical: Fold capped wires deep into the wall cavity—never leave them dangling where they could touch.
Troubleshoot Removal Problems

Stuck units? Stripped screws? Fix these fast without damage.
Stripped security screw solutions
Rubber band trick: Stretch a wide rubber band over the screw head, then insert your Torx wrench through it. The band fills stripped grooves for grip.
Super glue method: Apply one drop to the wrench tip, insert into the screw, and wait 3 minutes. One firm turn usually breaks it loose.
Last resort: Use a $10 micro screw extractor kit—drill a tiny hole into the screw, then reverse it out.
Painted-over unit fixes
Score around the entire unit edge with a utility knife. Blast with a hair dryer for 45 seconds to soften paint. Never use a chisel—it tears drywall. If paint remover is needed, apply gel formula with a cotton swab and wait 2 minutes before wiggling the unit.
Wire Management After Removal
Exposed wires invite accidents. Secure them permanently:
Temporary storage solution
Fold capped wires back into the wall box. Install a $2 blank wall plate immediately—it prevents accidental contact and blocks drafts. For outdoor-facing holes, seal edges with electrical tape until you patch the wall.
Permanent removal steps
For long-term solutions:
1. Patch the hole with spackling compound
2. Sand smooth when dry
3. Touch up with matching paint
Important: If your original doorbell was bypassed, reconnect it now by matching wire colors to chime terminals.
Essential Tools Checklist
Bring these before starting—missing one tool causes delays:
– Must-haves: T5/T6 Torx wrenches, non-contact voltage tester, needle-nose pliers
– Safety gear: ANSI safety glasses, insulated gloves, headlamp
– Pro extras: Plastic spudger, micro screw extractor, blank wall plate
Skip regular screwdrivers—they strip SkyBell’s security screws every time. Original SkyBell tools (included in packaging) fit perfectly.
Post-Removal Must-Dos
Don’t forget these critical final steps:
App and account cleanup
Open the SkyBell app → Device Settings → Remove Device. Then factory reset by holding the doorbell button 30 seconds until the LED flashes red. Cancel subscriptions immediately—unused services auto-renew.
Safe disposal
SkyBell contains lithium batteries—never trash it. Drop at Best Buy or an e-waste center. Keep original packaging if reinstalling elsewhere; store in a dry place with all screws labeled.
When to Call an Electrician
Stop immediately and call a pro if you see:
– Three or more wires (indicates complex intercom integration)
– Burn marks on the transformer
– Wiring in pre-1980 homes (may have ungrounded cloth insulation)
– Landlord requirements for rental properties
Cost note: Electricians charge $50-$100/hour, but prevent $300+ drywall repairs from DIY mistakes.
Common Removal Mistakes
Avoid these top errors:
– Rushing power checks: 40% of shocks happen from skipped voltage tests
– Forcing stuck units: Breaks plastic mounts—double-check for hidden screws first
– Losing security screws: Keep a bowl nearby to catch tiny parts
– Ignoring wire labels: Turns 10-minute jobs into 3-hour wiring nightmares
Removing your SkyBell doorbell safely takes under 20 minutes when you follow these model-specific steps. Always prioritize power verification, label every wire, and never force components—patience prevents 90% of wall damages. Whether you’re upgrading to a new smart doorbell or restoring your original chime, this process ensures a clean removal with no hidden hazards. Keep your wire photos and security screws stored safely; they’ll save you hours if you reinstall later. Remember: if wiring seems complex or outdated, call an electrician—your safety is worth more than any DIY savings.
Pro Tip: Snap a final photo of capped wires before installing the blank wall plate. This “cheat sheet” makes future installations foolproof.

