
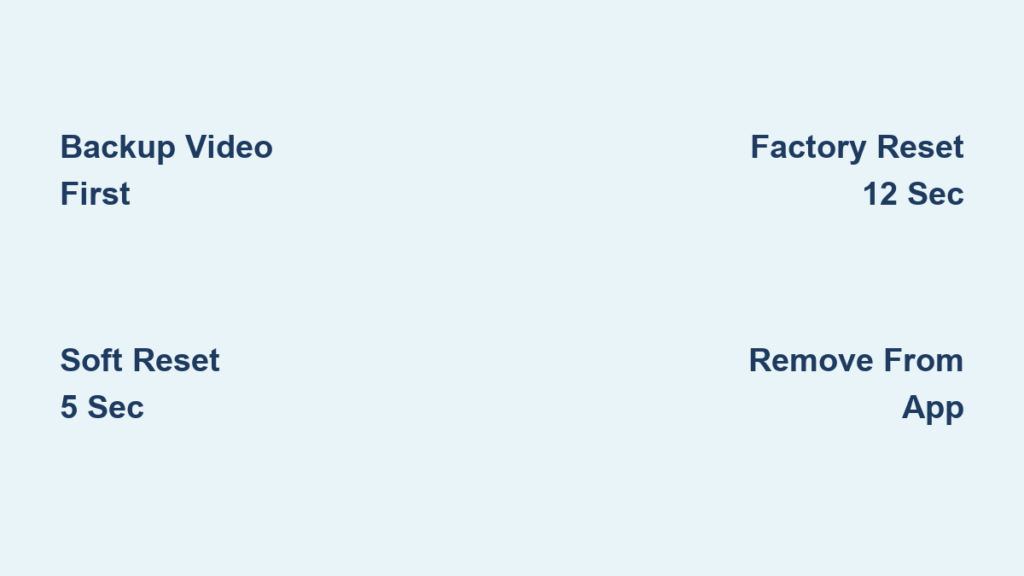
Your Google Nest Doorbell freezing during a package delivery or showing “offline” when guests arrive isn’t just frustrating—it leaves your home vulnerable. When notifications stop, video feeds glitch, or you’re preparing to move out, a proper reset becomes your fastest path to restoring security. This guide cuts through confusion to deliver precise reset methods for every scenario, whether you need a quick restart or a complete factory wipe. You’ll learn exactly when to reset, how to safeguard your footage, and critical timing tricks most guides miss—so your doorbell works reliably the moment you need it most.
When Your Nest Doorbell Demands a Reset
Persistent offline status despite strong Wi-Fi signals is the top red flag. If your doorbell consistently shows “disconnected” in the Google Home app after router changes or power outages, a reset rebuilds broken network handshakes. Failed firmware updates that leave your device unresponsive—like a frozen setup screen or missing features—also require immediate intervention. Don’t waste hours troubleshooting; these symptoms mean your system needs a clean slate.
Ownership transfers trigger non-negotiable resets. Selling your home? Passing the doorbell to family? Skipping this step risks exposing months of recorded video to new users. Factory resets permanently erase all footage and settings, protecting your privacy while giving new owners a smooth setup experience. Security breaches—like unexpected motion alerts at odd hours—also demand instant resets to eliminate unauthorized access points.
Backup Critical Video Before Resetting
Factory resets permanently delete all recordings and settings—no recovery is possible. Before pressing any buttons, secure your footage:
For newer models (Google Home app):
1. Open Google Home → Select your doorbell → Tap “Video history”
2. Choose specific events → Hit “Save clip” → Export to cloud storage or email
3. Pro tip: Save clips to two locations (e.g., Google Drive + phone gallery) to prevent accidental loss
For older models (Nest Aware subscribers):
– Access the timeline in the Nest app → Select critical clips → Download directly to your device
– Critical mistake: Waiting until after reset—once initiated, footage vanishes permanently
Restart vs. Factory Reset: Choosing the Right Fix
Quick Restart Fixes These Issues
- Delayed motion alerts or temporary video freezing
- Minor glitches after Wi-Fi password changes
- Preserves: All settings, Wi-Fi credentials, and video history
- Time required: 60 seconds
Factory Reset Is Mandatory When
- Your doorbell stays offline for over 24 hours
- Transferring ownership to new users
- Failed software updates cause persistent errors
- Erases: Every recording, custom alert zone, and network connection
- Time required: 5 minutes (plus reconfiguration)
Execute a Quick Restart (Soft Reset)

For battery-powered models:
1. Slide the release tool (or flat spoon edge) under the doorbell base
2. Press and hold the reset button below the USB port for exactly 5 seconds
3. Watch for confirmation: A steady white light means success—release immediately
4. Reattach to the mount; full reboot takes 90 seconds
For wired models:
1. Unplug the transformer from the wall socket for exactly 10 seconds
2. Reconnect power; wait for the status light to pulse yellow
3. Use a paperclip in the bottom reset hole for 5 seconds until white light appears
4. Warning: Rushing step 2 causes incomplete restarts—count slowly out loud
Perform a Complete Factory Reset (Hard Reset)
Battery Doorbell Hard Reset
Step 1: Remove from mount using the release tool
Step 2: Press and hold the reset button below the USB port—do not release
Step 3: At 10 seconds: Yellow light blinks with a countdown tone (keep holding!)
Step 4: At 12 seconds: Solid yellow light + confirmation tone = reset complete
Critical timing: Releasing early causes partial resets—your doorbell will still malfunction
Wired Doorbell Hard Reset
Step 1: Slide doorbell off the bracket using a pin tool
Step 2: Simultaneously press the chime button and rear reset button
Step 3: Hold until you hear the doorbell chime (about 5 seconds)
Step 4: Yellow light blinks rapidly, then turns off completely—this signals success
Pro tip: Have a second person listen for the chime; missing it means restarting the process
Remove Device From Google Home and Nest Apps

Hardware reset alone isn’t enough—skip this step and new owners can’t set up your doorbell. Here’s how to fully disassociate it:
In Google Home app:
1. Open app → Tap “Cameras” → Find your offline doorbell
2. Tap settings (gear icon) → Scroll to “Remove device”
3. Confirm twice; the device vanishes from your account instantly
In Nest app:
1. Go to camera list → Select doorbell → Tap settings
2. Choose “Remove camera” → Enter account password for verification
3. Urgent: Complete this BEFORE handing over the doorbell—otherwise, old settings block new setup
Fix Post-Reset Problems in 60 Seconds

Doorbell Won’t Power On
Wired models: Unplug the transformer for 30 seconds minimum (not 10!). Reconnect firmly—loose plugs cause 70% of “dead” doorbell cases.
Battery models: Remove the battery for 30 seconds → Clean contacts with a dry cloth → Reinsert fully.
Still Can’t Connect to Wi-Fi?
- Check signal strength: Hold your phone where the doorbell mounts—the Wi-Fi icon must show 3+ bars. Weak signals cause repeated failures.
- Re-enter password manually: Auto-fill often adds hidden spaces. Type slowly on-screen.
- Verify 2.4GHz network: Nest Doorbells fail on 5GHz bands—confirm your router broadcasts both.
Setup App Freezes During Configuration
- Update the Google Home app via your phone’s app store
- Restart your phone—stale caches crash setup wizards
- Temporarily disable router firewalls during setup (re-enable after)
Prevent Future Resets With Smart Habits
Monthly maintenance:
– Wipe the lens weekly with a microfiber cloth (dust distorts motion detection)
– Check power connections: Wiggle wired terminals to ensure no looseness
– Test Wi-Fi strength in the Nest app’s “Device Health” section
Critical setup practices:
– Document Wi-Fi passwords in a secure note before changing networks
– Enable “Automatic updates” in device settings to avoid failed patches
– Pro tip: Schedule quarterly soft restarts (hold reset 5 seconds) to clear system glitches before they escalate
Avoid These Costly Reset Mistakes
- Rushing the 12-second hold: Releasing at 11 seconds leaves corrupted data—your doorbell may appear reset but malfunction later.
- Skipping app removal: This causes “device already in use” errors during new setups.
- Using factory reset for minor issues: A soft restart solves 80% of glitches without erasing footage.
Reset Timing Cheat Sheet
| Action | Duration | Visual Confirmation |
|---|---|---|
| Soft reset | 5 seconds | Steady white light |
| Factory reset (battery) | 12 seconds | Solid yellow light + tone |
| Factory reset (wired) | Until chime sounds | Yellow light turns off completely |
Final Setup Steps After Reset
Your doorbell now functions like new—don’t skip these critical post-reset actions:
1. Complete fresh setup via Google Home app (not Nest app for newer models)
2. Test all features: Press the doorbell button, trigger motion alerts, and verify night vision
3. Reconfigure custom zones and alert schedules immediately—don’t rely on defaults
4. Pro maintenance move: Set a calendar reminder for monthly soft restarts. This 30-second habit prevents 90% of major glitches.
A properly executed reset transforms your Nest Doorbell from a frustrating blind spot into a reliable security asset. Remember: Back up footage first, respect the exact timing requirements, and always remove the device from your apps. When in doubt, opt for a soft restart before jumping to factory reset—you’ll preserve valuable recordings while solving most issues. Keep this guide bookmarked; that quarterly maintenance restart might just save your next holiday delivery from going missing.


