
That annoying downward-curving lever handle staring you in the face every time you approach the door? You’re not alone. Millions of homeowners struggle with lever handles installed upside down during initial setup or simply craving a more ergonomic curve. The good news? Reversing a lever door handle requires zero special skills and takes less than five minutes with basic household tools. Unlike complex lock mechanisms, this fix exploits the clever reversible design baked into 95% of modern lever sets. Whether you’re correcting a builder’s oversight or optimizing for elbow operation when your hands are full, this guide delivers the exact steps to flip your lever’s orientation safely. Forget calling a locksmith—you’ll master this DIY task before your coffee gets cold.
Spot the Hidden Release Pinhole in 30 Seconds
Your lever handle isn’t glued on—it’s held by a spring-loaded clip activated through a nearly invisible pinhole. Missing this tiny portal is why most DIYers force handles and strip mechanisms. Stop hunting blindly: the release pinhole always hides where the lever meets the collar, specifically on the side facing the door edge (jamb side). It’s a 1–2mm hole often camouflaged under the collar’s shadow.
How to Locate It Without Damaging Your Finish
- Run your fingernail along the collar’s underside near the door edge—you’ll feel a slight indentation
- Shine a phone flashlight at a 45-degree angle across the collar surface to catch the hole’s reflection
- If your handle has a decorative rosette, check its outer rim where it contacts the door
Pro Tip: On Schlage or Kwikset models, the pinhole sits exactly 3mm below the lever pivot point. For older Emtek handles, it’s recessed inside a tiny dimple on the collar’s side.
Essential Tools You Already Own (No Special Kit Needed)
Forget expensive hardware store runs. The only critical tool is any rigid object under 1.5mm thick that fits the pinhole. Your kitchen junk drawer holds the perfect solution:
- Best Option: Straightened paperclip (bend the last 1cm into a 90° angle for leverage)
- Second Choice: 1.5mm hex key (common in IKEA furniture kits)
- Emergency Substitute: Unbent staple or small nail (wrap tape around the head for grip)
Critical Safety Note: Never use scissors, knives, or screwdrivers—they’ll scratch finishes and slip dangerously. Always work over a towel to catch springs if they eject.
Step-by-Step Lever Swap: From Removal to Secure Reinstallation

Release the Lever Without Breaking the Mechanism
- Position correctly: Stand facing the door with the handle you’re removing closest to you
- Insert tool: Push your paperclip straight into the pinhole until you feel firm resistance (≈5mm deep)
- Pull smartly: Grip the lever’s tip firmly and pull perpendicular to the door—not outward. You’ll feel a distinct click as the clip disengages
- Troubleshoot resistance: If stuck, wiggle the lever side-to-side while maintaining pinhole pressure—never twist the tool
Pro Tip: For stubborn handles, tap the paperclip handle lightly with a hammer to overcome corrosion. Stop immediately if you hear metal grinding.
Swap Handles for Correct Orientation (The Critical Mistake Avoiders Make)

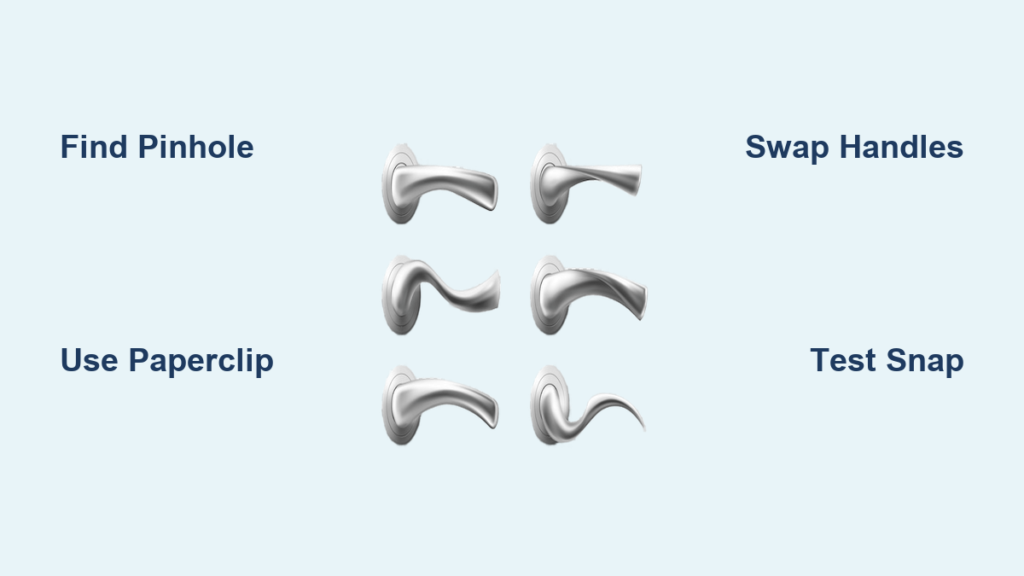
This is where 80% of DIYers fail: Simply flipping a single handle upside down won’t work. You must physically exchange interior and exterior handles. Here’s why:
- Lever handles are asymmetrical—the curvature matches human hand angles from each side
- The spindle (square drive bar) only accepts handles in one rotational position
- Swapping sides automatically reverses the curve direction
Visual Cue: After removal, hold both levers together. The one with the deeper curve belongs on the pull side of the door.
Reinstall Handles with Foolproof Security
- Align the square hole in the lever base with the square spindle (they only fit one way)
- Push hard straight on—no wiggling—until you hear a metallic SNAP
- Test security: Grab the lever and pull toward you with 5 lbs of force (like opening a stuck drawer). If it moves, it’s not seated
Warning: Forcing a lever that won’t click often means misaligned spindle holes. Remove and rotate the lever 90°—the square drive only accepts four positions.
Why Your Lever Handle Won’t Release (And How to Fix It)
Pinhole Release Isn’t Working? Check These 3 Scenarios
- False Pinhole: Some handles (like older Yale models) use a set screw under the collar. Look for a tiny hex socket on the collar’s side—loosen it 1/4 turn with a 2mm hex key
- Corroded Mechanism: Drip 1 drop of WD-40 into the pinhole, wait 2 minutes, then reattempt release
- Worn Clip: If the handle releases but won’t re-engage, the internal spring is broken—replace the entire handle set
Handle Feels Loose After Reversal? The Click Test
A secure lever shouldn’t wiggle vertically or rotate. Perform this test:
1. Close the door
2. Press the lever halfway down
3. Try to rotate the handle around the spindle
Fix: If movement occurs, remove the lever and push it on 2mm farther—many miss the second engagement point.
Exterior Door Safety: When NOT to Reverse Your Lever Handle
Never reverse handles on exterior doors if:
– The lock requires a key on one side (reversing may disable key operation)
– Your handle has a thumbturn on the interior (swapping misaligns the locking cam)
– The door is fire-rated (tampering voids certification)
Critical Check: After reversal, verify the deadbolt throws fully when locked. If it only extends 1/4″, the handle isn’t seated deep enough on the spindle.
Pro Maintenance Tips to Prevent Future Handle Failures
Extend Lever Handle Lifespan by 3x
- Quarterly: Inject 2 drops of silicone lubricant (never oil!) into the spindle hole
- After Cleaning: Wipe handles with vinegar solution—soap residue attracts grime that jams releases
- Impact Prevention: Install a door stop 2 inches from the handle side to avoid wall collisions
Pro Tip: When reinstalling, apply blue Loctite to set screws on collar-mounted handles—it prevents loosening without permanent bonding.
Troubleshooting Flowchart: Fix Common Reversal Mistakes
/how-to-fix-a-loose-lever-door-handle-5222471-04-c0aea79eebf642e1bb378dd872b68742.jpg)
mermaid

graph TD

    A[Handle won’t release?] -->|Yes| B[Check for set screw instead of pinhole]

    A -->|No| C[Swap handles correctly?]

    B --> D[Loosen set screw 1/4 turn]

    D --> E[Pull handle firmly]

    C -->|No| F[Exchange interior/exterior handles]

    C -->|Yes| G[Push until loud SNAP]

    G --> H[Pull test for security]

    H -->|Fails| I[Re-seat 90° rotated]

    H -->|Passes| J[Verify latch operation]
Final Verification: The 10-Second Function Test
Before declaring victory, run this critical sequence:
1. Close the door fully
2. Operate the lever 5 times from both sides
3. Confirm the latch retracts smoothly and springs back
4. Check for grinding noises indicating misalignment
5. Test emergency operation: Can you open it with an elbow?
If the latch sticks halfway, the handle isn’t fully engaged on the square spindle—remove and reinstall with 20% more force. For exterior doors, always test key operation from outside after reversal.
You’ve just mastered a skill most homeowners pay $75 for. Reversing a lever door handle isn’t about tools—it’s about knowing where to push that hidden release. Now that your lever curves perfectly for elbow operation, maintain it with quarterly silicone lubrication to avoid future jams. If your handle still won’t release after these steps, it likely has internal damage requiring replacement—check our guide on identifying worn spindle mechanisms next. For immediate fixes, remember: that straightened paperclip in your junk drawer is your secret weapon against upside-down levers.


