

That frustrating moment when a delivery person vanishes because your doorbell went silent is completely avoidable. Whether you’re replacing a faulty unit or installing your first doorbell system, mastering how to set up a doorbell chime ensures you never miss another visitor. This guide cuts through the confusion with precise wiring instructions, wireless pairing tricks, and smart integration steps—all verified by electrical standards. You’ll discover why transformer voltage matters for wired models, how to extend wireless range through thick walls, and the critical safety checks that prevent costly mistakes during your doorbell chime setup.
Choose Your Chime Type

Wired vs Wireless Systems
Wired chimes draw power from your home’s electrical system through a dedicated transformer that reduces standard 120V household current to a safe 16-24V range. These systems operate continuously without battery replacements, making them ideal for permanent installations where reliability is non-negotiable. Since they connect directly to your doorbell button via physical wiring, they deliver consistent performance unaffected by Wi-Fi dead zones or signal interference.
Wireless chimes function through radio frequency signals between a battery-powered button and a plug-in receiver. Installation takes under 15 minutes with no wiring required—simply mount the button and plug in the receiver within the manufacturer’s specified range (typically 150-500 feet in open areas). This flexibility suits renters or historic homes lacking existing doorbell infrastructure, though battery replacements every 6-24 months are mandatory.
Core Components Breakdown
Wired systems contain:
– Three critical terminals labeled FRONT, REAR, and TRANS for precise wiring connections
– Dual resonators – tuned metal bars struck in sequence by electromagnetic solenoids to create the classic “ding-dong” sound
– Blocking bar mechanism that silences the upper resonator for single-note rear door alerts
– Transformer dependency requiring 16-24V AC power to activate the solenoids
Wireless systems feature:
– RF/Wi-Fi receivers with customizable chime tones and volume controls
– Battery-powered buttons using standard CR2032 or AA batteries
– Expandable receiver networks supporting 2-4 units per button for multi-floor coverage
– Smart home compatibility for app-based notifications and video integration
Gather Essential Tools
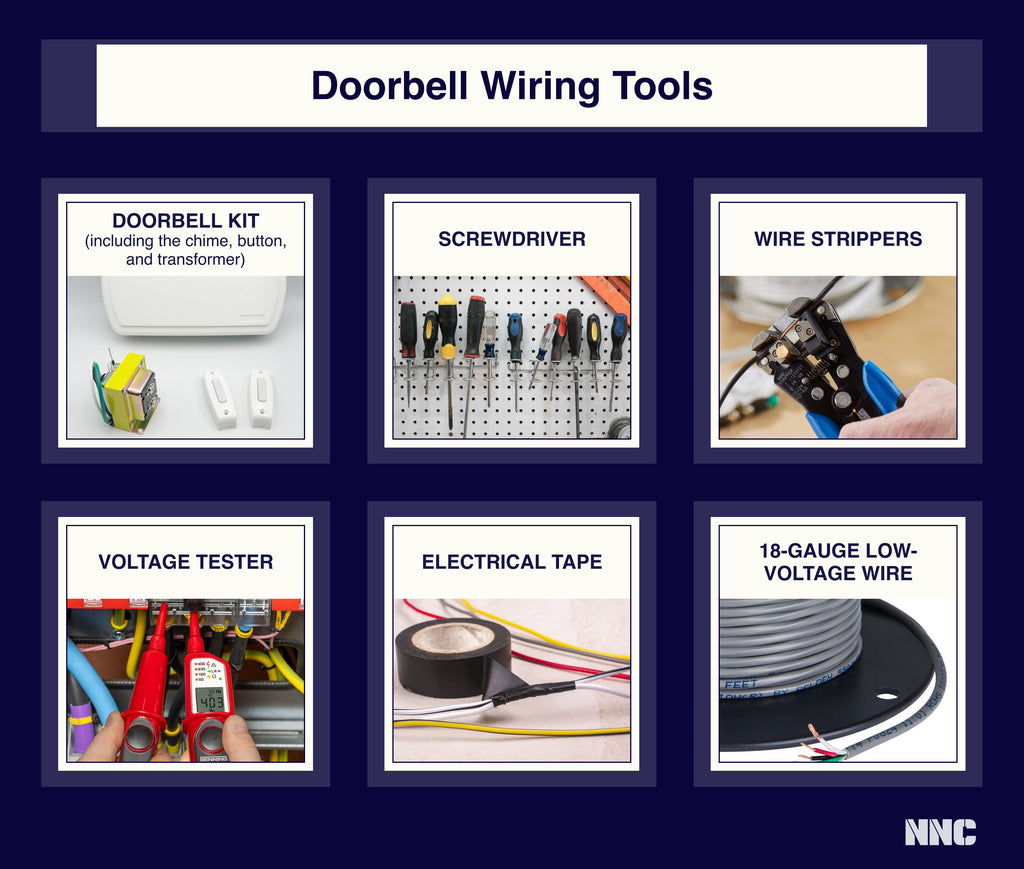
Required Equipment List
- Voltage sensor or multimeter – mandatory for confirming power is off at transformer wires
- Phillips and flathead screwdrivers – for terminal connections and mounting hardware
- Power drill with 1/8″ bit – creates clean pilot holes without wall damage
- Plastic wall anchors – provides secure drywall or plaster mounting
- Masking tape and marker – prevents wiring confusion during disconnection
- Wire strippers – ensures clean 1/2″ wire ends for tight terminal connections
- Laser level – guarantees perfectly straight chime alignment
Smart Setup Additions
- Smartphone with manufacturer app – required for configuring Wi-Fi chimes
- Strong 2.4 GHz Wi-Fi signal – essential for video doorbell functionality (5 GHz bands won’t work)
- 30 VA transformer – non-negotiable for hardwired smart chimes to prevent power starvation
Safety First: Power Down Procedure
Critical Safety Steps
- Locate your breaker box – identify the switch labeled “doorbell” or “transformer” (often near the main electrical panel)
- Flip breaker OFF – this eliminates shock risk while handling exposed wires
- Double-check with voltage sensor – test every wire at the chime location before touching
- Label and photograph – use masking tape to mark wires as “front,” “rear,” and “trans” before removal
Pro tip: Take multiple photos of your old chime’s wiring configuration from different angles. This visual failsafe prevents terminal mix-ups during reconnection—a single miswired connection can cause continuous buzzing or complete failure.
Install Wired Doorbell Chime
Remove Old Chime Unit
Pop off the decorative cover to access the mounting plate. Unscrew terminal connections while supporting wires to prevent them slipping into the wall cavity. Immediately label each wire with masking tape indicating its original terminal (FRONT, REAR, or TRANS). Secure labeled wires to the wall surface with painter’s tape—retrieving dropped wires requires cutting open drywall.
Mount New Chime Position
Position the new chime 4-5 feet above floor level in high-traffic areas like hallways. Use a laser level to mark screw holes, then drill 1/8″ pilot holes. Insert plastic wall anchors for drywall installations, ensuring they sit flush against the surface. Avoid mounting near metal studs or pipes that could interfere with sound projection.
Connect Wires Correctly
Feed labeled wires through the new chime’s back plate, matching each to its designated terminal:
– FRONT terminal → Front door button wire (creates two-tone “ding-dong”)
– REAR terminal → Back door button wire (produces single tone)
– TRANS terminal → Transformer wire (power source)
Tighten terminal screws until wires are immovable, ensuring no bare copper extends beyond the clamp. Loose connections cause intermittent operation or transformer overload.
Test Your Installation
Restore power at the breaker and press both doorbell buttons. A properly wired chime delivers distinct two-tone sounds from front buttons and single tones from rear buttons. Silence indicates wiring errors or transformer failure—immediately shut off power and recheck connections using your reference photos.
Set Up Wireless Doorbell System
Position Your Receiver
Plug the receiver into a central wall outlet within 100 feet of your door (accounting for walls/floors). Battery-powered receivers offer placement flexibility but require quarterly battery checks. For multi-story homes, install additional receivers on each floor before finalizing button placement.
Mount Doorbell Button
Attach the mounting bracket 40-55 inches high using the included screws. Slide the button onto the bracket until it audibly clicks—this secure fit prevents weather damage. Test button placement by pressing it; you should hear an immediate confirmation tone from the receiver.
Pair Devices Quickly
Insert batteries into the button (observe polarity markings), then press and hold the pairing button on both units for 3-5 seconds until the receiver emits a confirmation chime. Walk to your door and press the button—successful pairing delivers instant sound within 1 second. If pairing fails, replace batteries and retry within 30 seconds.
Expand Your System
Add secondary receivers by plugging them into outlets on other floors. Activate pairing mode on the new receiver, then press your doorbell button 3 times rapidly. The receiver will chime when synced. Test each receiver individually before final installation.
Smart Chime Special Considerations

Hardwired Smart Setup
Connect smart chimes identically to traditional wired units, but verify transformer output with a multimeter—30 VA minimum is critical. Insufficient power causes random reboots or “offline” errors in apps. Never connect smart chimes to transformers under 16V AC, as this damages internal circuitry.
Wireless Smart Configuration
Download the manufacturer’s app before installation. During setup, select your 2.4 GHz Wi-Fi network (not 5 GHz) and position your phone near the doorbell for strong signal pairing. Customize motion zones through the app to reduce false alerts from passing cars or trees.
Troubleshoot Common Issues
Quick Diagnostic Chart
| Problem | Cause | Solution |
|---|---|---|
| No sound from wired chime | Transformer output below 16V AC | Replace transformer |
| Weak wireless signal | Metal doors or concrete walls | Relocate receiver closer to door |
| Continuous buzzing | Stuck solenoid or exposed wires | Inspect chime interior for obstructions |
| Single tone only | REAR wire in FRONT terminal | Swap FRONT/REAR wire positions |
Fix No-Start Problems
If your new chime remains silent:
1. Check power – measure transformer output (should read 16-24V AC)
2. Inspect wiring – ensure no bare copper touches adjacent terminals
3. Test buttons – confirm physical buttons click when pressed
4. Review labels – match wire markings to correct terminals
Maintain Peak Performance
Wired System Care
Perform these checks annually:
– Tighten all terminal screws to prevent arcing
– Examine wire nuts for green corrosion (replace if present)
– Blow compressed air through chime openings to remove dust buildup
– Test both front and rear buttons to verify tone differentiation
Wireless Battery Management
Replace button batteries when chime volume decreases or range shortens. Always use name-brand alkaline batteries—cheap alternatives cause voltage drops that disrupt RF signals. Clean battery contacts quarterly with a cotton swab to prevent connection issues.
Smart System Updates
Enable automatic firmware updates in your manufacturer’s app to access security patches. For video doorbells, clean the camera lens monthly with microfiber cloth to maintain HD clarity. Check Wi-Fi signal strength weekly using the app’s diagnostic tools.
When to Call Professionals
Installation Red Flags
Contact a licensed electrician immediately if:
– Your home lacks existing doorbell wiring infrastructure
– Transformer installation requires panel modifications
– You measure inconsistent voltage (fluctuating above/below 24V)
– Wires show signs of overheating (melting insulation or scorch marks)
Most manufacturers void warranties for DIY transformer installations—professional work ensures code compliance and preserves coverage. For wireless systems, professional help is rarely needed beyond battery replacement.
Your correctly installed doorbell chime should deliver years of trouble-free operation. During the first month, test both front and rear buttons daily to catch developing issues early. Whether you chose the rock-solid reliability of wired systems or the renter-friendly flexibility of wireless models, this doorbell chime setup process guarantees you’ll always hear visitors. Remember: a properly configured chime isn’t just convenient—it’s your first line of home security.


