
You’ve just unboxed your new Ring doorbell, excited to boost your home security, but the thought of drilling holes into your pristine door frame makes you hesitate. Whether you’re a renter with strict landlord rules, a homeowner protecting historic surfaces, or simply prefer reversible solutions, you’ll be relieved to know you can install your Ring doorbell securely without drilling a single hole. This guide reveals proven no-drill methods that work on every surface type—from vinyl siding to glass doors—using specialized adhesives, clips, and magnetic systems designed for permanent security without permanent damage. By the time you finish reading, you’ll know exactly how to mount your Ring doorbell with confidence, avoiding common pitfalls that lead to failed installations and wasted time.
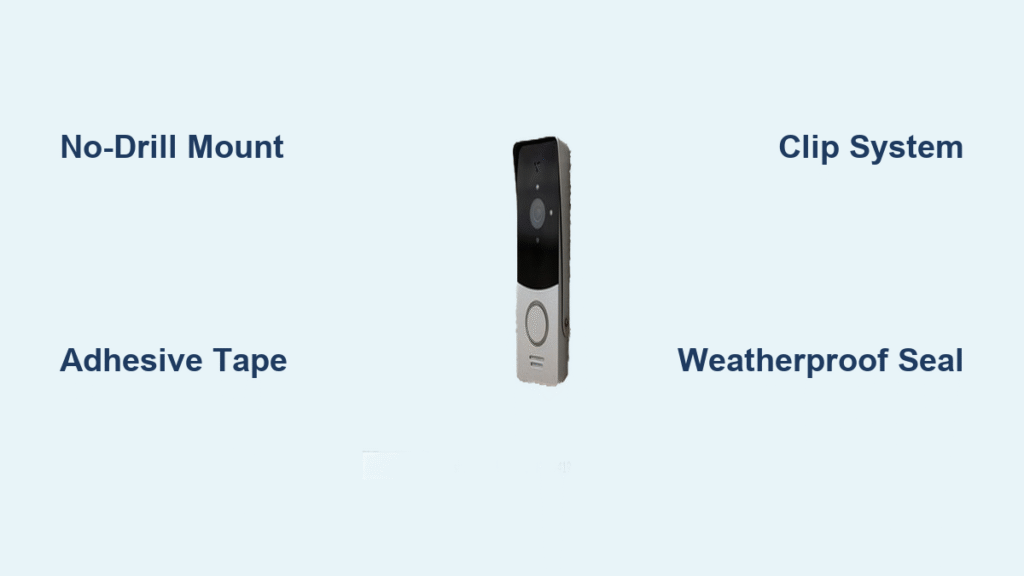
Choose Your No-Drill Method by Surface Type
Wood Door Frames: Strong Adhesive Solutions
Heavy-Duty Mounting Tape Method:
When installing on wood surfaces, 3M VHB tape creates an industrial-strength bond that holds 15-20 pounds on properly prepared surfaces. Start by cleaning your door frame with isopropyl alcohol to remove all oils and residue—this step is critical for long-term adhesion. Apply the tape in an X-pattern across your mounting bracket’s back surface to maximize contact area and distribute weight evenly. Press firmly for 30 seconds, then wait a full 48 hours before attaching your doorbell. This method works exceptionally well on both painted and stained wood frames, providing security that withstands years of weather exposure.
Command Strip Alternative for Renters:
If you need a completely reversible solution, outdoor Command strips offer strong temporary mounting. Use 4-6 strips rated for 5+ pounds minimum, spacing them evenly across your bracket. The key to success: press each strip firmly for 30 seconds, then wait one hour before mounting your doorbell. While these strips provide excellent hold, remember they require replacement every 6-12 months in areas with extreme temperature swings to maintain maximum security.
Vinyl Siding: Clip-Based Systems That Work
Ring’s Official Vinyl Mount:
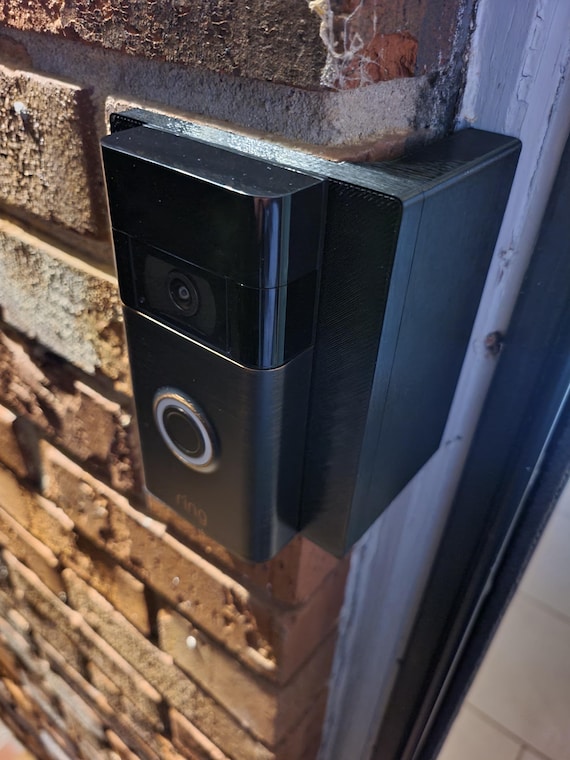
Ring manufactures a purpose-built no-drill mount that slides under standard vinyl siding panels without causing damage. This system works with 4-5 inch siding profiles and includes a wedge kit for perfect camera angles. Installation takes under 5 minutes—simply slide the hooks under adjacent siding panels and snap your doorbell into place. The mount supports the full weight of any Ring doorbell model plus weather accessories, providing rock-solid stability that won’t loosen over time.
DIY Wire Hook Method:
When Ring’s official mount isn’t available, create custom hooks using 18-gauge galvanized steel wire. Bend the wire into U-shapes that hook under siding panels at your mounting bracket’s top corners. Secure with outdoor zip ties rated for outdoor use, then test stability by gently pulling before final installation. This budget-friendly approach costs under $5 in materials and works with any siding profile, making it ideal for unique installation scenarios.
Brick and Stucco: Secure Mounting Without Damage
Brick Clip Mounting System:
Specialized brick clips grip mortar joints without drilling or adhesive, providing a secure hold for your Ring doorbell. These adjustable clips fit various brick dimensions and support 2-5 pounds depending on your brick condition. Position clips at your mounting bracket’s top corners, then add outdoor-rated adhesive strips between clips and bracket for extra stability. Always test the installation by gently pulling—if clips slip, try a different mortar joint or add a third center clip for better weight distribution.
Construction Adhesive for Permanent Installations:
For homeowners seeking a permanent solution on brick or stucco, outdoor-grade construction adhesive creates an unbreakable bond. Apply a 1/4-inch bead in a serpentine pattern on your bracket’s back, press against clean brick for 60 seconds, then support with painter’s tape for 24-48 hours while curing. Important warning: This method requires surface repair upon removal, making it less ideal for rentals but perfect for long-term homeowners.
Essential Tools and Materials Checklist
Must-Have Installation Items:
- Ring doorbell with fully charged battery
- Ring no-drill mounting bracket or compatible third-party mount
- High-strength outdoor mounting tape (3M VHB or Gorilla Heavy Duty)
- Isopropyl alcohol and lint-free cloths for surface preparation
- Small level for perfect alignment
- Measuring tape for precise positioning
- Pencil for marking placement
Pro Tip: Keep a magnetic mini-level on hand—it sticks to metal surfaces and frees both hands for mounting, making alignment significantly easier.
Smart Additions for Long-Term Success:
- Weatherproof sealant for exposed edges in extreme climates
- Extra mounting tape for reinforcement
- Silicone bumpers for angle adjustments
- Outdoor zip ties for added security
- Small magnetic level for hands-free positioning
Step-by-Step No-Drill Installation Process
Phase 1: Pre-Installation Setup
Charge and Configure First:
Begin by fully charging your Ring doorbell battery—expect 5-10 hours for complete charging using the included USB cable. While charging, download the Ring app and create your account. Select “Set up a device” → “Doorbells” → then scan the QR code on your doorbell’s back. Run the app’s Wi-Fi signal test at your planned installation location to verify strong connectivity—this prevents frustrating connectivity issues after mounting.
Perfect Position Planning:
Hold your doorbell at the optimal height—48 inches from ground to device center provides the best viewing angle. Ensure 5 feet of clear viewing distance for motion detection. Test that your door opens fully without hitting the device. Mark the bracket position lightly with pencil once satisfied, and double-check with a level before proceeding.
Phase 2: Critical Surface Preparation
The Secret to Long-Lasting Adhesion:
Clean your mounting surface with isopropyl alcohol, removing every trace of dirt, oils, and previous adhesive residue. For painted surfaces, test alcohol on an inconspicuous area first. Allow the surface to dry completely—minimum 10 minutes in normal conditions, longer in humid weather. This single step determines whether your installation lasts months or years.
Mark and Level Precisely:
Lightly mark your bracket’s outline with pencil. Use your level to draw a horizontal reference line—the Ring app includes a level, but a magnetic mini-level works better for hands-free positioning. Double-check measurements before applying any adhesive; a crooked doorbell looks unprofessional and affects motion detection accuracy.
Phase 3: Mount Application and Curing
Apply Your Chosen Method Correctly:
Follow your surface-specific mounting method’s application instructions precisely. Whether using adhesive tape, clips, or magnets, apply even pressure for the recommended time. Use your level to ensure perfect horizontal alignment—this is crucial for proper motion detection and professional appearance.
Respect Curing Time:
Wait the full recommended curing time before attaching your doorbell. This ranges from 1 hour for Command strips to 48 hours for construction adhesive. Test mounting stability by gently pulling on the bracket—if it moves, reinforce or restart with fresh materials. Rushing this step causes the most common installation failures.
Security and Theft Prevention Measures
Essential Anti-Theft Steps:
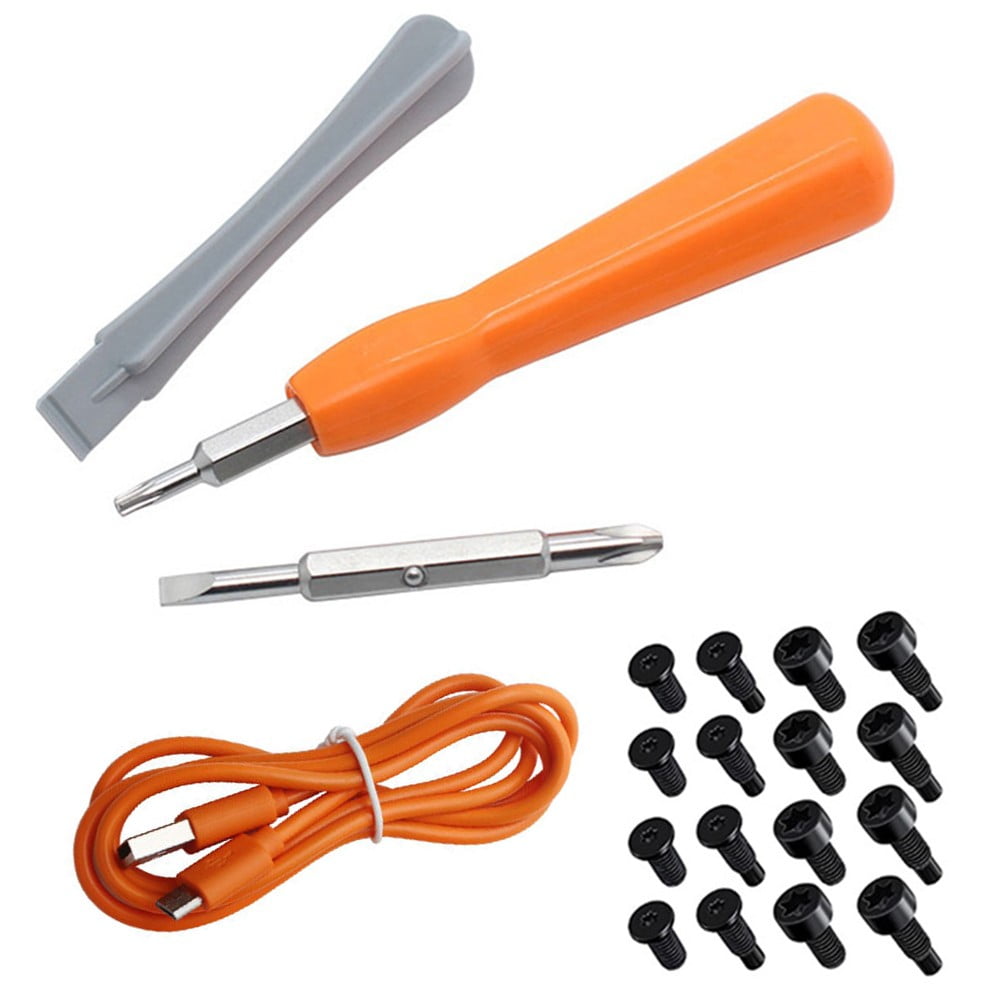
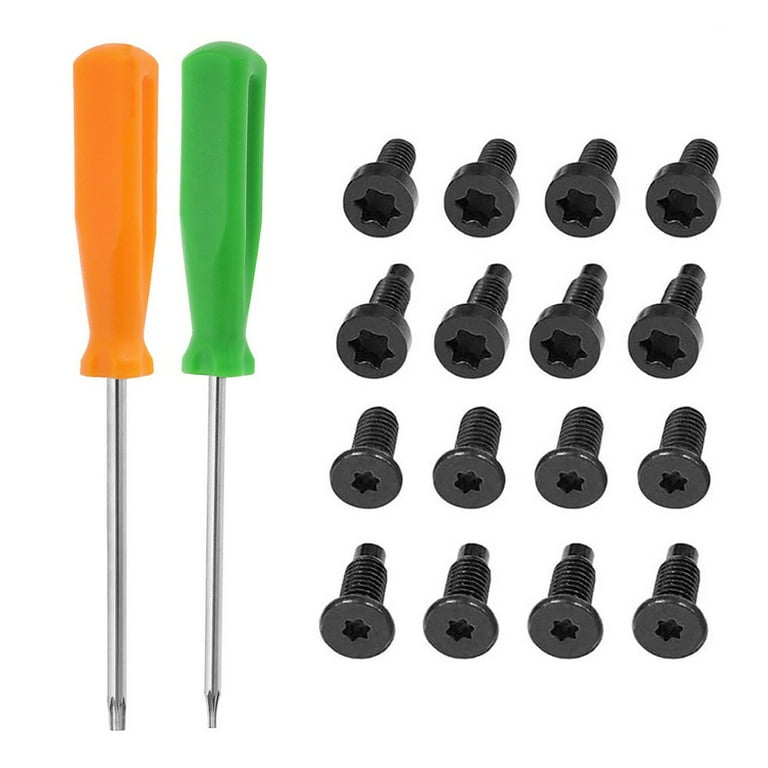
Ring includes a security screw specifically designed for no-drill installations—use this tamper-resistant screw during final mounting as it requires the included special tool for removal. Enable Ring’s theft protection features in the app, which tracks stolen devices and provides free replacements. Consider positioning visible security cameras as additional deterrents, as thieves typically avoid properties with obvious security systems.
Weatherproofing for Longevity:
All mounting methods in this guide use outdoor-rated materials designed for temperature extremes. In harsh climates, apply clear silicone around mounting edges to prevent moisture infiltration. Check mounting stability monthly during your first three months, then quarterly thereafter. Replace adhesive strips annually in areas with extreme weather to maintain maximum hold.
Troubleshooting Common Installation Problems
When Adhesive Fails:
Mounting tape failure typically stems from inadequate surface prep or insufficient curing time. Clean the surface with acetone (on non-painted surfaces) for stronger adhesion. Use fresh high-strength tape and increase surface area with a larger mounting plate. For persistent failures on difficult surfaces, switch to brick clips or magnetic mounting for superior stability.
Fixing Poor Camera Angles:
If your doorbell points too high or low, use the included wedge kit or create custom shims from weatherproof plastic. Even 5-10 degrees of adjustment dramatically improves viewing angles. Consider repositioning your entire mount higher or lower if wedge adjustments aren’t sufficient—remember, optimal height is 48 inches from ground to device center.
Maintenance and Damage-Free Removal Guide
Monthly Inspection Checklist:
Check mounting stability by gently wiggling your doorbell. Look for peeling edges on tape mounts or loose clips. Clean your device and surrounding area quarterly, checking for weather damage. In extreme climates, replace adhesive strips annually to maintain maximum hold—this small investment prevents costly replacements from failed mounts.
Removing Without Damage:
Remove your doorbell by sliding it up and off the bracket. For adhesive mounts, use dental floss or fishing line in a sawing motion to cut through tape strips. Apply gentle heat with a hair dryer to soften adhesive for easier removal. Clean surface residue with adhesive remover appropriate for your material—always test in an inconspicuous area first. Touch up any marks with matching paint or finish for perfect restoration.
Your Ring doorbell provides complete home security without compromising your property’s integrity. These no-drill methods offer permanent security solutions that remove cleanly when needed. Choose your surface-appropriate method, follow the detailed steps, and enjoy professional-grade installation without a single hole drilled—protecting your home and your property value simultaneously.


