
Your Intertek doorbell suddenly goes silent—no chime, no lights, no response when visitors press the button. You’re left wondering if you missed a delivery or important guest, and that sinking feeling sets in: Why is my Intertek doorbell not working? This common frustration affects thousands of homeowners, especially when weak batteries drain overnight or wireless signals get disrupted. The good news? Most Intertek Doorbell 5010856 failures trace back to just four fixable issues you can resolve in under 15 minutes with basic tools.
Unlike complex wired systems, this wireless model’s simplicity works in your favor. With its 300-foot open-area range and weather-resistant design, the 5010856 rarely fails permanently. In this guide, you’ll learn exactly how to diagnose dead batteries, restore lost pairing, eliminate signal interference, and adjust volume settings—using only the solutions verified in Intertek’s official manual. No technical skills needed, just systematic troubleshooting that gets your doorbell chiming reliably again.
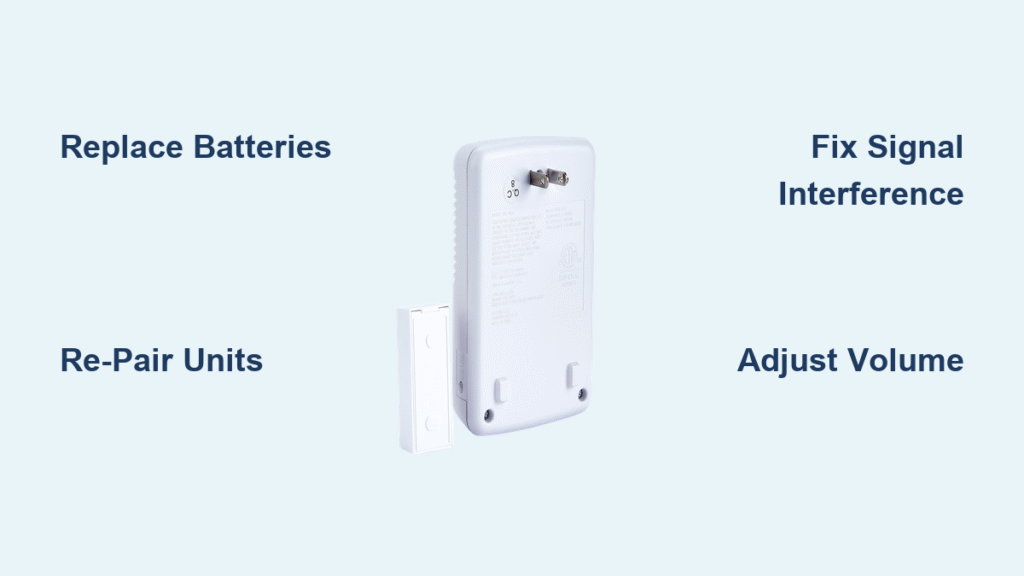
Replace Both Units’ Batteries Immediately

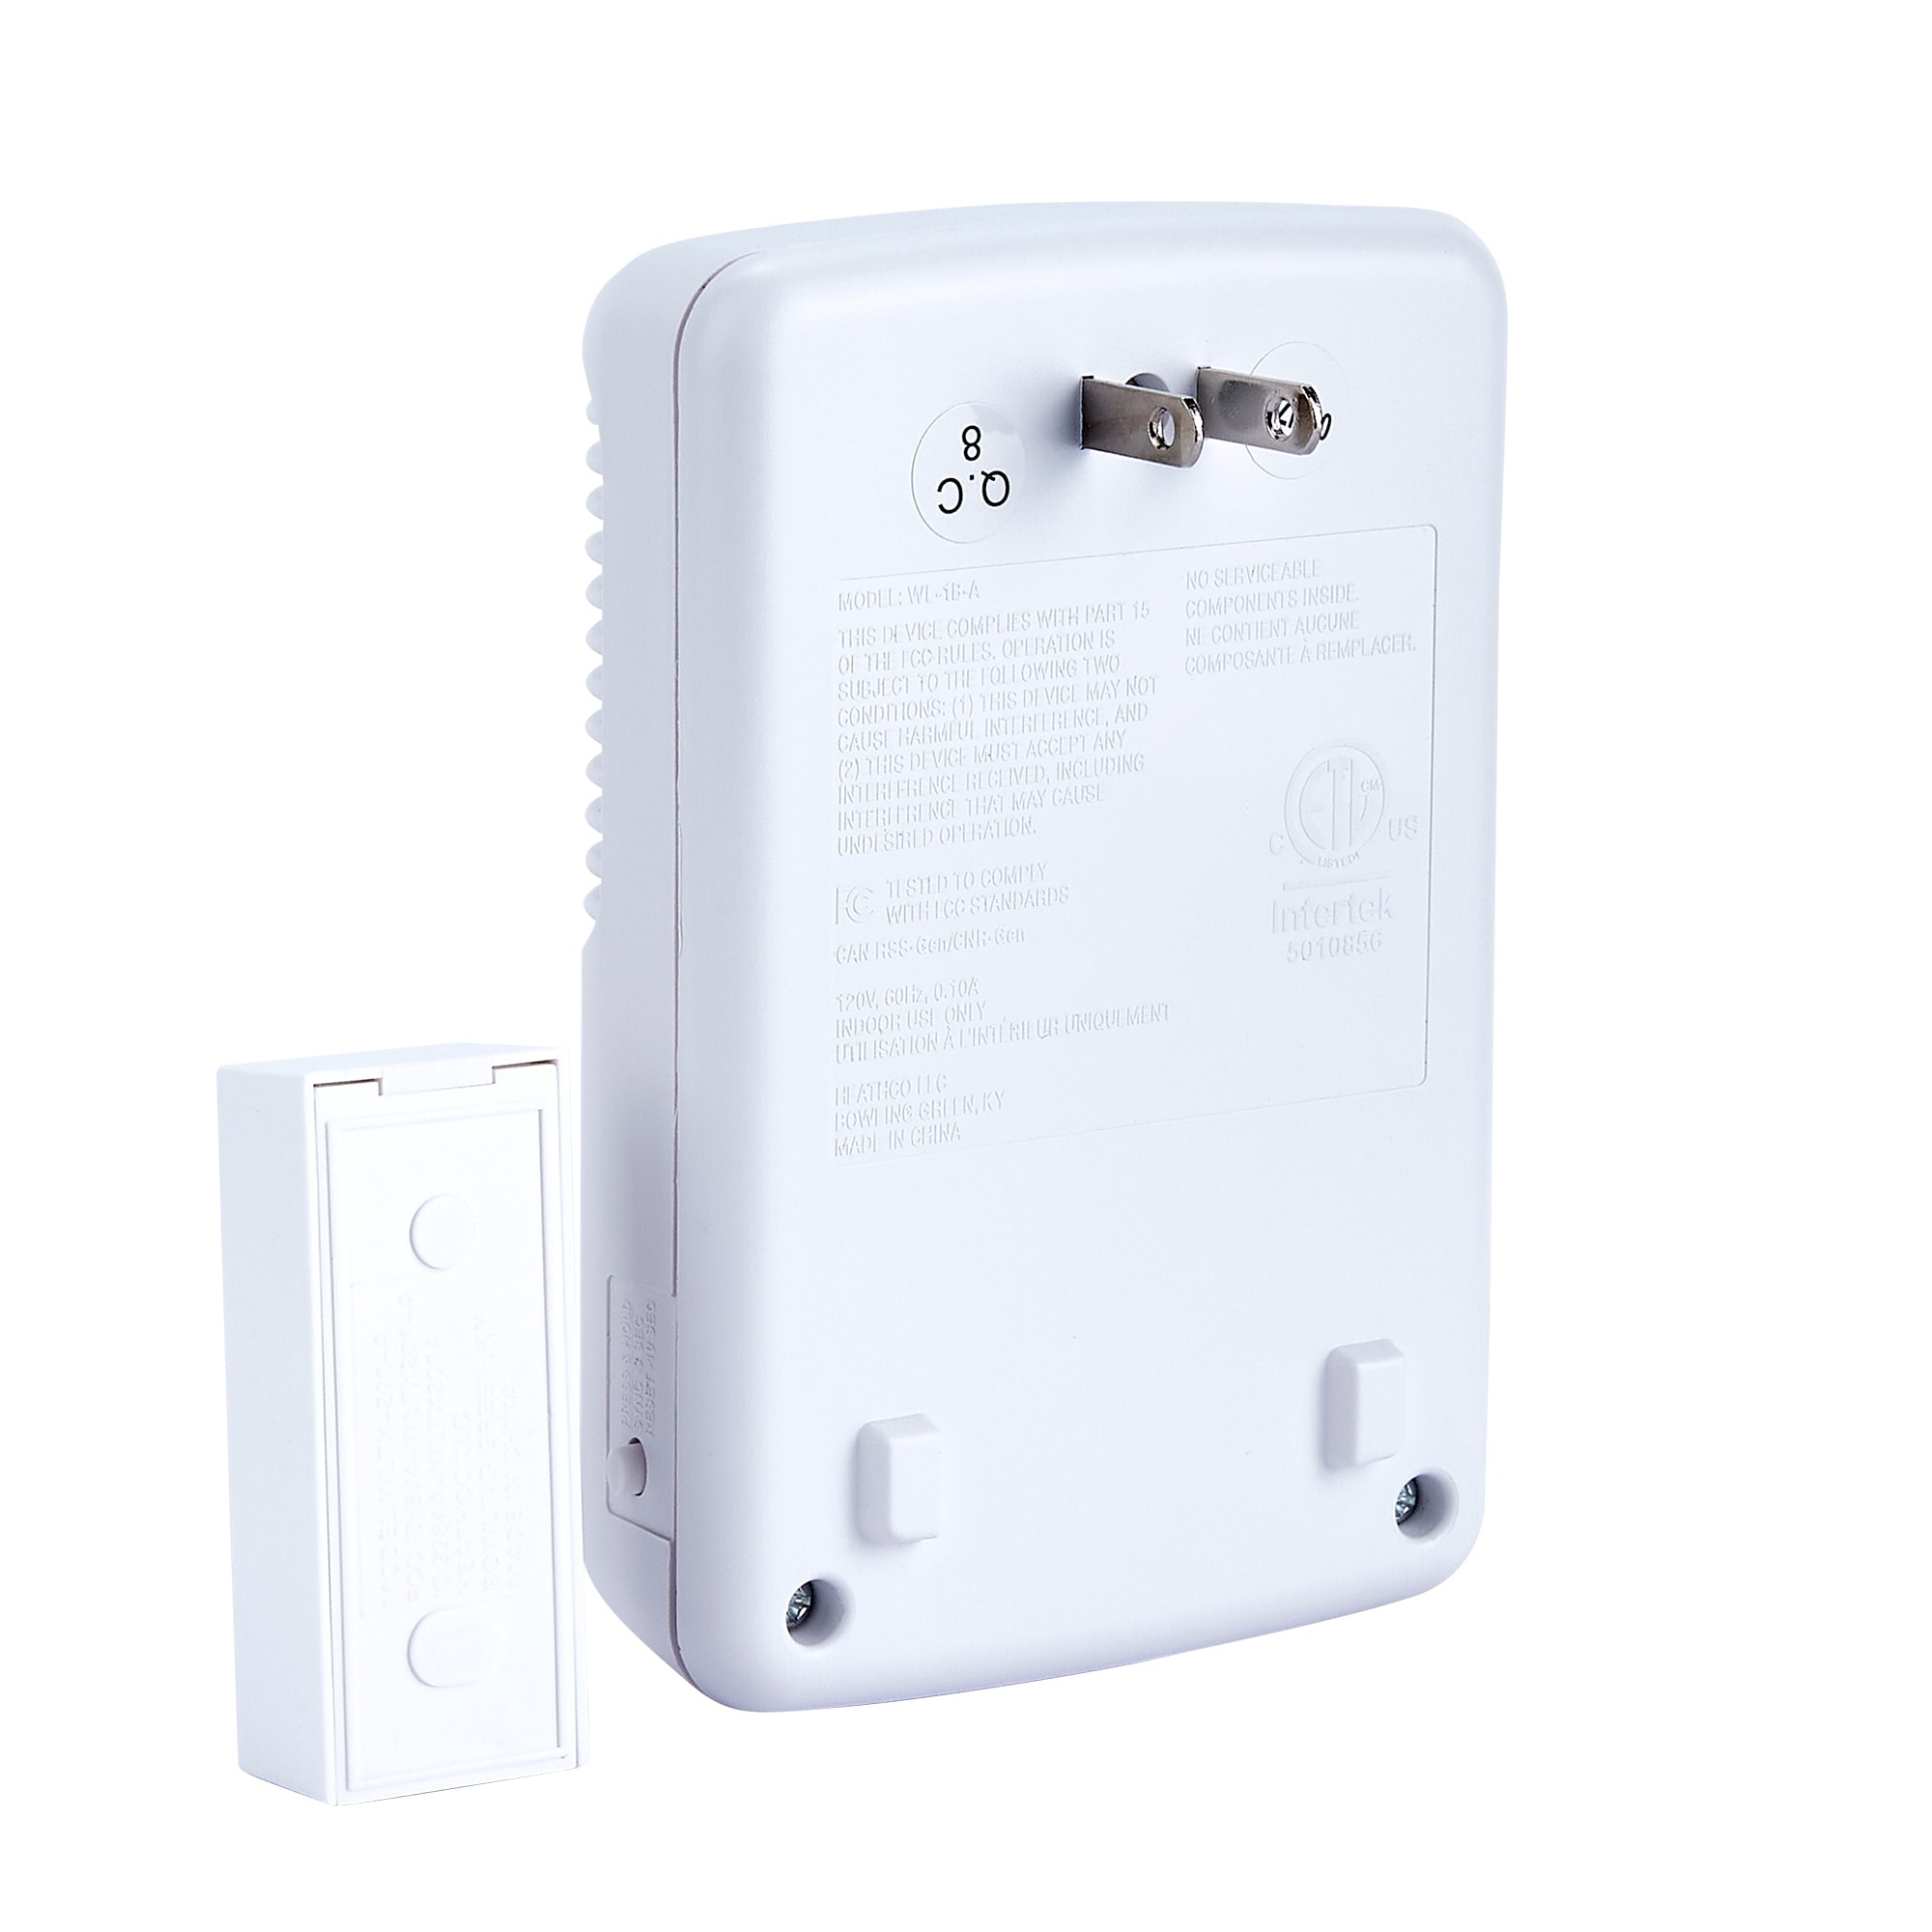
Start here—low power causes 90% of “no response” failures. The Intertek 5010856 uses separate 9V alkaline batteries in the doorbell button and chime unit. When either drains below 30% capacity, the system fails completely. Crucially, the chime unit flashes a low-battery LED indicator, but the button gives no warning—so you must check both.
How to Verify and Swap Batteries Correctly
Check the chime unit first:
– Locate the flashing red LED on the chime’s front panel—it pulses when battery power drops critically low
– If pressing the doorbell button yields no LED flash at all, the chime battery is fully depleted
– Remove the battery cover and confirm the 9V battery sits flush in its compartment (batteries often shift during cleaning)
Inspect the doorbell button:
– Press firmly—weak batteries cause a sluggish, unresponsive button feel with no audible click
– Remove the back cover and examine terminals for white/green corrosion (a sign of battery leakage)
– Replace immediately even if corrosion isn’t visible—alkaline batteries leak after 18 months
Critical replacement steps:
1. Use fresh 9V alkaline batteries (non-alkaline types fail prematurely)
2. Insert both batteries with correct polarity (+/- markings aligned)
3. Snap covers back securely—loose covers cause accidental power drain
4. Test by pressing the doorbell button within 3 feet of the chime
Pro Tip: Always replace both batteries simultaneously. Mixing old and new batteries creates voltage imbalances that mimic “not working” symptoms. Set phone reminders for annual battery swaps—this alone prevents most failures.
Re-Pair Button and Chime After Signal Loss
Lost wireless pairing causes “silent doorbell” emergencies after power interruptions. Your Intertek 5010856 disconnects when batteries die completely or during electrical surges. The chime won’t respond even with fresh batteries until you re-establish the wireless link.
Exact Reprogramming Sequence from Manual
Follow these steps precisely (deviations cause pairing failure):
1. Install new 9V batteries in both units (see previous section)
2. Press and hold the Pair button on the chime unit for exactly 3 seconds
3. Watch for the LED to switch from solid to rapid blinking—this confirms pairing mode
4. Within 10 seconds, press the doorbell button once firmly
5. Listen for the chime sound and watch for the LED turning solid red—this indicates success
Troubleshoot pairing failures:
– If no chime occurs, repeat steps but position the chime unit within 3 feet of the door during setup
– Avoid metal surfaces (fridge, filing cabinets) near the chime—metal blocks 70% of signal strength
– Test range by moving the chime deeper into your home after successful pairing
Warning: Do not hold the Pair button longer than 3 seconds. Over-pressing resets the unit and requires restarting the sequence. If pairing fails twice, proceed to signal interference fixes below.
Eliminate Signal Interference Blocking Your Chime
Physical barriers reduce your doorbell’s 300-foot range to under 50 feet indoors. Walls, appliances, and new electronics disrupt the wireless signal between button and chime—causing intermittent “not working” behavior where the doorbell works sometimes but not consistently.
Optimal Placement Strategies for Reliable Signals
Reposition the chime unit first:
– Move it away from WiFi routers, microwaves, or cordless phone bases (minimum 6 feet distance)
– Avoid basements or interior rooms—place on main-floor shelves near entry points
– Test locations by having someone press the button while you walk through your home
Adjust doorbell button positioning:
– Ensure the button isn’t mounted behind metal storm doors (reduces signal by 50%+)
– Relocate if within 3 feet of security cameras or smart home hubs
– Never install in direct sunlight—the manual specifies operating temps between -10°C to 50°C
Quick interference test:
1. Temporarily place the chime unit in a central hallway
2. Press the doorbell button repeatedly from your front door
3. If it chimes reliably, gradually move the chime toward its permanent spot until failures resume
4. Position it just outside that failure zone for maximum coverage
Expert Note: Concrete walls and brick facades weaken signals more than wood frames. If your home has these, mount the chime unit on the same side of the wall as the doorbell button whenever possible.
Adjust Volume Settings for Clear Chimes
A “not working” doorbell often just has its volume turned down accidentally. The Intertek 5010856’s volume knob can shift during cleaning, furniture rearranging, or when bumped—making chimes inaudible in distant rooms.
How to Maximize Sound Output Effectively
Locate and calibrate the volume control:
– Find the small circular knob on the chime unit’s side (often hidden behind a wall mount)
– Turn clockwise slowly while pressing the doorbell button—each click increases volume
– Stop when chimes are clear in your kitchen and living room (usually at 70-80% max)
Fix distorted or muffled audio:
– Never set volume to maximum—this causes speaker distortion per manual specifications
– Ensure the chime sits flat on a non-carpeted surface (tilting muffles sound)
– Replace batteries immediately if chimes sound “tinny”—weak power distorts audio
Critical test: Walk through every room while someone presses the button. If chimes fade in bedrooms, relocate the unit to a central hallway or add a second chime (the manual confirms multi-chime compatibility).
Prevent Future Failures with Proactive Care
Annual maintenance prevents 95% of recurring issues. Intertek’s manual emphasizes simple habits to avoid “doorbell not working” emergencies—especially battery management and seasonal checks.
Essential Yearly Maintenance Checklist
Battery and connection routine:
– Replace both 9V batteries every 12 months (even if working)
– During swaps, wipe battery compartments with a dry cloth to remove dust
– Verify secure battery seating before snapping covers shut
Seasonal positioning adjustments:
– Before winter, check for snow/ice buildup around the outdoor button
– In summer, ensure direct sunlight isn’t overheating the chime unit
– After installing new electronics (baby monitors, routers), retest signal range
Warranty and replacement protocol:
– Keep your purchase receipt—the 1-year warranty covers manufacturing defects
– Contact Intertek Support at support@intertek.com with “5010856 failure” in the subject line
– Note: Physical damage (cracks, corrosion) or water exposure voids warranty per safety guidelines
Pro Tip: Photograph your current battery compartment polarity (+/-) before removal. This saves guesswork during replacements and prevents installation errors that mimic “not working” symptoms.
Your Intertek Doorbell 5010856 should now respond reliably to every press. Remember: 90% of “not working” issues resolve with fresh batteries and correct re-pairing—always start there before adjusting placement or volume. For persistent failures after trying all steps, contact Intertek Support with your purchase date and specific symptoms (e.g., “no LED flash after battery replacement”). Keep this guide handy for your annual maintenance—it’s the fastest path to never missing another visitor again.


