

Your Ring doorbell’s blue light suddenly starts flashing, and you’re left wondering what’s happening. Is it charging? Connecting to Wi-Fi? Broken? These circular LED patterns are your device’s way of communicating, but decoding them can feel overwhelming when all you want is a working doorbell.
This guide cuts through the confusion with model-specific solutions for every blue light pattern Ring devices display. You’ll learn exactly what each flash means, how to fix the underlying issue, and when to call for professional help. Most importantly, you’ll discover that a flashing blue light rarely indicates a serious problem—it’s usually a simple connectivity or power issue you can resolve in minutes.
Decode Blue Light Patterns by Model

Ring Doorbell 1st-4th Generation Signals
Flashing Blue Moving Upwards: Your device struggles to connect during initial setup. This upward motion indicates active network searching. If this pattern continues for more than 10 minutes, your doorbell can’t find your Wi-Fi network or has incorrect login credentials.
Blue Light Flashing Four Times: Success! Setup completed successfully and your doorbell is ready for use. This pattern appears after you’ve correctly entered your Wi-Fi information and the device has connected to Ring’s servers.
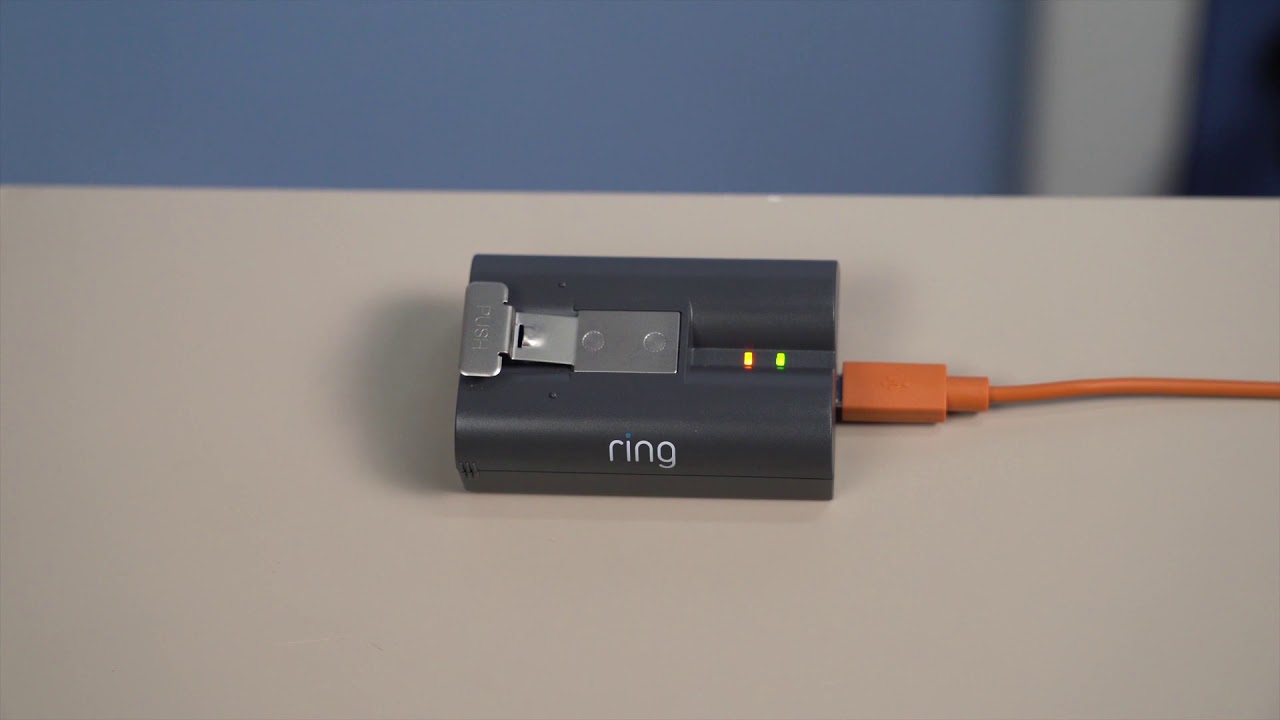
Spinning Blue Light: Battery charging in progress. The light becomes solid blue once fully charged. For battery models, this spinning pattern should only appear when connected to a power source—not during normal operation.
Wired Models and Peephole Cam Indicators
Spinning Blue Light: Normal doorbell button activation—someone pressed the button. If you see this without anyone at your door, check for accidental presses or physical obstructions against the button.
Upward Moving Blue Light: Network connection establishment during setup phase. This pattern should resolve within 2 minutes if your Wi-Fi credentials are correct and signal strength is adequate.
Flashing Circle (1-Second Intervals): Device boot-up sequence after power-on, restart, or firmware update. This pattern typically lasts 30-60 seconds before transitioning to solid blue or another status indicator.
Solid Blue Light: Built-in speaker activated and ready for two-way communication. This appears when you’re viewing your live feed in the Ring app and have activated the speaker.
Rapid Blue Flash → Spinning White: Factory reset completed successfully. Your device is now ready for reconfiguration with the Ring app.
Pro and Pro 2 Advanced Patterns
Top Half Flashing Blue: Context matters here. During setup indicates wrong Wi-Fi password. After setup means the device is actively charging. If you see this pattern unexpectedly, check your power source immediately.
Rapid Blue Lights Flashing: Factory reset process completed. Your doorbell has wiped all previous settings and needs to be reconnected through the Ring app.
Quick Visual Inspection Steps
Start with these immediate checks to identify your specific situation. This takes 60 seconds and prevents unnecessary troubleshooting.
Step 1: Count the Flashes
– Track exact flash count and pattern
– Note whether light moves or stays stationary
– Check if entire circle or partial sections light up
Step 2: Check Context
– Did you just install or reset the device?
– Recent power outages or Wi-Fi changes?
– Someone pressed the doorbell button?
Step 3: Verify Power Source
– Battery models: Check charge level in Ring app
– Wired models: Confirm steady power supply
– Look for any visible damage to wiring
Fix Wi-Fi Connection Problems
Network Verification Process
Access Ring App Settings
1. Open Ring app and select your doorbell
2. Tap “Device Health” to view connection status
3. Check RSSI signal strength (target: -60 dBm or stronger)
Password and Network Check
– Verify correct Wi-Fi network selection
– Double-check password accuracy (case-sensitive)
– Ensure you’re connecting to 2.4GHz network for better range
Signal Strength Solutions
Physical Placement Issues
– Move router closer to doorbell (within 30 feet when possible)
– Eliminate thick walls or metal obstacles
– Check for interference from baby monitors or microwaves
Wi-Fi Extender Setup
– Install extender halfway between router and doorbell
– Use same network name (SSID) for seamless connection
– Test signal strength after installation with the Ring app’s diagnostic tool
Battery vs Power Supply Fixes
Battery Model Solutions
Charging Status Indicators
– Spinning blue: Currently charging
– Solid blue: Fully charged
– No light: Battery completely drained or disconnected
Battery Replacement Signs
– Battery won’t hold charge beyond few days
– Doorbell frequently disconnects from Wi-Fi
– Motion detection becomes unreliable
If your battery isn’t holding a charge, try cleaning the charging contacts with a dry cloth before replacing. Corrosion on these small metal points often causes charging issues that mimic battery failure.
Wired Model Troubleshooting
Power Supply Requirements
– Most models: 16-24 VAC transformer
– Check voltage with multimeter at doorbell terminals
– Inspect transformer for humming sounds or overheating
Common Power Issues
– Loose wire connections causing intermittent power
– Incompatible transformer (under 16V)
– Tripped circuit breaker or GFCI outlet
For wired models showing unexpected blue flashing, always check your circuit breaker first. Many homeowners discover their doorbell circuit has been accidentally tripped during other electrical work.
Reset Procedures by Model
Ring Doorbell 1st-2nd Generation Reset
Physical Reset Steps
1. Remove doorbell from mounting bracket (twist counterclockwise)
2. Find orange setup button on rear
3. Press and hold for 15 seconds until front light blinks
4. Release when flashing stops—device enters setup mode
Ring Doorbell 2-4 Reset Process
Faceplate Removal
1. Remove lower faceplate using included tool
2. Locate orange button beneath faceplate (under camera for 3/4)
3. Hold button 15 seconds until light flashes
4. Wait for reset completion before reassembling
Pro and Wired Model Reset
Security Screw Access
1. Loosen small security screw at bottom
2. Remove faceplate carefully
3. Find orange button on right edge
4. Hold 15 seconds for complete reset
5. Reinstall faceplate and tighten screw
Advanced Diagnostic Techniques
Firmware Update Issues
Check Update Status
– Open Ring app → Device Health → Firmware
– Latest version shows as “Up to Date”
– Update in progress shows percentage complete
– Failed updates trigger repeated flashing
Force Update Process
1. Ensure stable Wi-Fi connection
2. Keep doorbell plugged in (wired) or charged (battery)
3. Avoid pressing doorbell during update
4. Updates typically complete within 10-15 minutes
If your Ring doorbell gets stuck during a firmware update, unplug it for 30 seconds then reconnect power. This often restarts the update process without requiring a full reset.
Hardware Failure Indicators
Physical Damage Signs
– Cracked housing or lens
– Corroded battery terminals
– Burnt smell from device
– Water damage visible inside
Performance Red Flags
– Doorbell becomes extremely hot
– Repeated setup failures despite correct steps
– Blue light patterns don’t match any documented sequences
– Complete unresponsiveness to button presses
Prevent Future Blue Light Issues
Monthly Maintenance Routine
Battery Models Checklist
– Verify 20%+ battery charge monthly
– Clean charging contacts with dry cloth
– Test motion detection and live view
– Update Ring app when prompted
Wired Models Inspection
– Monthly voltage check at transformer
– Inspect wire connections for corrosion
– Test doorbell chime compatibility
– Clean camera lens for clear image quality
Optimal Installation Practices
Location Selection
– Mount 48 inches from ground for best angle
– Avoid direct sunlight causing overheating
– Ensure 30-foot Wi-Fi range or use extender
– Check weather protection rating (IPX5 standard)
Network Optimization
– Use dedicated 2.4GHz IoT network
– Set static IP address for doorbell
– Enable QoS in router settings
– Disable band steering during setup
When Professional Help Is Needed
Contact Ring Support Immediately When:
- Blue light patterns don’t match any documented sequences
- Device fails setup after multiple reset attempts
- Physical damage visible on device
- Warranty claim needed (1-year standard, extendable)
Support Preparation Checklist
- Device Info: Model, generation, purchase date
- Problem Details: Exact light pattern, duration, frequency
- Network Details: Router model, Wi-Fi type, signal strength
- Steps Attempted: List all troubleshooting steps completed
- App Screenshots: Capture error messages or diagnostic screens
Key Takeaway: Most blue light issues resolve with proper Wi-Fi setup or battery charging. Document the exact pattern before troubleshooting—your specific flash sequence tells the whole story and guides you to the right fix. For persistent problems, Ring’s customer support can often diagnose issues remotely if you provide detailed pattern descriptions and have completed basic troubleshooting steps. Remember that regular monthly maintenance prevents 80% of common Ring doorbell issues before they disrupt your home security.


