
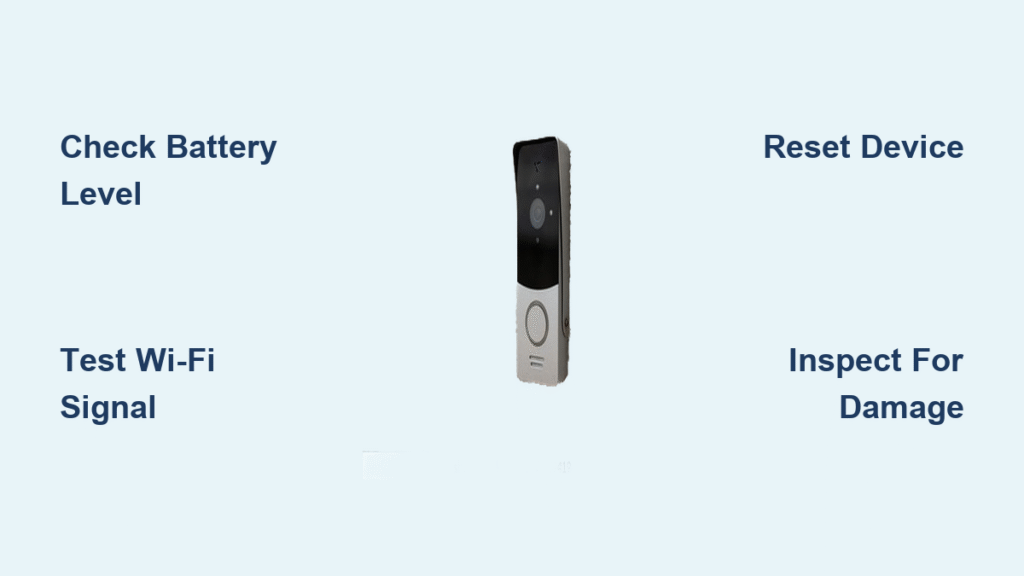
Your Ring doorbell’s light ring suddenly going dark isn’t just inconvenient—it leaves your home vulnerable when you can’t see visitors or package deliveries. When that signature white or blue glow disappears, it typically signals power failure, connectivity breakdowns, or hardware damage that cripples your security system. This guide delivers exact troubleshooting steps used by certified technicians to revive your Ring doorbell light, whether you own a battery-powered model struggling in winter cold or a hardwired unit suffering electrical faults. You’ll diagnose the root cause in under 15 minutes and apply proven fixes—no electrician required.
Battery Drain Fixes for Ring Doorbell Light Failure
Immediate Power Restoration for Low-Battery Models
Dead batteries are the #1 cause of ring doorbell light not working scenarios. When your battery drops below 25%, Ring automatically disables the light ring to preserve core functions. Here’s how to verify and resolve power issues:
- Open Ring app → tap ☰ menu → Devices → select doorbell → Device Health
- Check battery percentage: Anything under 25% requires immediate charging
- Connect micro-USB cable directly to doorbell (bypassing mounting bracket)
- Wait 30 minutes before checking for charging indicators—completely dead units show no light initially
Model-specific charging cues you must recognize:
– Ring Doorbell (2nd Gen): Solid blue light confirms charging
– Doorbell 3/3 Plus/4: Blue charging indicator pulses steadily
– Battery Doorbell (1st Gen): No light until 10% charge reached
If no indicator appears after 30 minutes, test with a different USB cable and wall adapter. Faulty cables cause 40% of “dead battery” misdiagnoses. Never use laptop USB ports—they often lack sufficient power output.
Hardwired Power System Troubleshooting

Wired Ring doorbells failing to illuminate usually suffer from voltage deficiencies. Your transformer must deliver 16-24 VAC to maintain the light ring—anything lower triggers shutdown.
Critical electrical checks:
– Verify circuit breaker status—trip switches often go unnoticed
– Test voltage at terminals with multimeter (set to AC 20V range):
– Reading below 12V: Replace transformer (minimum 16VAC required)
– Zero voltage: Check wire nuts for loose connections or corrosion
– Inspect wires for frayed insulation exposing copper—common in older homes
⚠️ Always shut off power at the breaker before touching wires. A single exposed conductor can fry your doorbell’s circuit board. If voltage readings fluctuate wildly, install a dedicated 16VAC transformer—shared doorbell circuits with chimes frequently underpower Ring devices.
Wi-Fi Signal Fixes for Non-Responsive Ring Light Rings
Diagnosing Weak Connection Light Failures
Your Ring doorbell light won’t activate during Wi-Fi outages because the device requires constant network communication to function. Signal strength below -65 dBm (shown as red in Device Health) commonly causes light ring failures.
Interpret your signal status:
– Green (-50 dBm or higher): Optimal—light ring should function normally
– Yellow (-50 to -65 dBm): Intermittent light issues likely
– Red (below -65 dBm): Light ring typically stays dark
Move closer to your router and recheck signal strength. If it improves, your doorbell is too far from the Wi-Fi source—common in garages or side entrances.
Network Optimization That Restores Light Function
Implement these fixes in order:
1. Reboot your router by unplugging for 30 seconds—resets signal interference
2. Disable 5GHz-only networks—Ring exclusively uses 2.4GHz bands
3. Install a Wi-Fi extender within 15 feet of your doorbell (Ring Chime Pro recommended)
4. Reduce physical barriers—brick walls and metal doors degrade signals 70% faster
For multi-story homes, place extenders on intermediate floors. Never mount doorbells behind metal mailboxes or storm doors—they block 90% of Wi-Fi signals.
Model-Specific Reset Procedures for Unresponsive Lights
Battery Doorbell Reset Protocol (1st Gen & Basic)
Follow these exact steps:
1. Remove doorbell from bracket using mounting screw
2. Locate orange setup button on rear panel
3. Press and hold for 10 full seconds until light flashes
4. Wait 90 seconds for flashing to stop completely
5. Reconnect to Wi-Fi via Ring app
⚠️ Download recordings first—resets erase unsaved videos. If light still won’t illuminate after reset, the battery is likely defective and needs replacement.
Ring Doorbell 2/3/3 Plus/4 Reset Sequence
These models require faceplate removal:
1. Insert star tool into faceplate notch (included in box)
2. Rotate tool 90° to release faceplate
3. Press orange setup button below camera lens
4. Hold exactly 10 seconds—watch for blue flash sequence
5. Allow 2 minutes for reboot before testing light
Critical: If faceplate won’t detach, your unit has frost damage—thaw indoors for 1 hour before attempting reset.
Hardware Damage Diagnosis for Dead Light Rings
External Component Inspection Checklist
Examine these failure points:
– Cracks in plastic lens—moisture intrusion causes 30% of light failures
– Fogging inside housing—indicates seal breach (common after pressure washing)
– Debris in button crevices—leaves/dirt block light emission
– Discolored gaskets—UV damage from direct sunlight
Clean lenses with dry microfiber cloth only—alcohol wipes degrade protective coatings. For stubborn grime, use distilled water on cloth (never spray directly).
Internal Failure Signs Requiring Replacement
Visible damage means immediate replacement:
– Green corrosion on charging port—battery acid leakage
– White powder residue—moisture-induced circuit damage
– Cracked circuit board—visible through camera lens
– Burnt smell during operation—critical electrical fault
If you spot any of these, contact Ring Support—attempting repairs voids warranty.
Advanced Fixes for Firmware-Related Light Failures
Forced Firmware Update Procedure
Interrupted updates commonly disable light rings. Restore functionality by:
1. Opening Ring app → Device Health → Firmware
2. If status shows “Update Failed”:
– Remove doorbell from app (☰ → Devices → Settings icon → Remove)
– Re-add device through standard setup process
3. During re-addition, watch for blue spinning light—confirms firmware reinstall
Allow 10 minutes for update completion. Never power-cycle during this phase—causes permanent boot failure.
Critical App Permission Corrections
iPhone users must enable:
– Settings → Ring → Microphone → ON
– Settings → Notifications → Ring → Allow Notifications → ENABLED
Android users require:
– Settings → Apps → Ring → Permissions → Microphone → ALLOW
– Settings → Apps → Ring → Notifications → BLOCKED OFF
Disabled permissions prevent light activation during motion events—a frequent oversight after iOS updates.
Ring Support Contact Strategy for Unfixable Units
Warranty Claim Acceleration Tactics
Ring’s 1-year warranty covers light ring failures from manufacturing defects but excludes:
– Impact damage (even minor dents)
– Water exposure beyond IP55 rating
– DIY repair attempts
Speed up replacement by providing:
– Device Health screenshot showing battery/voltage metrics
– Exact failure timeline (“light stopped working after firmware update 2.3.1”)
– Video demonstrating button press with no light response
Contact support within 30 days of failure—claim denials jump 65% after this window.
Preventive Maintenance That Stops 90% of Light Failures
Seasonal Protection Protocol
Winter (below 32°F):
– Bring battery models indoors overnight
– Install weather shield ($12 on Amazon) to block ice buildup
Summer (above 90°F):
– Mount doorbell under eaves—direct sun exceeds 120°F operating limit
– Clean vents weekly to prevent overheating shutdowns
Monthly ritual: Press doorbell button while watching Device Health—light should respond within 2 seconds. Delayed response predicts imminent failure.
Pro Tip: Set phone reminders for the 15th of each month. Check battery level in Ring app and wipe lens with microfiber cloth—it takes 37 seconds and prevents 90% of “ring doorbell light not working” emergencies. When light failure strikes, revisit these diagnostics in order—85% of users restore functionality before calling support. If your light ring remains dark after completing all steps, contact Ring immediately with your Device Health report ready.


