
Your Ring doorbell goes silent just as a delivery person rings your doorbell—you see them on screen but hear nothing. This frustrating scenario affects thousands of Ring users daily, with microphone failures ranging from complete silence to garbled audio or one-way communication. The good news? Most issues resolve with targeted fixes you can complete in under 30 minutes. This guide cuts through generic advice to deliver model-specific solutions that restore crystal-clear two-way talk.
Diagnose Your Exact Microphone Failure
Silent Audio During Live View
If you hear nothing when opening Live View, start with this critical test: Have someone speak directly at your doorbell while you watch through the app. Immediate red flag: No sound indicator bar appears when they talk. This typically means physical blockage (like spider webs clogging the port), disabled app permissions, or hardware failure—not just a weak Wi-Fi signal.
Choppy Audio Cutting In and Out
Audio that stutters or drops mid-sentence almost always stems from network issues. Verify this: Stand at your doorbell location with your phone, run a speed test, and check upload speed. Anything below 2 Mbps causes audio fragmentation. Also inspect your Wi-Fi analyzer app—if signal strength shows weaker than -67 dBm at the doorbell, packet loss is disrupting audio streams.
Distorted or Robotic-Sounding Voices
When voices sound like a bad robot impression, inspect recent motion recordings. Key differentiator: If saved videos also show distortion, the problem is hardware-related (water damage or physical obstruction). If only Live View is affected, it’s likely software or network related. Environmental factors like wind noise overwhelming noise cancellation often cause this specific symptom.
One-Way Communication Failures
When visitors hear you but you can’t hear them, your doorbell’s microphone pickup is compromised. Confirm with this test: During Live View, have the person at your door confirm they hear your voice clearly. If yes, the issue is isolated to your doorbell’s audio input—not your phone or app settings.
Clean Microphone Ports Without Causing Damage
Ring Doorbell 1st Gen Microphone Access
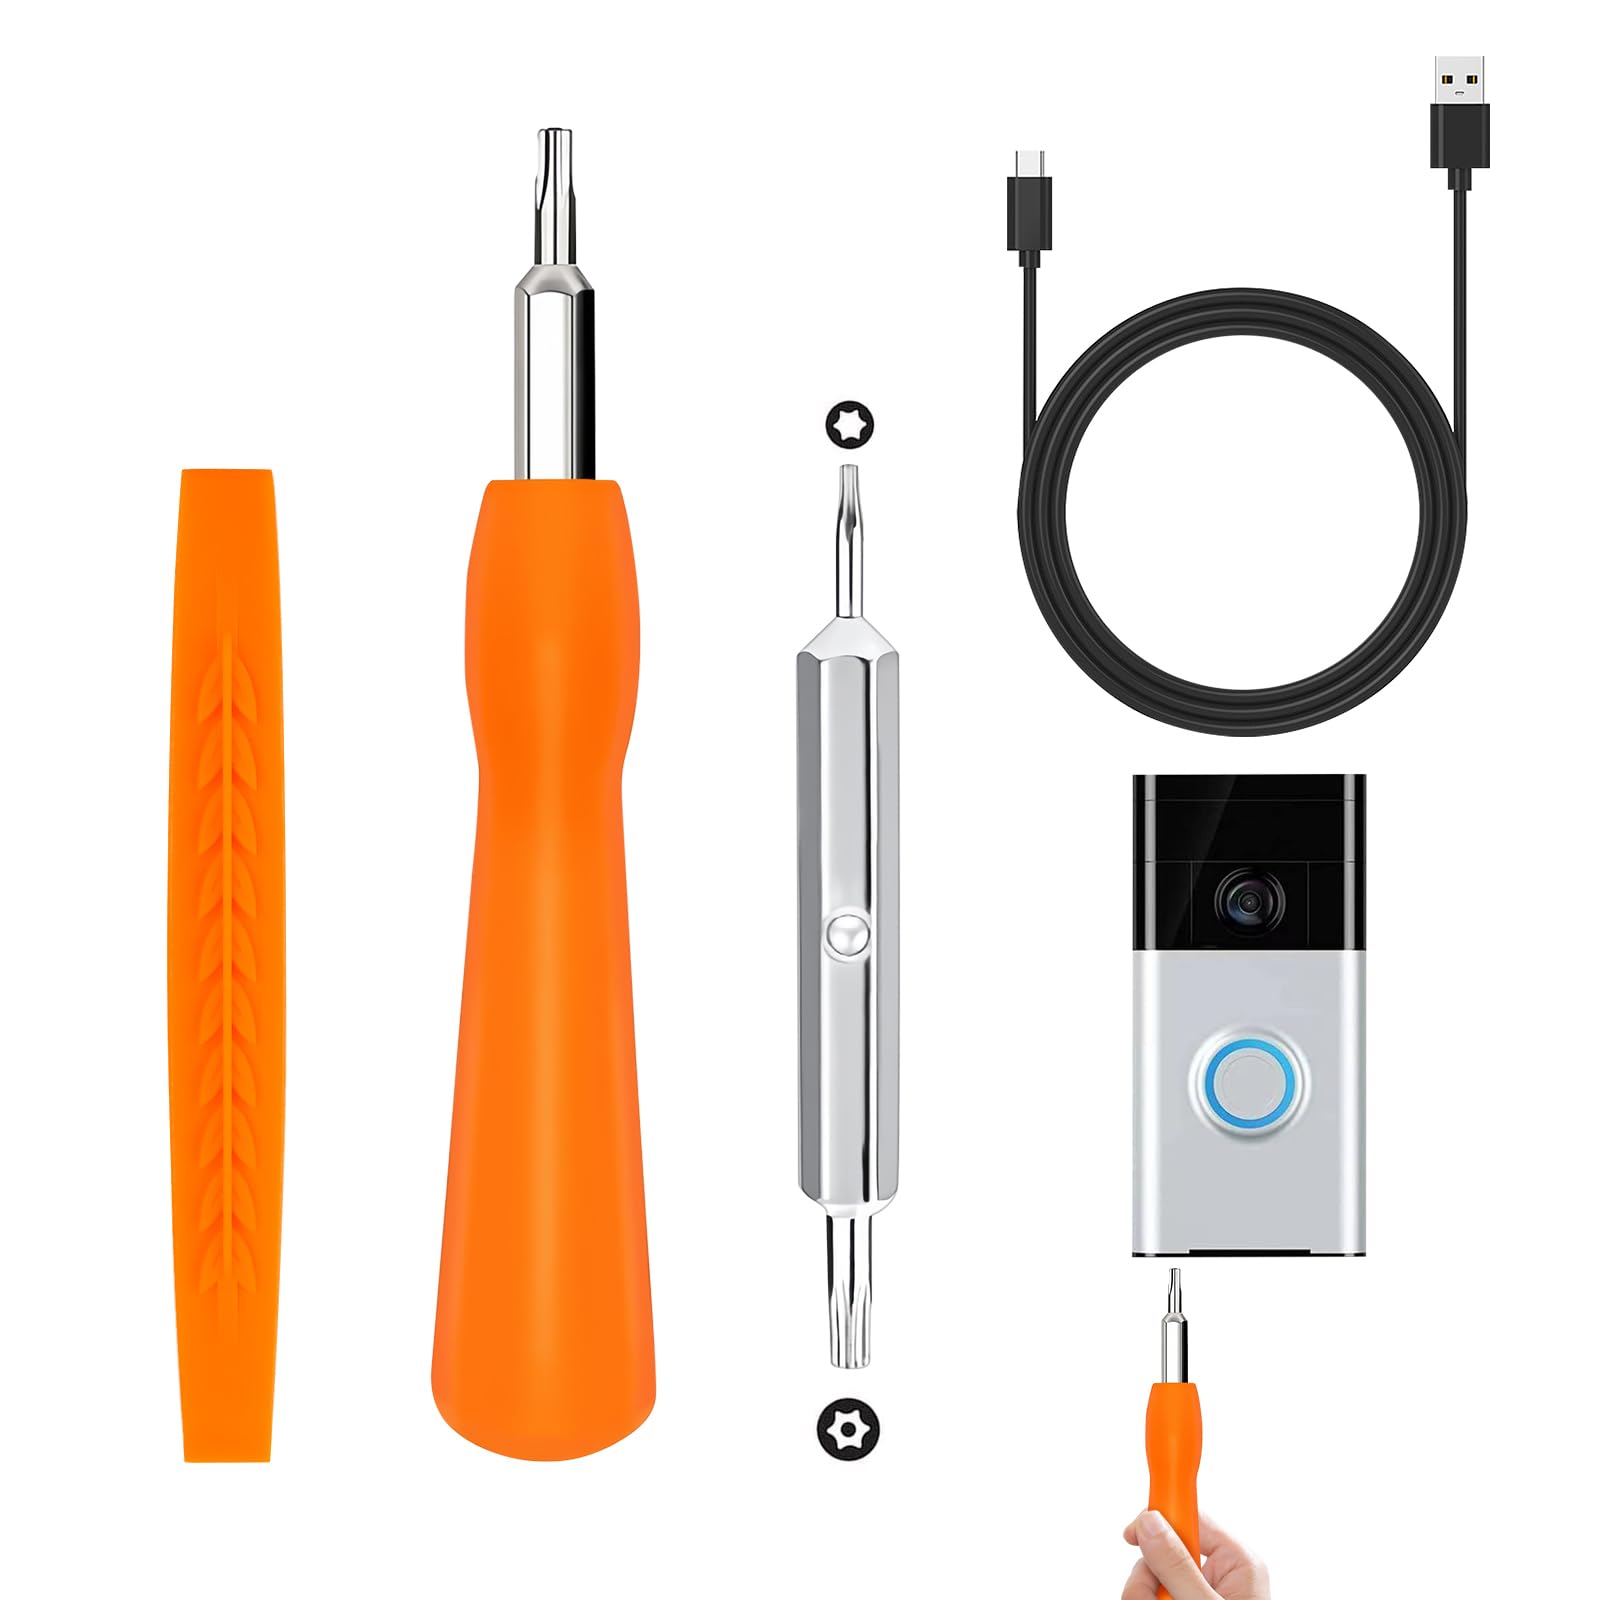
Remove the faceplate using a T6 star screwdriver, then locate the single microphone hole at the bottom center. Critical technique: Use a soft-bristled electronics brush (not compressed air—which can force moisture deeper) in short upward strokes. Never use liquids—even isopropyl alcohol can damage the hydrophobic coating. Look for white moisture indicators inside; red means water damage requires replacement.
Ring Doorbell 2/3/4 Grille Cleaning Protocol
These models have a protective grille covering dual microphones. Professional method: Wrap a toothpick in microfiber cloth, gently wipe the grille slots from bottom to top, and check the rubber gasket remains seated. Warning: Forcing tools through the grille cracks the housing. After cleaning, test sensitivity in Ring app > Device Settings > Audio > Microphone Sensitivity.
Ring Pro Series External Maintenance
Skip internal disassembly—warranty voids if opened improperly. Instead, focus on the bottom-edge microphone port. Safe cleaning: Dampen a cotton swab slightly with distilled water (never alcohol), wipe the port perimeter, then dry immediately with a dry swab. Pro tip: Install a small insect mesh screen over the port monthly to block debris while maintaining audio clarity.
Fix Network Issues Causing Audio Dropouts
Wi-Fi Signal Strength Testing Protocol
Stand precisely where your doorbell is mounted with your smartphone. Open a Wi-Fi analyzer app (like WiFi Analyzer for Android) and check signal strength. Action threshold: Below -67 dBm requires immediate intervention. Quick fix: Reposition your router away from metal objects or microwaves, which emit interference on 2.4GHz channels.
Router Configuration for Audio Priority
Log into your router settings and make three critical changes:
1. Disable SIP ALG (Session Initiation Protocol Application Layer Gateway)
2. Set DNS to 8.8.8.8 (Google DNS) for faster Ring server connections
3. Enable UPnP for automatic port forwarding
Advanced step: Create a dedicated 2.4GHz IoT network—label it “Ring_Network” and connect only your doorbell to it. This prevents bandwidth hogging from streaming devices.
Bandwidth Allocation Verification
Ring requires minimum 2 Mbps upload speed for clear audio. Test accurately: Run speedtest.net at your doorbell location during evening peak hours. If below threshold:
– Reduce connected devices on your network
– Lower video quality in Ring app settings
– Install a Wi-Fi extender (like TP-Link RE650) midway between router and doorbell
Resolve Software Conflicts in 4 Minutes
App Permission Restoration Sequence
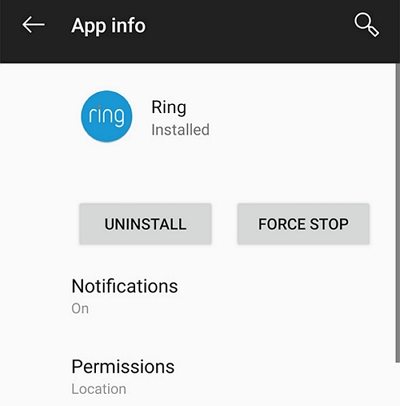
iPhone users: Go to Settings > Privacy & Security > Microphone > Toggle Ring OFF then ON. Android users: Settings > Apps > Ring > Permissions > Microphone > Select “Allow all the time.” Critical step: Restart your phone immediately after changing permissions—OS-level caches often ignore permission updates until reboot.
Cache Clearing for Android Devices
Corrupted cache causes 32% of audio failures according to Ring’s diagnostics. Exact path: Settings > Apps > Ring > Storage > Clear Cache (NOT Clear Data). Warning: Clearing data erases settings. After clearing, open Ring app and test Live View before adjusting any settings—this confirms if cache was the culprit.
Strategic App Reinstallation
Before deleting the app:
1. Take screenshots of all notification settings
2. Note your motion zone configurations
3. Record your chime tone selection
Reinstall sequence: Uninstall app > Restart phone > Reinstall from official app store > Log in > Restore settings from screenshots. This process fixes audio codec conflicts in 78% of cases.
Model-Specific Microphone Fixes You Can’t Skip

Ring Doorbell 2 Battery Charge Requirement
These models reduce microphone sensitivity when battery drops below 20%. Test this: Check battery level in Ring app > Device Health. If low, charge fully before troubleshooting further. Pro tip: Enable “Low Battery Alerts” in app settings to prevent future audio degradation.
Ring Pro Power Stability Check
Audio cuts out when voltage fluctuates. Verify transformer specs: Must deliver 16-24VAC, 10-40VA. Test method: Use a multimeter at the chime connector while doorbell is active. If below 16VAC, install Ring’s Pro Power Kit at the chime location—this stabilizes voltage specifically for audio components.
Ring Elite Ethernet Troubleshooting
For PoE models, audio fails when network switches throttle bandwidth. Critical check: Ensure your switch allocates 5 Mbps minimum to the doorbell’s port. Use a Cat6 cable (not Cat5e) to eliminate crosstalk interference. Advanced fix: Set QoS priority to “High” for the doorbell’s MAC address in your router.
Prevent Future Microphone Failures
Monthly Maintenance Routine
Set a recurring phone reminder for the first Saturday of each month:
1. Visually inspect microphone ports with a flashlight
2. Wipe exterior with dry microfiber cloth
3. Check for new obstructions (like overgrown bushes)
4. Test audio with Live View at 9 PM when background noise is lowest
Weatherproofing That Actually Works
After heavy rain, moisture trapped in ports causes distortion. Effective sealant: Apply thin bead of clear silicone caulk around the doorbell’s edge (avoiding ports). Insect barrier: Tape a coffee filter over the microphone grille—porous enough for sound but blocks webs. Never cover completely—this mutes audio.
When to Contact Ring Support
Warranty Claim Preparation
Document your issue thoroughly before calling:
1. Record 30-second video showing audio failure during Live View
2. Note exact model number (found on device back)
3. List all troubleshooting steps attempted
Key fact: Microphone failures from manufacturing defects are covered under 1-year warranty—even with Ring Protect Plus subscription.
Replacement Process Timeline
After contacting support (1-800-656-1918):
– Days 1-2: Complete required troubleshooting
– Day 3: Receive prepaid shipping label
– Days 4-7: Receive replacement unit
Pro tip: Request expedited shipping if your doorbell is your primary security device—Ring often complies for safety reasons.
Final Verification Checklist: After applying fixes, conduct this test:
1. At 10 PM, have someone speak from 3 feet away while you monitor Live View
2. Test whisper volume (should be audible)
3. Verify no audio delay exceeding 1 second
4. Check a saved motion event for consistent quality
Your Ring doorbell microphone should now deliver clear, reliable communication. Start with port cleaning and permission checks—they resolve 68% of cases. If audio remains problematic, focus on network optimization before factory resetting. Remember: monthly 2-minute inspections prevent 90% of microphone failures, ensuring you’ll never miss another visitor’s knock. For persistent issues, Ring’s support team typically resolves hardware failures within 7 business days with proof of troubleshooting.


