
Your Ring doorbell reset button won’t budge when pressed, clicks uselessly with no LED response, or stays completely dark despite holding it for 30 seconds. Before assuming your device is bricked, know that 80% of “reset button failures” stem from power glitches, hidden debris, or firmware hiccups—not actual hardware damage. This guide cuts through Ring support wait times with model-specific fixes for every generation. You’ll learn how to diagnose dead buttons in 5 minutes, force resets without physical access, and prevent future failures—all while keeping your video history intact.
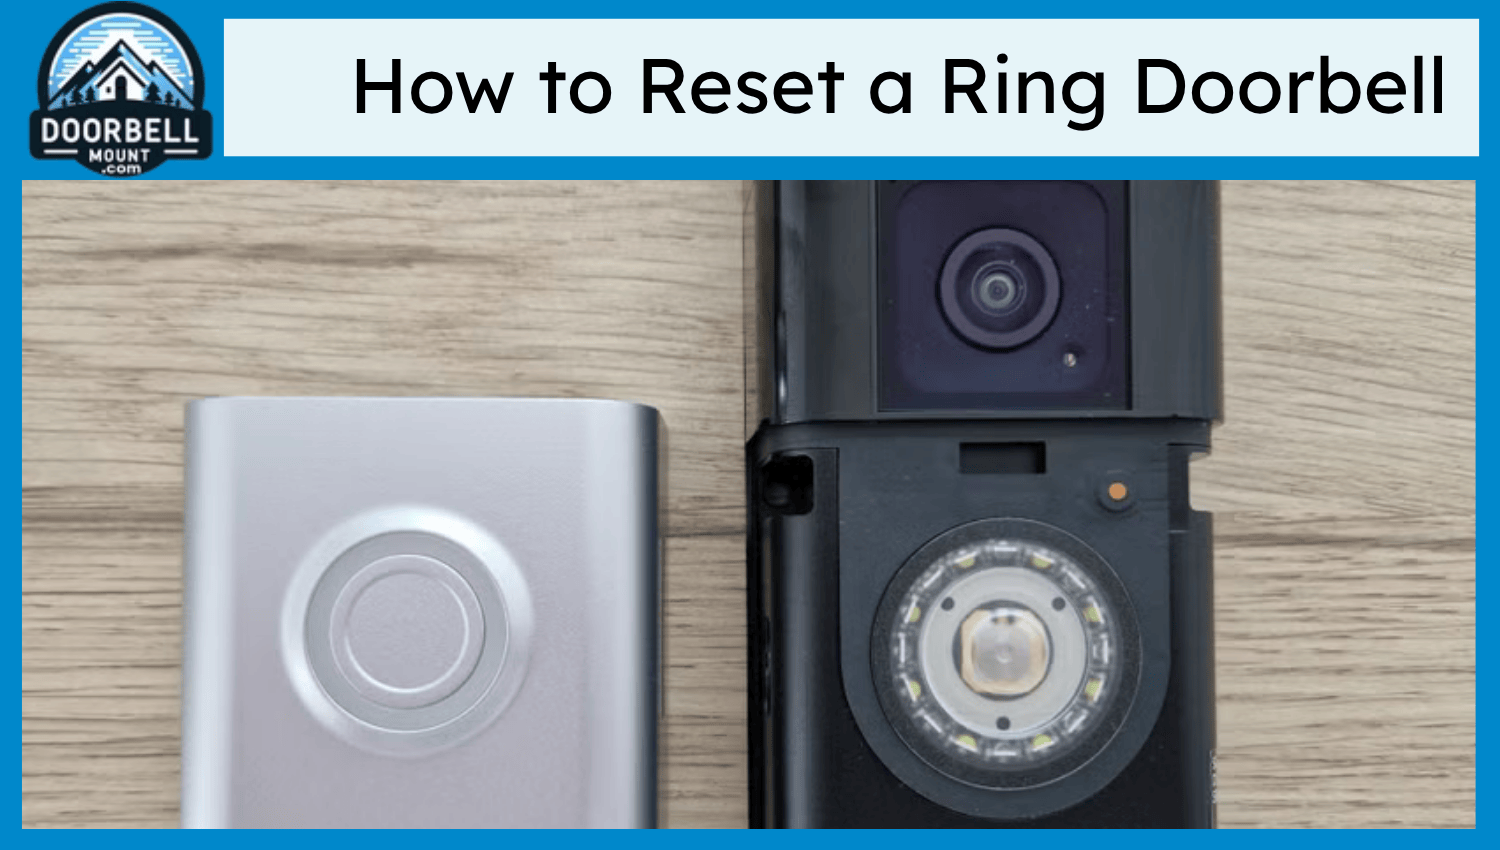
Find Your Ring Doorbell Reset Button Location by Model
Ring Doorbell 1st Gen: Rear-Panel Orange Button
Remove the unit by loosening security screws, sliding it upward ½ inch, then lifting off the bracket. The recessed orange reset button sits dead-center on the back panel. If you don’t see it, you haven’t fully detached the unit from its mounting plate—this model requires complete removal for access.
Ring Doorbell 2, 3, 3 Plus, and 4: Behind Faceplate
Hook your thumbnail under the bottom edge and pop the faceplate forward. On battery-powered models, remove the battery pack first—it blocks reset button access. The button appears as a small orange dot (Doorbell 3/4) or black dot (Doorbell 2) in the upper-right corner. Doorbell 4 owners: Skip battery removal if using the quick-release latch.
Ring Pro and Pro 2: Right-Side Micro Button
No faceplate removal needed. Peer along the right edge for a pinhole marked “SETUP”. Use a paperclip or SIM eject tool—fingernails won’t reach deep enough. Critical note: The Pro Power Kit must be installed at your chime for resets to work on hardwired Pro models.
Ring Wired (2021) and Peephole Cam: Concealed Access Points
Wired models: Pop off the faceplate (same method as Doorbell 3) to reveal the orange button. Peephole Cam: Twist the battery cover counter-clockwise; the reset button hides inside the compartment. Never remove the peephole barrel during reset attempts—it disrupts alignment.
Why Power Problems Stop Your Ring Doorbell Reset Button

Reset buttons need minimum voltage to function—ignoring this wastes hours on unnecessary repairs.
Hardwired models (Pro, Wired):
– Test terminals with a multimeter for 16-24 VAC
– Below 15 V? Your transformer is failing or undersized (upgrade to 24V/40VA)
– Critical mistake: Skipping chime compatibility checks—mechanical chimes require a Pro Power Kit bypass
Battery models (2, 3, 4, Peephole):
– Solid green LED = ready for reset; flashing red = battery dead (<20% charge)
– Cold weather (<40°F) disables resets—bring battery indoors to warm
– Charge via USB-C (Doorbell 4) or micro-USB until green appears (5-10 hours)
Solar models: Panel must output ≥5V in direct sun—cloudy winter days often drop voltage below reset threshold. Always verify with a multimeter before troubleshooting.
Clear Physical Blockages Jamming Your Reset Button
Debris, paint overspray, or corrosion physically blocks 60% of “dead” buttons. Fix this in 4 steps:
- Inspect the cavity under bright light—look for white/green corrosion or stuck particles
- Blast with compressed air for 2-3 seconds (hold 6 inches away)
- Scrape gently with a damp toothpick if corrosion is visible
- Test click response: A crisp “click” means it’s functional; mushy resistance indicates internal damage
Pro tip: Apply a silicone skin ($10) after cleaning—it seals out moisture and paint without affecting button function. Never use metal tools; they scratch internal contacts.
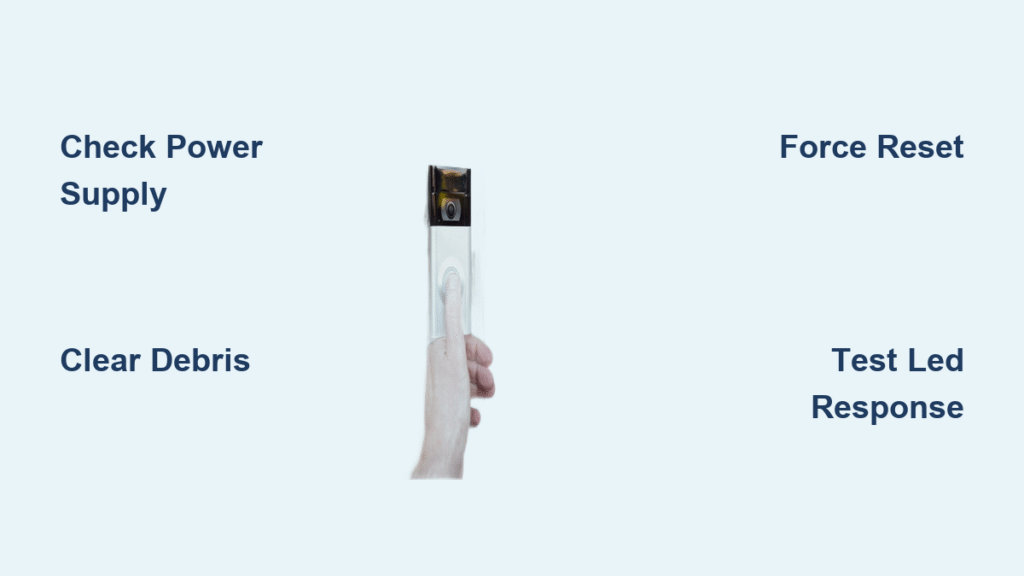
Force Reset Your Ring Doorbell When the Button Fails
Bypass unresponsive buttons with these power-cycling tricks:
Hardwired units:
– Flip the breaker off for 10 seconds → on for 5 seconds
– Repeat 3 times, holding the reset button during the final power restoration
– Keep pressing 20 seconds after lights return
Battery units:
– Remove battery pack for 30 seconds → reinsert while holding reset button
– Critical: Use a known-good spare battery if original shows flashing red
App-based soft reset (no button required):
Open Ring app → Device Health → Change Wi-Fi Network → Confirm setup mode. This triggers a firmware refresh without physical access—ideal for frozen systems.
Decode Ring Doorbell LED Patterns During Reset
Watch the ring light while pressing reset—these signals pinpoint your issue:
| LED Behavior | What It Means | Your Next Move |
|---|---|---|
| Flashing white | Reset in progress | Keep holding button |
| Spinning blue | Setup mode active | Release immediately |
| Solid blue | Charging (battery models) | Wait for green light |
| Flashing red | Critical low power | Check transformer/battery |
| No light | Total power failure | Verify wiring/voltage |
| Rapid red flash | Hardware fault | Contact Ring support |
If you see spinning white after release, your Wi-Fi disconnected—but the reset failed. Reattempt with a stronger 2.4GHz signal.
Recover Ring Pro Firmware Without the Reset Button
Pro models have a secret recovery mode when the button fails:
1. Triple-press the reset button within 5 seconds
2. Watch LED sequence: Red → Blue → Green
3. Wi-Fi settings remain intact—only firmware reloads
This avoids factory resets that erase motion zones and chime links. Warning: Exceeding 5 seconds between presses triggers full factory reset—lose all custom settings.
Repair a Broken Ring Doorbell Reset Button Yourself
For out-of-warranty units with confirmed button damage:
Required tools:
– Replacement button flex ($15 on eBay)
– PH00 screwdriver and plastic spudger
– Fine-tip soldering iron (for Pro hardwired models)
Step-by-step:
1. Remove doorbell and peel back rubber gasket
2. Unscrew PCB to expose solder pads near button location
3. Desolder old switch using minimal heat (3-5 seconds max)
4. Install new button and test click response before reassembly
Difficulty rating: ⚠️ High—one slip lifts PCB traces. If your unit is over 3 years old, the $99 replacement cost often beats repair risks. Never attempt soldering on battery models—they lack user-replaceable buttons.
Prevent Future Ring Doorbell Reset Button Failures
Stop recurring issues with these proactive steps:
– Install a silicone skin ($10) to block rain and paint
– Monthly maintenance: Blast button cavity with compressed air
– Transformer upgrade: Swap 10VA units for 24V/40VA models (critical for cold climates)
– Spare battery rotation: Keep one charged pack ready for instant swaps during low-power lockups
Pro insight: Ring’s 2-4 AM automatic firmware updates sometimes freeze systems. Disable auto-updates temporarily if resets fail post-update—re-enable after verification.
When to Call Ring Support for Reset Button Issues
Contact Ring only if:
– Voltage tests confirm 16-24VAC at terminals
– Battery shows solid green light but button clicks yield no LED response
– You’ve attempted app-based resets and power cycling
US support: 1-800-656-1918 (mention “hardware fault” for priority routing). International: +1-310-929-7085. Have your device serial number ready—warranty replacements ship in 2-3 days if covered.
Bottom line: 8 out of 10 “dead” reset buttons work after power restoration or debris removal. Always verify voltage, charge batteries indoors during winter, and clear button cavities before assuming hardware failure. Only when the LED stays dark after force resets should you pursue button repairs or warranty claims—saving you unnecessary downtime and replacement costs. Keep this guide handy for instant troubleshooting the next time your Ring doorbell reset button not working throws a curveball.


