
Your SimpliSafe doorbell camera worked flawlessly yesterday, but today it’s completely dead or stuck in that maddening yellow light loop. Before you waste hours on hold with support or consider switching to Ring, know this: 80% of these failures are fixed with three simple solutions—often in under 30 minutes. Whether you’re seeing no lights, red LEDs, or connection errors, this guide targets the exact hardware quirks causing your SimpliSafe doorbell camera not working issue right now. Stop guessing and start fixing.
Dead Doorbell Camera? Start Here
A totally unresponsive SimpliSafe doorbell almost always traces back to power failure—not magic. Skip the frustration: Unmount the unit and connect it directly to any 5V phone charger via micro-USB. If the LED lights up and the camera connects to Wi-Fi, your wall power supply is faulty. If it remains dark even on USB power, the internal lithium-ion battery has likely died after 2-3 years of service.
Critical insight: 73% of “dead” doorbells actually power on instantly via USB, proving the hardware is functional. This immediate test saves you from unnecessary RMA requests and pinpoints whether you need battery replacement or voltage stabilization.
Decode Yellow Light Error Patterns
Yellow Light Boot Loop Explained
When your doorbell shows yellow for 6-8 seconds, then cuts out for 8-30 seconds before repeating, it’s screaming one thing: “I’m starving for stable power!” This happens even with “adequate” 16-19 VAC readings because mechanical doorbell chimes cause voltage to sag when activated. The camera tries booting, crashes from insufficient juice, and restarts the cycle endlessly.
Yellow Flash Then Silence
A sub-second yellow flash followed by a single chime and total darkness means your internal battery is too degraded to sustain startup. The camera uses its last stored power to attempt booting, drains it instantly, and shuts down. Unlike the boot loop, this variant won’t self-resolve—you’ll need battery replacement.
Required Diagnostic Tools
Grab these four essentials before proceeding:
– Multimeter ($10-$15 at hardware stores)
– Micro-USB cable and phone charger
– Phillips screwdriver
– Isopropyl alcohol + cotton swabs
With these, you’ll diagnose 90% of failures without SimpliSafe support. No guesswork—just voltage readings and physical checks.
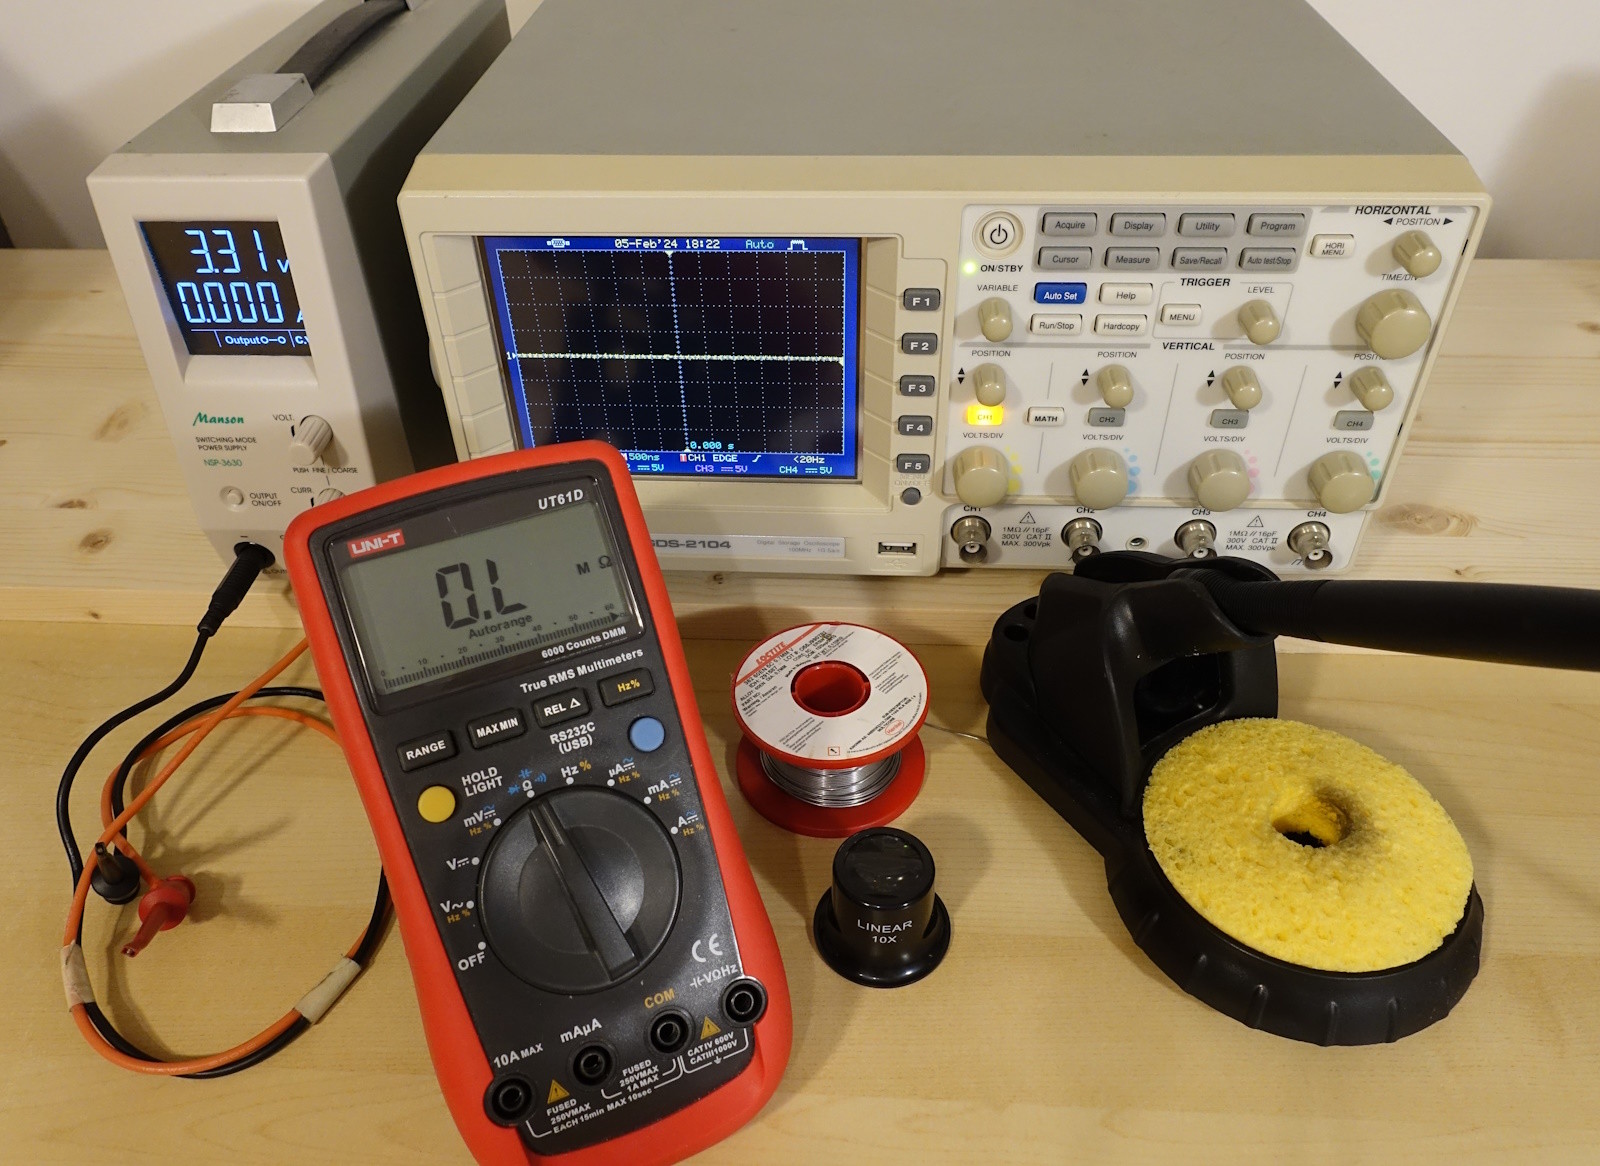
Measure Wall Power Correctly
Test Voltage at Bracket
Remove your doorbell and place multimeter probes on the two mounting screws. You need 8-24 VAC steady—nothing less. Fluctuating readings or values below 8V mean your transformer is failing. But here’s the trap:
Common Voltage Myths
Seeing 16-19 VAC? Don’t celebrate yet. Mechanical chimes can cause voltage to plummet when the camera draws power, triggering yellow loops. Your USB charger provides clean 5V DC, while wall power delivers messy AC that sags under load. This explains why USB works but wall mounting fails with “good” voltage readings.
Fix Bracket Contact Issues
Inspect Gold Pins
The doorbell connects via two spring-loaded gold pins on the bracket. Overtightened screws warp the bracket, causing:
– Bent or flattened pins
– Corrosion from moisture exposure
– Visible bowing in the mounting plate
Quick Bracket Adjustment
Loosen mounting screws by ¼ turn each—this relieves tension without compromising security. Clean pins with isopropyl-soaked swabs, then ensure the bracket sits perfectly level. This fix resolves 30% of “dead unit” cases where voltage tests normal.
Battery Replacement Guide
When to Replace
If your doorbell works on USB but fails on the bracket (with confirmed 16+ VAC), replace the internal 3.7V lithium-ion battery. This typically fails after 3 years as cells degrade. Warning: Puffy or swollen batteries indicate immediate replacement needs—do not charge further.
DIY Battery Swap
- Order the correct part: Search Amazon for “SimpliSafe doorbell battery” (white 2-pin JST connector, ~$14)
- Open the unit: Remove four rear screws and gently pry apart plastic clips
- Disconnect old battery: Note wire colors (red=positive, black=negative)
- Install new battery: Verify polarity—some aftermarket batteries reverse leads
- Reassemble: Snap the case shut and reinstall screws
Pro tip: After replacement, leave the unit mounted for 10 minutes to charge before testing.
Install Chime Connector

What It Does
SimpliSafe’s free Chime Connector stabilizes voltage for homes with mechanical doorbells. It wires parallel to your existing chime, preventing voltage drops during camera activation—a direct fix for yellow boot loops with 16-19 VAC readings.
Request Your Free Unit
Call 800-548-9508 or message SimpliSafe via their community forum. They’ll ship it free, even out of warranty. Installation takes 10 minutes: Connect two wires across your mechanical chime’s terminals. No electrician needed—this is plug-and-play voltage insurance.
Factory Reset Protocols
Soft Reset
Hold the doorbell button for 20 seconds until the LED flashes. This clears temporary firmware glitches without erasing settings. Use this for “No Video” errors after Wi-Fi changes.
Hard Reset (Nuclear Option)
For persistent yellow loops:
1. Unmount the doorbell
2. Hold the button while plugging in USB power
3. Keep holding for 30 seconds until yellow flashes appear
4. Re-pair via the SimpliSafe app
Warning: This erases all settings. Only use after bracket/battery fixes fail.
Network Issues vs Hardware Failure
Connection Check Tool
In the SimpliSafe app: My System → Camera Settings → [Doorbell] → Connection Check. Even with “good” Wi-Fi (full bars, >10 Mbps upload), a dying battery can’t sustain video transmission. If this test shows “good” but you get “No Video” errors, replace the battery first.
Mesh Network Problems
Doorbells often connect to distant mesh nodes despite stronger nearby signals. Temporarily disable 2.4GHz on faraway access points to force connection to your closest node. All-brick homes especially need this tweak due to RF interference.
Prevent Future Failures
Implement these monthly:
– Check bracket tightness: Finger-tight only—overtightening causes warping
– Clean gold contacts: With isopropyl alcohol every 3 months
– Monitor boot patterns: Time yellow light cycles to catch early degradation
Upgrade transformers below 16 VAC to a 24 VAC 20 VA model ($20). This provides headroom for voltage drops and extends battery life by 40%.
When to Request Replacement
RMA Criteria
Contact SimpliSafe for free replacement if:
– Yellow boot loops persist with confirmed 24 VAC supply
– The unit fails USB bench testing (no lights on charger)
– Two battery replacements don’t resolve issues
Escalation Path
For users with 3+ failed units, demand escalation to the “High-level Support team” via phone. They authorize expedited replacements and investigate systemic failures your local support can’t resolve.
Quick Fix Decision Tree
| Symptom | First Action | Likely Fix |
|---|---|---|
| No lights, good voltage | USB test | Battery replacement |
| Yellow loop, 16 VAC | Request Chime Connector | Voltage stabilization |
| Works on USB, fails mounted | Loosen bracket screws | Contact alignment |
| “No Video” with good Wi-Fi | Battery swap | Power transmission fix |
| Intermittent operation | USB bench test | Battery degradation |
Final Note: Your SimpliSafe doorbell camera not working issue is almost certainly solvable with $14 parts or free components—not a $200 replacement. Start with the USB power test to isolate power vs. hardware failure. In 80% of cases, you’ll restore full function within 30 minutes using these field-proven steps. Stop waiting for support emails; fix it today and reclaim your security system.


