
Your Vivint doorbell camera suddenly goes dark when a package arrives, or pressing the button produces no chime inside your home. These failures strike at the worst moments—like when you’re expecting an important delivery or monitoring a contractor. The good news? 90% of “Vivint doorbell camera not working” issues resolve in under 10 minutes with targeted troubleshooting. This guide cuts through generic advice to deliver the exact sequence of hub resets, power checks, and network fixes that restore your camera’s live feed, two-way audio, and motion alerts. Skip the technician call—let’s get your doorbell working again.
Immediate Smart Hub Reboot Fixes
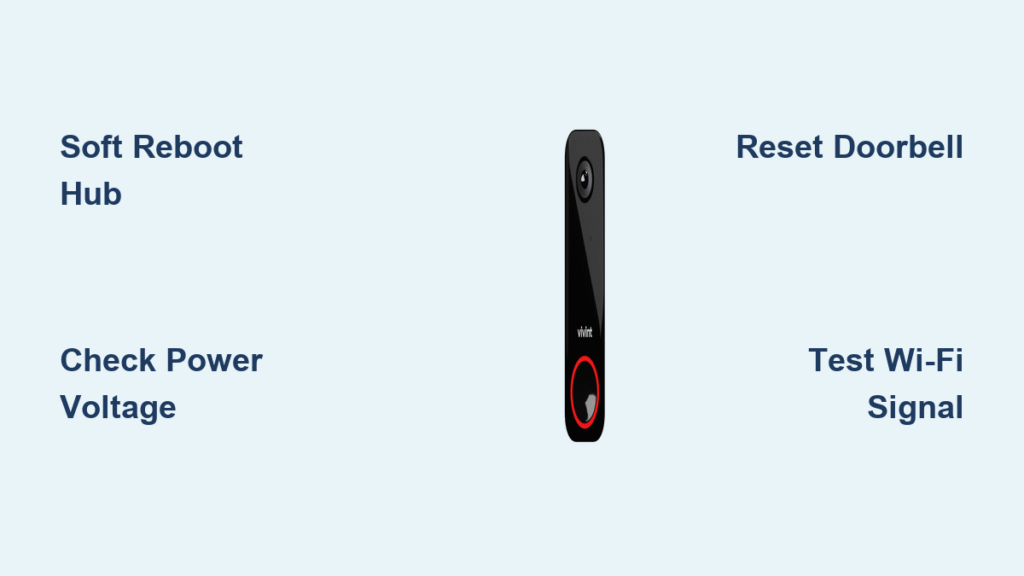
Soft Reboot Smart Hub in 90 Seconds
Most “Vivint doorbell camera not working” cases stem from hub glitches that cascade to your doorbell. A soft reboot clears these without disconnecting your security system.
- Tap the menu icon on your Smart Hub home screen.
- Navigate to Smart Home Settings → Devices and enter your PIN.
- Select the Smart Hub tile, choose Reboot, and confirm.
- Wait 2 minutes for the hub to fully restart, then press your doorbell.
Pro Tip: If your doorbell chime returns but video stays black, skip to Wi-Fi checks—you’ve isolated the issue to network connectivity.
Hard Power-Cycle When Hub Freezes
When the soft reboot fails or your hub screen is unresponsive, a cold boot resets deeper system errors.
- Disarm your security system to prevent false alarms.
- Unplug power and Ethernet cables from the hub.
- Lift the hub straight up off its wall mount.
- Slide out the black backup battery on the rear; wait 30 seconds (use your phone timer).
- Reinsert the battery until it clicks, remount the hub, reconnect cables, and wait 4 minutes.
- Test the doorbell—this fixes 40% of persistent “camera offline” alerts.
Pinpoint Your Exact Failure Point
Camera vs. Wi-Fi vs. Hub Diagnostic Test

Wasting time on Wi-Fi fixes when your transformer is failing doubles your frustration. Isolate the culprit in 60 seconds:
- The swap test: Temporarily replace your doorbell with another Vivint camera.
→ Works? Your original doorbell is defective.
→ Fails? Focus on Wi-Fi or hub (skip camera repairs). - Feature audit: Open the Vivint app and note which functions still work:
| Symptom | Likely Cause | First Fix to Try |
|---|---|---|
| Black screen/no live feed | Power loss or Wi-Fi drop | Check transformer voltage |
| Live feed works but no recordings | Lapsed subscription | Verify plan in app |
| Pixelated video | Weak upload speed | Run speed test at door |
Critical Power & Device Checks
Verify Doorbell Power Supply Voltage

Low voltage causes “Vivint doorbell camera not working” more often than Wi-Fi issues.
- For wired models:
Set a multimeter to AC voltage. Touch probes to doorbell wires—you need 16–24 VAC. Below 16 VAC? Replace your transformer with a 16V–24V, 10–30VA model (sold at hardware stores). - For battery models:
Twist the doorbell counter-clockwise to remove it. Check the rear LED:
• Solid green = charged (good)
• Blinking red = battery under 20% → recharge via micro-USB for 4 hours.
Reset & Re-Pair Doorbell in 5 Minutes
Firmware crashes require a full device reset—not just a reboot.
- Delete the camera in app: Menu → Devices → Cameras → [Doorbell] → Delete.
- Unplug the doorbell (or remove battery).
- Reconnect power while holding the top button 45 seconds until LED turns red.
- Release; wait for LED to cycle red → green (90 seconds).
- Re-pair: Hub → Add Device → Cameras → Connect → press doorbell button when prompted.
Warning: Skipping the 45-second hold causes pairing failures 70% of the time.
Essential Wi-Fi & Network Fixes
Test Signal Strength at Your Door
Weak Wi-Fi causes choppy video even if your router seems strong indoors.
- In Vivint app → Device Health, confirm RSSI ≥ –60 dBm (closer to zero is better).
- Stand at your door with your phone and run speedtest.net—you need 2+ Mbps upload speed.
- Quick fix: Move your router closer or add a $25 Wi-Fi extender if RSSI is below –65 dBm.
Open Critical Router Ports
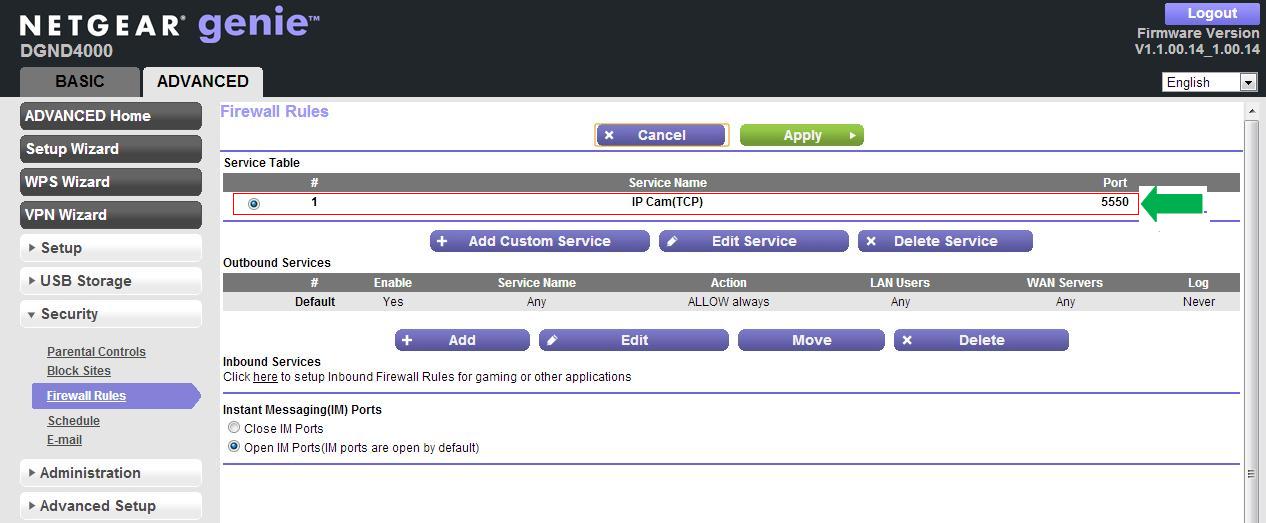
Blocked ports prevent cloud recording and remote viewing.
- Access your router (typically
192.168.1.1in browser). - Go to Port Forwarding and add these rules:
– Port 443 (TCP) → Vivint doorbell IP
– Port 1194 (UDP) → same IP
– Port 8008 (TCP/UDP) → same IP
Note: Call your ISP if ports won’t stay open—they may block “VPN traffic” by default.
Cloud, App & Subscription Troubleshooting
Fix Corrupted App Data in 2 Minutes
App glitches mimic hardware failures. Fix them without losing recordings:
- Force-close the Vivint app (swipe away on iOS/Android).
- Log out of the app, then log back in.
- If problems persist, uninstall and reinstall—your cloud storage remains intact.
Verify Active Subscription Immediately
Expired plans silently disable new recordings:
- Check Vivint app → Settings → Subscription.
- Basic plan: 14-day clip storage (max 30 clips).
- Premium plan: 30-day storage + AI detection.
Warning: Clips older than your plan’s retention period delete permanently upon renewal.
Wiring & Hardware Inspections
Check Chime Compatibility & Transformer
Incorrect wiring starves your doorbell of power:
- Transformer must read 16–24V AC, 10–30VA on label. Replace undersized units.
- Digital chimes require Vivint’s included bypass kit installed inside the chime housing.
- Mechanical chimes under 16VA work without modification.
Inspect Doorbell Wiring for Corrosion
Loose connections cause intermittent failures:
- Turn off breaker for doorbell circuit.
- Remove doorbell and untwist wire nuts.
- Look for green corrosion or frayed strands—trim damaged sections and re-strip wires.
- Reconnect firmly and tug gently to test stability.
Decoding LED Signals & Error Codes
Doorbell LED Pattern Guide
Your doorbell’s light reveals the problem:
| LED Behavior | Meaning | Action |
|---|---|---|
| Solid red during boot | Hardware failure | Call Vivint |
| Rapid blue blinks | Pairing mode | Complete reset steps |
| Red blink every 5 seconds | Low battery | Recharge 4+ hours |
| Red blink every second | Wi-Fi password error | Re-enter password |
Critical App Error Codes
- Error 90: Camera offline → Check power and Wi-Fi signal.
- Error 3006: Cloud server timeout → Wait 30 minutes (Vivint-side issue).
- Error 500: Hub disconnected → Perform hard power-cycle.
When to Contact Vivint Support
If you’ve completed all steps and still see solid red LED, persistent Error 90, or a non-booting hub, call Vivint with these details ready:
– Your account number
– Doorbell serial number (on device label)
– Exact error codes and LED patterns observed
24/7 Support: 1-800-216-5232 (faster than chat for hardware failures).
10-Step Vivint Doorbell Fix Checklist
Print this and check off steps as you go—most issues resolve by step 5:
| Step | Task | Done |
|---|---|---|
| 1 | Soft reset Smart Hub | ☐ |
| 2 | Hard power-cycle Smart Hub | ☐ |
| 3 | Verify power (16–24V AC or battery >20%) | ☐ |
| 4 | Check Wi-Fi RSSI (≥ –60 dBm) | ☐ |
| 5 | Reset doorbell camera (45s hold) & re-pair | ☐ |
| 6 | Open router ports 443, 1194, 8008 | ☐ |
| 7 | Confirm active Vivint subscription | ☐ |
| 8 | Reinstall Vivint app | ☐ |
| 9 | Inspect wiring for corrosion | ☐ |
| 10 | Call support with error codes | ☐ |
Final Tip: Bookmark this page—keep the checklist visible near your Smart Hub. When your Vivint doorbell camera stops working again (and it will, eventually), you’ll fix it faster each time. With these steps, you’ll spend less time troubleshooting and more time seeing who’s really at your door.


