
Is your sliding glass door hard to open, dragging on the track, or letting in drafts? You’re not alone. Over time, wear and environmental factors cause misalignment, making even simple operation frustrating. The good news: how to adjust sliding glass door alignment is a straightforward DIY fix that takes less than an hour with basic tools. Most issues stem from uneven roller height, debris buildup, or worn components, problems you can diagnose and resolve yourself. In this guide, you’ll learn step-by-step adjustment techniques, how to identify hidden causes like fixed panel misalignment, and when it’s time to replace rollers or the entire door.
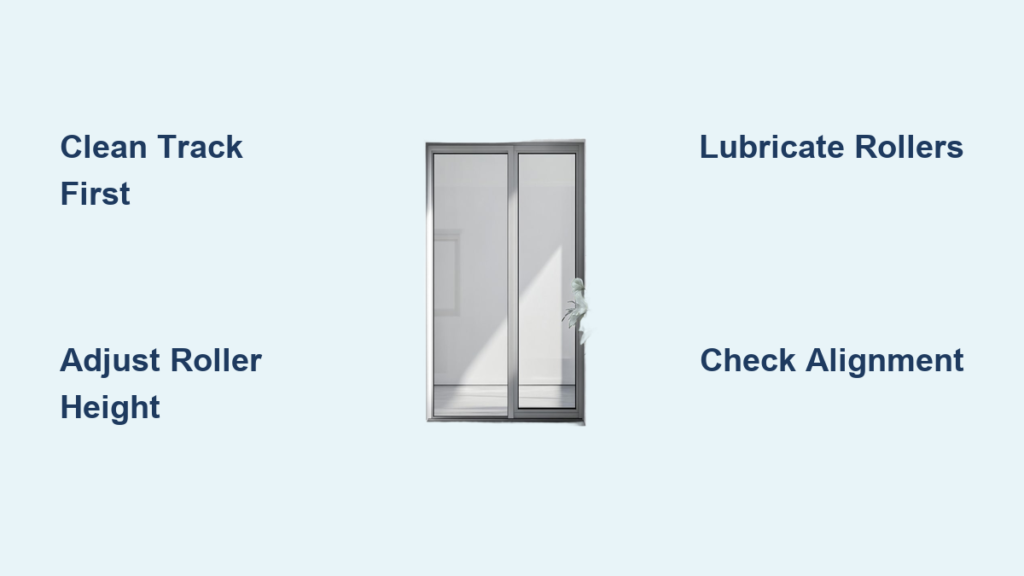
Clean and Inspect the Track First
Before touching any screws, start with the most common cause of poor operation: a dirty track. This simple step often resolves stiffness without any mechanical adjustment.
Remove Debris Thoroughly
Slide the door open about 6 inches to access both sides of the track. Use a stiff brush, vacuum, or old toothbrush to remove sand, dirt, leaves, and pebbles. Wipe the rail with a damp cloth and mild soapy water. Avoid abrasive cleaners or oil-based lubricants like WD-40, as they attract dust and degrade seals.
Pro Tip: Shine a flashlight along the track. If you see moisture pooling, check for drainage issues or damaged weatherstripping.
Check for Track Damage
Inspect the threshold for dents, warping, or corrosion, especially in aluminum tracks. A bent rail prevents smooth roller movement. For wooden sills, look for rot or swelling. Minor warps can sometimes be filed down, but severe damage may require track replacement.
Visual Cue: If the door drags only in one spot, the track is likely dented at that point.
Diagnose Alignment Issues Correctly
Misalignment shows up as gaps, sticking, or uneven closing. Diagnosing it correctly saves time and prevents unnecessary adjustments.
Evaluate the Gap Between Panels
Close the door until it’s about 1/8 inch from fully shut. Look at the vertical gap between the sliding and fixed panels. It should be even from top to bottom.
- Wider at the top: The door is sagging and rollers are too low
- Wider at the bottom: The door is tilted upward and rollers are too high
Flashlight Test: Shine a light from behind the gap. Uneven light exposure confirms misalignment.
Listen and Feel for Problems
Open and close the door slowly and note any issues.
- Squeaking or grinding indicates dry or damaged rollers
- Dragging or binding suggests roller height mismatch
- Latch resistance points to vertical misalignment
Locate Roller Adjustment Screws
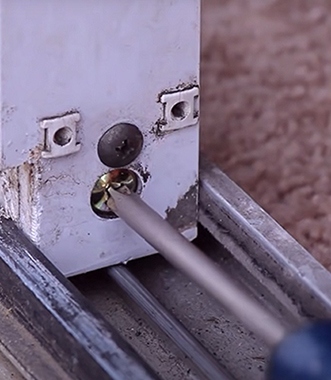
Most sliding doors have adjustable rollers at the bottom corners, but access varies by model.
Find the Access Points
Look for these common locations.
- Side-access screws: On the vertical edge of the door stile, about 1 inch above the threshold. Often require a #3 Phillips screwdriver.
- Bottom-access holes: Small openings on the interior bottom edge. Use a long-shaft screwdriver or 3/32 inch to 4mm Allen key.
- Covered ports: Pry off plastic or metal caps to reveal hidden screws.
Tool Tip: A magnetic or extended-reach screwdriver helps reach deep-set screws without stripping them.
Warning: If the screw is not visible through the hole, the trolley might be misaligned. Shine a flashlight in to check the screw position.
Adjust Roller Height Step by Step
Once you have located the screws, make precise changes to restore alignment.
Turn Screws to Raise or Lower
- Open the door enough to access both roller mechanisms.
- Insert your tool into the adjustment screw.
- Turn clockwise to raise the roller, which lifts that corner.
- Turn counterclockwise to lower the roller.
Golden Rule: Adjust 1/4 turn at a time, then test the door. Over-adjusting can cause new issues.
Fix Tilt and Dragging
- Bottom rubs track: Lower the roller on that side or raise the opposite.
- Top binds with frame: Raise the dragging side or lower the opposite.
- Goal: Achieve parallel alignment with uniform gap and full weatherstripping contact.
Expert Trick: Slide a wooden wedge under the leading edge to lift the door slightly. This relieves pressure on the rollers, making adjustment easier and more effective.
Adjustment Range: Most rollers offer 1/8 inch to 1/4 inch of vertical travel. If you have maxed this out, rollers may be worn.
Lubricate for Smooth Operation
After alignment, lubrication ensures long-term performance.
Apply the Right Lubricant
Use silicone-based spray or dry wax stick on the track and roller contact points. These repel dust and do not degrade over time.
Avoid: Petroleum-based oils. They attract grime and gum up within weeks.
User Success: One DIYer restored smooth motion by polishing a corroded aluminum track with steel wool and applying car wax. Results lasted over two months with daily use.
Test Door Function Thoroughly
Never skip final testing. Small oversights lead to recurring problems.
Verify Smooth Movement
Open and close the door several times. It should roll freely without resistance, close flush against the weatherstripping, and latch securely without force.
Confirm Sealing and Security
Check for even compression of seals, no rattling or wind whistling, and full engagement of the latch into the strike plate.
Final Check: Tighten all screws, remove shims or tools, and ensure no debris remains in the track.
Fix Inaccessible or Missing Adjustment Screws
Not all doors have visible screws. Some require removal or use alternative mechanisms.
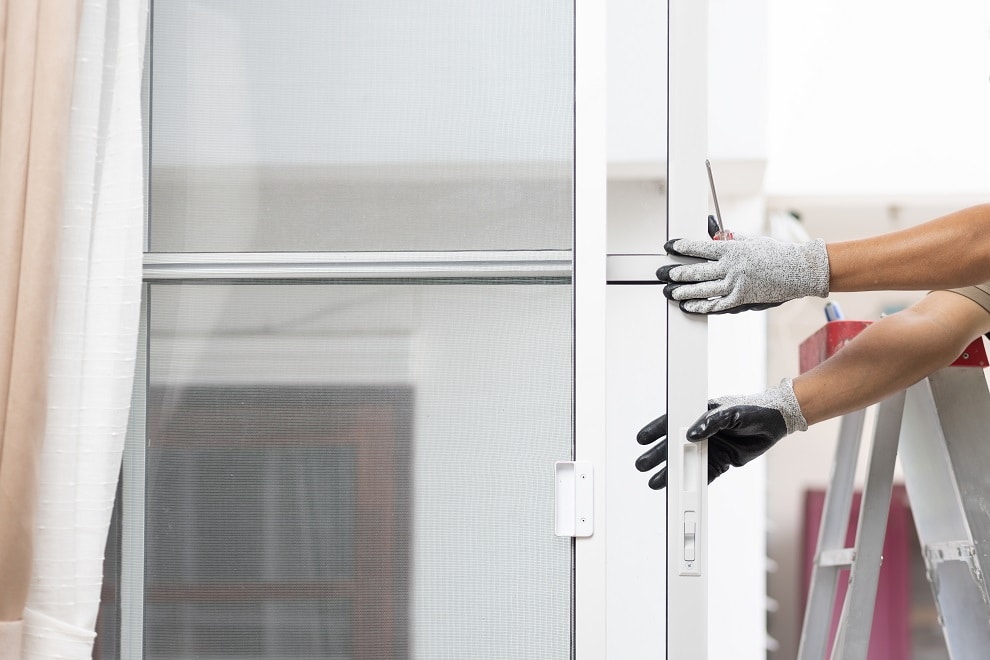
Remove the Door to Access Rollers
Most sliding panels can be lifted out.
- Open the door fully.
- Lift upward while tilting the bottom toward you.
- The rollers disengage from the track.
If headroom is tight, check for adjustable header tracks or look for set screws at the top that allow slight lowering.
Look for Alternative Mechanisms
Some models use cam levers instead of screws, spring-loaded lift systems, or rotating pins that raise and lower rollers. Take photos and contact the manufacturer or consult forums for model-specific help.
Correct Fixed Panel Misalignment
Misaligned fixed panels can pinch screen doors or block movement, even if rollers are perfect.
Identify the Problem
Watch for these symptoms.
- Screen door derails after a few inches
- Clearance narrows progressively from top to bottom
- Frame appears to pinch the screen track
Realign the Fixed Panel
- Locate mounting hardware under end caps or trim for set screws or brackets.
- Loosen fasteners slightly, just enough to shift the panel.
- Move the panel outward gently to restore screen track clearance.
- Re-tighten and test the screen door to confirm smooth travel.
Workaround: If the panel is non-adjustable, consider shimming or relocating the screen track.
Replace Worn Rollers
If the door sags shortly after adjustment, rollers are likely shot.
Recognize Failure Signs
Watch for these indicators.
- Door drops after raising
- Adjustment screw turns freely without effect
- Grinding noise or wobble
- Visible rust, flat spots, or broken wheels
Install New Rollers
- Remove the door by lifting and tilting out as described earlier.
- Inspect old rollers and note size, axle type, and mounting style. Take photos.
- Order replacements from Home Depot, Lowe’s, Amazon, or SWISCO.
- Swap and reinstall the door.
- Re-adjust height for optimal alignment.
Maintain the Track and Top Guide
Even perfect rollers fail if supporting components are neglected.
Straighten or Replace Damaged Track
Loosen track mounting screws, realign with the door’s path, and re-tighten while holding position. For rotted wooden sills, replace or sand down swollen areas.
Adjust the Top Guide
The top jamb roller stabilizes the door and prevents sway. Loosen its set screws, reposition to eliminate binding, and ensure free lateral movement without wobble.
Align the Latch Mechanism
A misaligned latch will not catch, even if the door closes smoothly.
Match Latch and Strike Plate
If the tongue misses the strike plate, slightly raise or lower the door via rollers. Aim for 1/16 inch to 1/8 inch vertical shift and test after each adjustment.
Quick Fix: Sometimes bending the strike plate tab slightly restores engagement.
Follow Preventative Maintenance Schedule
Regular care prevents 90% of sliding door issues.
Stick to This Routine
- Clean track every 3 to 6 months, more often in dusty areas
- Lubricate rollers every 6 to 12 months using silicone or wax stick
- Inspect rollers annually and replace at first sign of wear
- Check weatherstripping annually and replace if cracked or compressed
- Verify alignment seasonally, especially after storms or temperature swings
- Examine fixed panels every 1 to 2 years to prevent screen door interference
Prevention Pays: A well-maintained seal improves energy efficiency and reduces HVAC costs.
Know When to Replace the Door
Despite best efforts, some doors are beyond repair.
Replacement Indicators
Consider replacement when the frame is warped, corroded, or structurally unsound. Also consider it when glass is fogged, cracked, or broken. Other signs include weatherstripping that cannot be replaced, doors over 20 years old with obsolete parts, or a desire for aesthetic upgrade.
Cost Overview
- DIY sliding door replacement: $1,500 to $3,000
- Professional installation: $3,000 to $6,000
- French door conversion: Similar or higher due to structural work
Identify Your Model for Precision Repair
Adjustment methods vary by brand and age.
Find the Manufacturer Label
Check the frame corners, edge of glass, or lock mechanism for labels. Use the code to search online, contact the manufacturer, or download manuals or diagrams.
Top Resource: Panoramic Doors offers detailed guides for systems including adjustment videos and part catalogs.
Caution: Some older models are no longer supported, and parts may be unavailable.
Frequently Asked Questions About Adjusting Sliding Glass Doors
How do I know if my sliding door needs adjustment?
Signs include difficulty opening or closing, door dragging or sticking, visible gaps when closed, squeaking or grinding noises, latch failing to engage, or drafts coming through the door.
Can I adjust a sliding glass door without removing it?
Most doors can be adjusted without removal. Look for adjustment screws on the vertical edge near the bottom or access holes on the interior bottom edge. Use the appropriate tool and turn in small increments.
What tools do I need to adjust a sliding glass door?
You will typically need a #3 Phillips screwdriver, a 3/32 inch or 4mm Allen key, a long-reach or magnetic screwdriver, a flashlight, and a wooden wedge. Silicone-based lubricant is also helpful.
Why does my door keep sagging after adjustment?
This indicates worn or collapsed rollers. The adjustment provides temporary relief, but the rollers need replacement. Order new rollers from hardware stores or online suppliers.
Should I use WD-40 on sliding door tracks?
Avoid WD-40 and petroleum-based oils. They attract dust and gum up over time. Use silicone-based spray or dry wax stick instead.
When should I replace the entire sliding glass door?
Consider replacement when the frame is warped or corroded, glass is fogged or broken, weatherstripping cannot be replaced, the door is over 20 years old with obsolete parts, or you want an aesthetic upgrade.
Key Takeaways for Adjusting Your Sliding Glass Door
Adjusting a sliding glass door is one of the most rewarding home fixes. With minimal tools and methodical steps, you can eliminate frustration, improve comfort, and extend your door’s life by years. Start with cleaning and lubrication, diagnose precisely, and adjust incrementally. Remember that not every problem comes from the rollers. Fixed panels matter too and can affect screen door operation. If repair no longer cuts it, upgrading brings both function and joy. A well-maintained sliding door improves energy efficiency, reduces drafts, and makes your home more comfortable. Don’t wait until you move. Fix it now and enjoy it today.


