
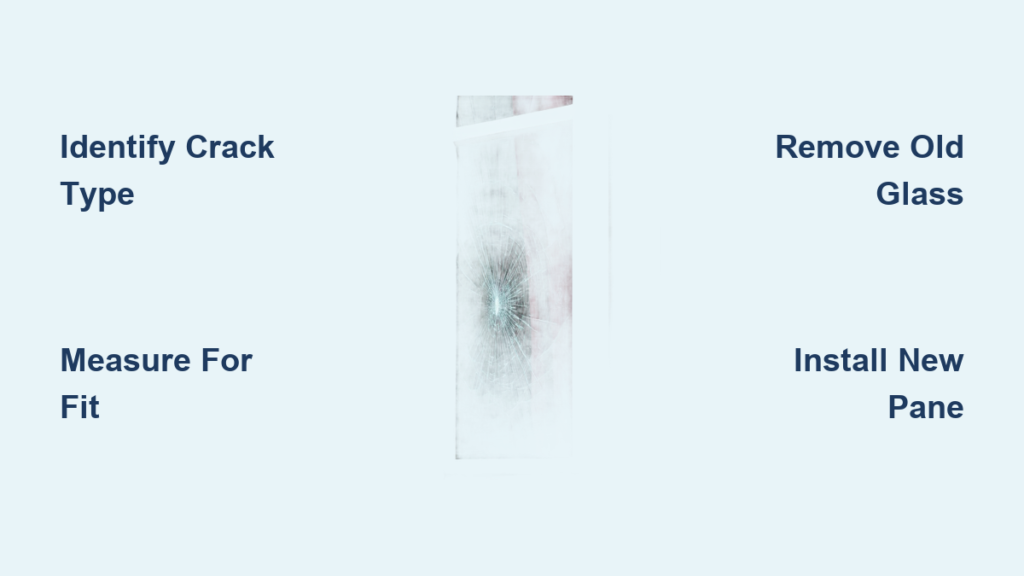
A cracked window is more than a cosmetic problem. It weakens your home’s security, drives up energy bills, and lets moisture creep into your walls. Whether the damage came from a storm, a stray baseball, or sudden temperature swings, ignoring it only makes things worse. Temporary patches can buy you time, but a proper replacement restores full safety and efficiency.
This guide covers everything you need to know about replacing a cracked window. You’ll learn how to diagnose the type of damage, decide between a quick repair and a full replacement, and complete the job safely. Whether you’re a confident DIYer or leaning toward hiring a pro, the right information helps you avoid costly mistakes.
Identify the Crack Type Before You Start

Temperature Stress Cracks
Temperature stress cracks begin at the edge of the glass and slowly spread inward. They form when one side of the pane heats up faster than the other, creating internal tension. Over time, this tension exceeds the glass’s strength, and a crack appears. If you catch it early, a stress crack may be repairable. Once it stretches more than a few inches, replacement becomes the safer choice.
Pressure-Induced Cracks
Sudden atmospheric pressure shifts, often during severe storms, can crack glass without any direct contact. These cracks appear overnight and usually form curved or wavy lines across the surface. They signal weak points in the window system, especially if the frame is poorly sealed. Full replacement is typically required, particularly when the seal is already compromised.
Impact Damage Patterns
A starburst or spiderweb pattern means something struck the glass directly. The center point shows where the impact happened, with cracks radiating outward. Non-toughened glass is especially vulnerable to this type of break. Even if the pane hasn’t fully shattered, invisible microfractures make it unsafe. Full replacement is the only reliable solution for impact damage.
Decide Between Repair and Full Replacement

When Epoxy Repair Makes Sense
Small chips, corner cracks, and hairline fractures that haven’t spread far may be repairable with clear epoxy. If the crack is under 3 inches, doesn’t touch the edge, and the glass remains stable, epoxy can stop further spreading. This is a temporary fix that buys time until a full replacement. It won’t restore strength or insulation, so use it only on low-risk windows like interior or upper-story units.
When Full Replacement Is Required
Replace the entire pane if any of these conditions apply:
- The crack runs from edge to edge.
- The glass shows a starburst or multiple branching lines.
- The damage sits near a corner or frame edge.
- The window fogs up or the seal is broken.
- The frame shows rot, warping, or structural damage.
In these cases, the structural integrity is compromised. Attempting a repair risks sudden shattering and injury.
Temporary Protection Until You Fix It
While waiting for repair or replacement, take these precautions:
- Apply clear packing tape over both sides of the crack to hold shards in place.
- Cover the window with a board if the glass feels unstable.
- Seal gaps with weatherstripping to block drafts.
- Keep children and pets away from the area.
These steps reduce injury risk and limit further damage, but they are not permanent solutions.
Gather Tools and Materials
Safety Gear You Cannot Skip
Broken glass is unpredictable and dangerous. Always wear:
- Heavy-duty safety gloves
- ANSI-rated safety goggles
- Long-sleeve clothing
- Closed-toe shoes
Even small jobs demand proper protection.
Tools for Full Replacement
For replacing an entire pane, you’ll need:
- Hammer and cold chisel (for breaking old glass)
- Putty knife (to scrape old glazing compound)
- Measuring tape (for accurate sizing)
- Glazier’s points (to hold the new glass)
- Paintbrush (for cleaning residue)
- Sharp utility blade (for trimming excess epoxy or compound)
If you plan to cut your own glass, add a glass cutter and straightedge. For most homeowners, pre-cut glass is the safer option.
Materials Checklist
Before you start, have these on hand:
- Replacement glass pane (pre-cut to size)
- Glazing compound (oil-based or synthetic)
- Epoxy repair kit (for minor cracks)
- Acetone (for cleanup)
- Fine-grit sandpaper (220+ grit)
- Paint (to match the frame)
Having everything ready before you begin reduces your exposure to weather and injury risk.
Remove the Damaged Pane Safely
Break the Glass in Small Sections
Put on your gloves and goggles. Use a hammer and chisel to tap the center of the pane, breaking it into manageable pieces. Work outward from the center to avoid stressing the frame. For larger windows, break the glass in sections. Lay a tarp below to catch falling debris.
Scrape Away Old Glazing Compound
Once the glass is out, use a putty knife to remove all old glazing compound from the frame. Any leftover material prevents a proper seal. Pull out old glazier’s points with pliers. Take your time here. A clean surface is essential for the new installation.
Inspect the Frame for Damage
Before installing new glass, check the frame thoroughly:
- Look for cracks, warping, or soft spots.
- Check for moisture stains that signal past leaks.
- Test joints and nails for looseness.
A damaged frame cannot support new glass. If you find rot or structural problems, repair the frame before proceeding or call a professional.
Measure and Order the Right Glass

Take Three Measurements Per Side
Measure the inside height and width of the window opening at three points: top, middle, and bottom. Use the smallest measurement for each dimension. This ensures the glass fits even if the frame isn’t perfectly square.
Apply the 1/8-Inch Clearance Rule
Subtract 1/8 inch from both the height and width. This gap allows for thermal expansion. A pane that’s too tight will crack under normal temperature changes. For example, if your frame measures 24″ x 36″, order a 23 7/8″ x 35 7/8″ pane.
Order Pre-Cut Glass from a Supplier
Take your final measurements to a local glass supplier. Pre-cut glass ensures precision and reduces your risk of injury. Specify the thickness (usually 1/8″ or 3/16″) and type (annealed, tempered, or insulated). Avoid cutting large panes yourself unless you have experience and proper equipment.
Install the New Glass Pane
Set the Glass in the Frame
Place the new pane into the cleaned frame. It should fit snugly without forcing. If it binds, stop and recheck your measurements. For double-hung or sliding windows, make sure the glass doesn’t interfere with the moving parts.
Secure with Glazier’s Points
Insert glazier’s points every 6 inches around the perimeter using a putty knife or points driver. Press them into the wood frame so they grip the edge of the glass. These metal clips hold the pane steady while you apply glazing compound.
Check for Proper Alignment
Look across the glass surface from different angles. No part should bulge or dip. If the pane looks wavy, it’s being squeezed. Remove it and verify your measurements or check the frame for squareness.
Apply Glazing Compound
Prepare the Putty
Roll the glazing compound into a rope about 1/2 inch thick. Warm it slightly with your hands to make it pliable. Don’t add solvents. They weaken the seal.
Press the Compound into the Frame
Force the putty into the gap between the glass and the frame using firm pressure. Work in one direction around the window. Make sure there are no air pockets. Full contact is essential for a weather-tight seal.
Smooth the Bead
Hold a putty knife at a 45-degree angle and smooth the compound into a clean, angled bead. Wipe the blade with a damp cloth between passes. Trim excess with a sharp blade and blend the corners for a professional finish.
Cure and Finish the Job
Allow Proper Drying Time
Let the glazing compound cure for 24 to 48 hours before painting. Touch-dry isn’t enough. The compound needs time to fully harden. Rushing this step leads to cracking and poor adhesion.
Sand and Clean the Surface
Once dry, lightly sand any rough spots with fine-grit sandpaper. Wipe away dust with a damp cloth. Avoid getting water near the glass-frame joint.
Paint for Long-Term Protection
Apply paint over the cured glazing to seal it from UV rays and moisture. Use a brush to feather the paint onto the glass slightly, creating a weather-tight seal. Match the existing frame color for a seamless look.
Repair Small Cracks with Epoxy
Clean the Crack Thoroughly
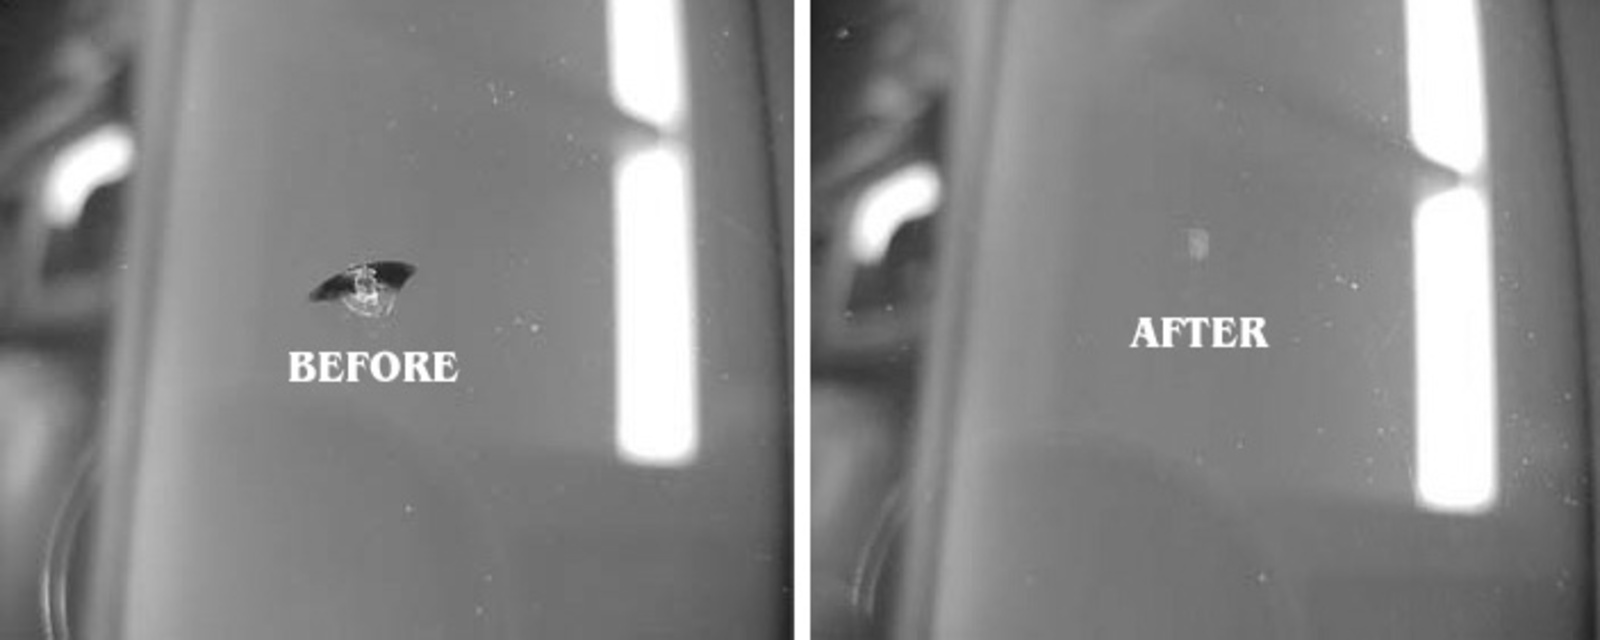
Mix dish soap with water and clean the cracked area using a lint-free cloth. Use a toothpick or blade to remove debris from inside the crack. Rinse with clean water and dry completely. Moisture prevents epoxy from bonding properly.
Mix and Apply the Epoxy
Follow the product instructions. Typically, mix two parts epoxy to one part hardener. Stir thoroughly on a disposable surface. Use a putty knife to gently press the mixture into the crack. Capillary action will draw it in, so avoid over-applying.
Let It Cure and Trim Excess
Wait the recommended drying time, usually 24 hours. Once hardened, use a razor blade to scrape off excess epoxy. Wipe with a cloth dampened with acetone to remove residue. Polish with glass cleaner for clarity.
Test and Maintain Your Repair
Inspect the Seal Integrity
After 48 hours, check the glazing bead carefully:
- Look for gaps or cracks.
- Confirm a smooth, continuous line around the perimeter.
- Press lightly to check for soft spots.
Any gaps mean air and water can enter. Reapply compound where needed.
Verify Glass Stability
Gently press on the glass. It should not move or flex. If it shifts, the glazier’s points aren’t holding. Add more points or reseat the pane.
Monitor for Future Issues
Check the window seasonally for:
- Cracking or shrinking glazing compound
- Drafts or fogging between panes
- Paint peeling near the frame
Early detection prevents bigger problems down the road.
When to Call a Professional
Emergency Breakage Scenarios
If a window shatters during a storm, breaks from vandalism, or cracks near an entry point, call a pro immediately. Emergency glass services offer 24/7 response to secure your home quickly. Temporary boards aren’t safe as a long-term solution.
Complex Window Types
Avoid DIY on:
- Double-pane or insulated glass units (IGUs)
- Tempered or laminated safety glass
- Windows with broken seals (fogging between panes)
- Metal or vinyl frames (require different techniques)
These need specialized tools and training.
Frame or Structural Damage
If the window frame is rotted, warped, or separating from the wall, replacement goes beyond the glass itself. A contractor can repair or replace the entire unit, ensuring water resistance and energy efficiency.
Frequently Asked Questions About Replacing a Cracked Window
Can I repair a cracked window myself, or should I hire a professional?
DIY repair works for small cracks under 3 inches that don’t touch the edge. For starburst patterns, edge-to-edge fractures, or shattered glass, professional replacement is the safer choice. Improper handling of broken glass poses serious injury risks.
How long does it take to replace a window pane?
The actual replacement takes 2 to 4 hours for most single-pane windows. However, you need an additional 24 to 48 hours for the glazing compound to cure before painting. Add time for measuring, ordering glass, and gathering materials.
What is the 1/8-inch clearance rule for window glass?
You subtract 1/8 inch from both the height and width measurements of the frame opening. This gap allows the glass to expand and contract with temperature changes. A pane that’s too tight will crack under normal thermal stress.
How do I know if a crack is from temperature stress or impact damage?
Temperature stress cracks start at the edge and spread inward in relatively straight lines. Impact damage shows a distinct center point where the object struck, with cracks radiating outward in a starburst pattern. Impact damage usually requires full replacement.
What tools do I need to replace a cracked window?
Essential tools include safety gloves, goggles, a hammer, cold chisel, putty knife, measuring tape, glazier’s points, glazing compound, and fine-grit sandpaper. For minor repairs, you’ll also need epoxy resin, hardener, acetone, and a sharp blade.
When is a cracked window an emergency?
A cracked window becomes an emergency when it compromises security, sits near an entry point, or threatens to shatter completely. Storm damage, vandalism, or large impact cracks all warrant immediate professional attention to protect your home and family.
Key Takeaways for Replacing a Cracked Window Safely
Replacing a cracked window protects your home, your energy bills, and your peace of mind. Start by identifying the crack type. Temperature stress and pressure cracks may be repairable when caught early, but impact damage almost always requires full replacement. Measure carefully and subtract 1/8 inch from each dimension to allow for thermal expansion. Wear proper safety gear every time you handle broken glass, and never force a pane into a frame that’s too tight.
For most homeowners, the smartest first step is ordering pre-cut glass from a local supplier. This eliminates the risk of cutting errors and ensures a precise fit. If the damage is extensive, the frame is compromised, or you’re dealing with insulated or tempered glass, calling a professional is worth the investment. A well-installed window lasts decades, keeps your home secure, and eliminates the drafts and energy loss that come with poor seals.



