
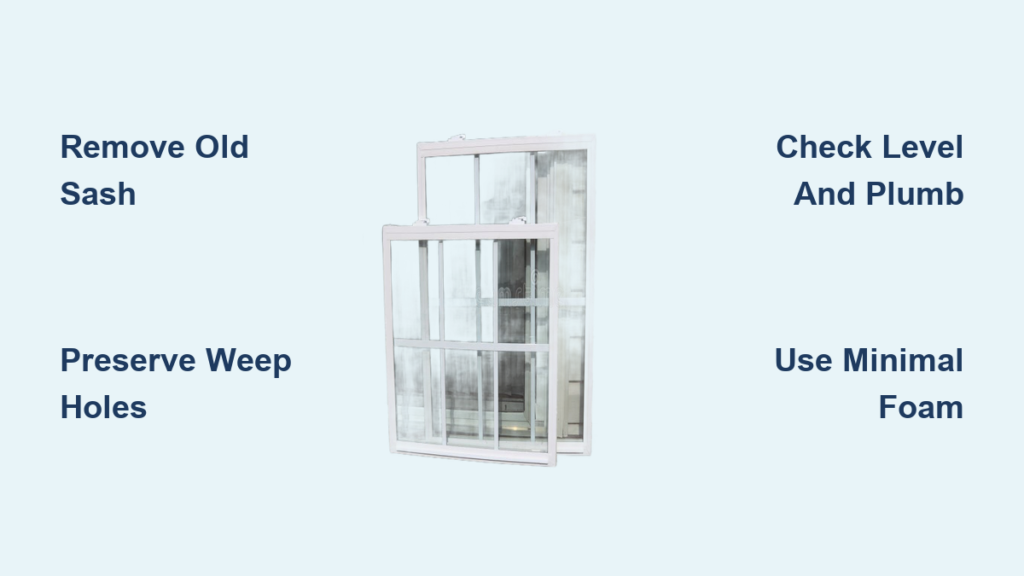
Drafty rooms, stubborn sashes, and rising energy bills often point to one culprit: failing windows. If your home suffers from cold drafts near the frame or condensation between glass panes, learning how to replace vinyl window units can restore comfort and cut monthly utility costs. The good news is that a pocket insert replacement requires only basic tools and a single afternoon of work.
This guide walks you through every phase of the project, from selecting the right replacement type to sealing the final frame. You will learn the exact removal sequence, how to maintain critical drainage gaps, and the common installation errors that cause premature window failure.
Pick the Right Replacement Method for Your Home

Before touching a single screw, identify which installation approach matches your existing frame condition. Choosing incorrectly leads to wasted materials and poor performance.
Pocket Insert Replacement for Sound Frames
This retrofit method keeps your original outer frame in place and slides the new vinyl unit inside it. It works best when the surrounding frame is structurally solid and free of rot. Benefits include faster installation, less mess, and no disturbance to exterior siding or interior trim.
Full-Frame Replacement for Damaged Openings
Choose this method when the existing frame shows rot, warping, or significant deterioration. It also applies if you want to change the window size or upgrade exterior trim. Full-frame units include nailing fins that attach directly to the home’s sheathing, creating a complete weather barrier.
Assemble Your Tools and Materials
Gathering everything beforehand prevents mid-project interruptions and keeps the installation flowing smoothly.
Core Tools You Will Need
- Power drill with assorted bits
- Caulking gun
- 24-inch spirit level
- Utility knife and putty knife
- Plastic or wood shims
- Screwdriver or drill attachments
- Work gloves and safety glasses
- Step ladder for elevated windows
Sealants, Foam, and Fasteners
- Polyurethane caulk for exterior weather sealing
- Siliconized acrylic caulk for interior trim joints
- Minimal expansion foam for gap insulation
- Four screws measuring 2.5 to 3 inches long
- Interior trim strip to cover perimeter gaps
Remove the Old Window Components
Work carefully during removal to avoid damaging the surrounding frame, especially if you plan a pocket insert installation.
Extract the Sliding Pane
Open the sliding sash fully, lift it slightly, and tilt the bottom inward toward the room. Pull the pane free from the track and set it on a padded surface to prevent breakage.
Detach the Meeting Rail and Fixed Panel
Remove every visible screw holding the center vertical meeting rail and the stationary panel. Most components release easily once fasteners are out. If a piece resists removal, tap a screwdriver and mallet gently to pry it loose. As a last resort, cut through the meeting rail with a hacksaw while protecting the glass.
Preserve the Outer Frame
For pocket replacements, the existing aluminum or vinyl outer frame stays in place. Only remove the internal moving parts and hardware.
Prepare the Opening and Test the Fit
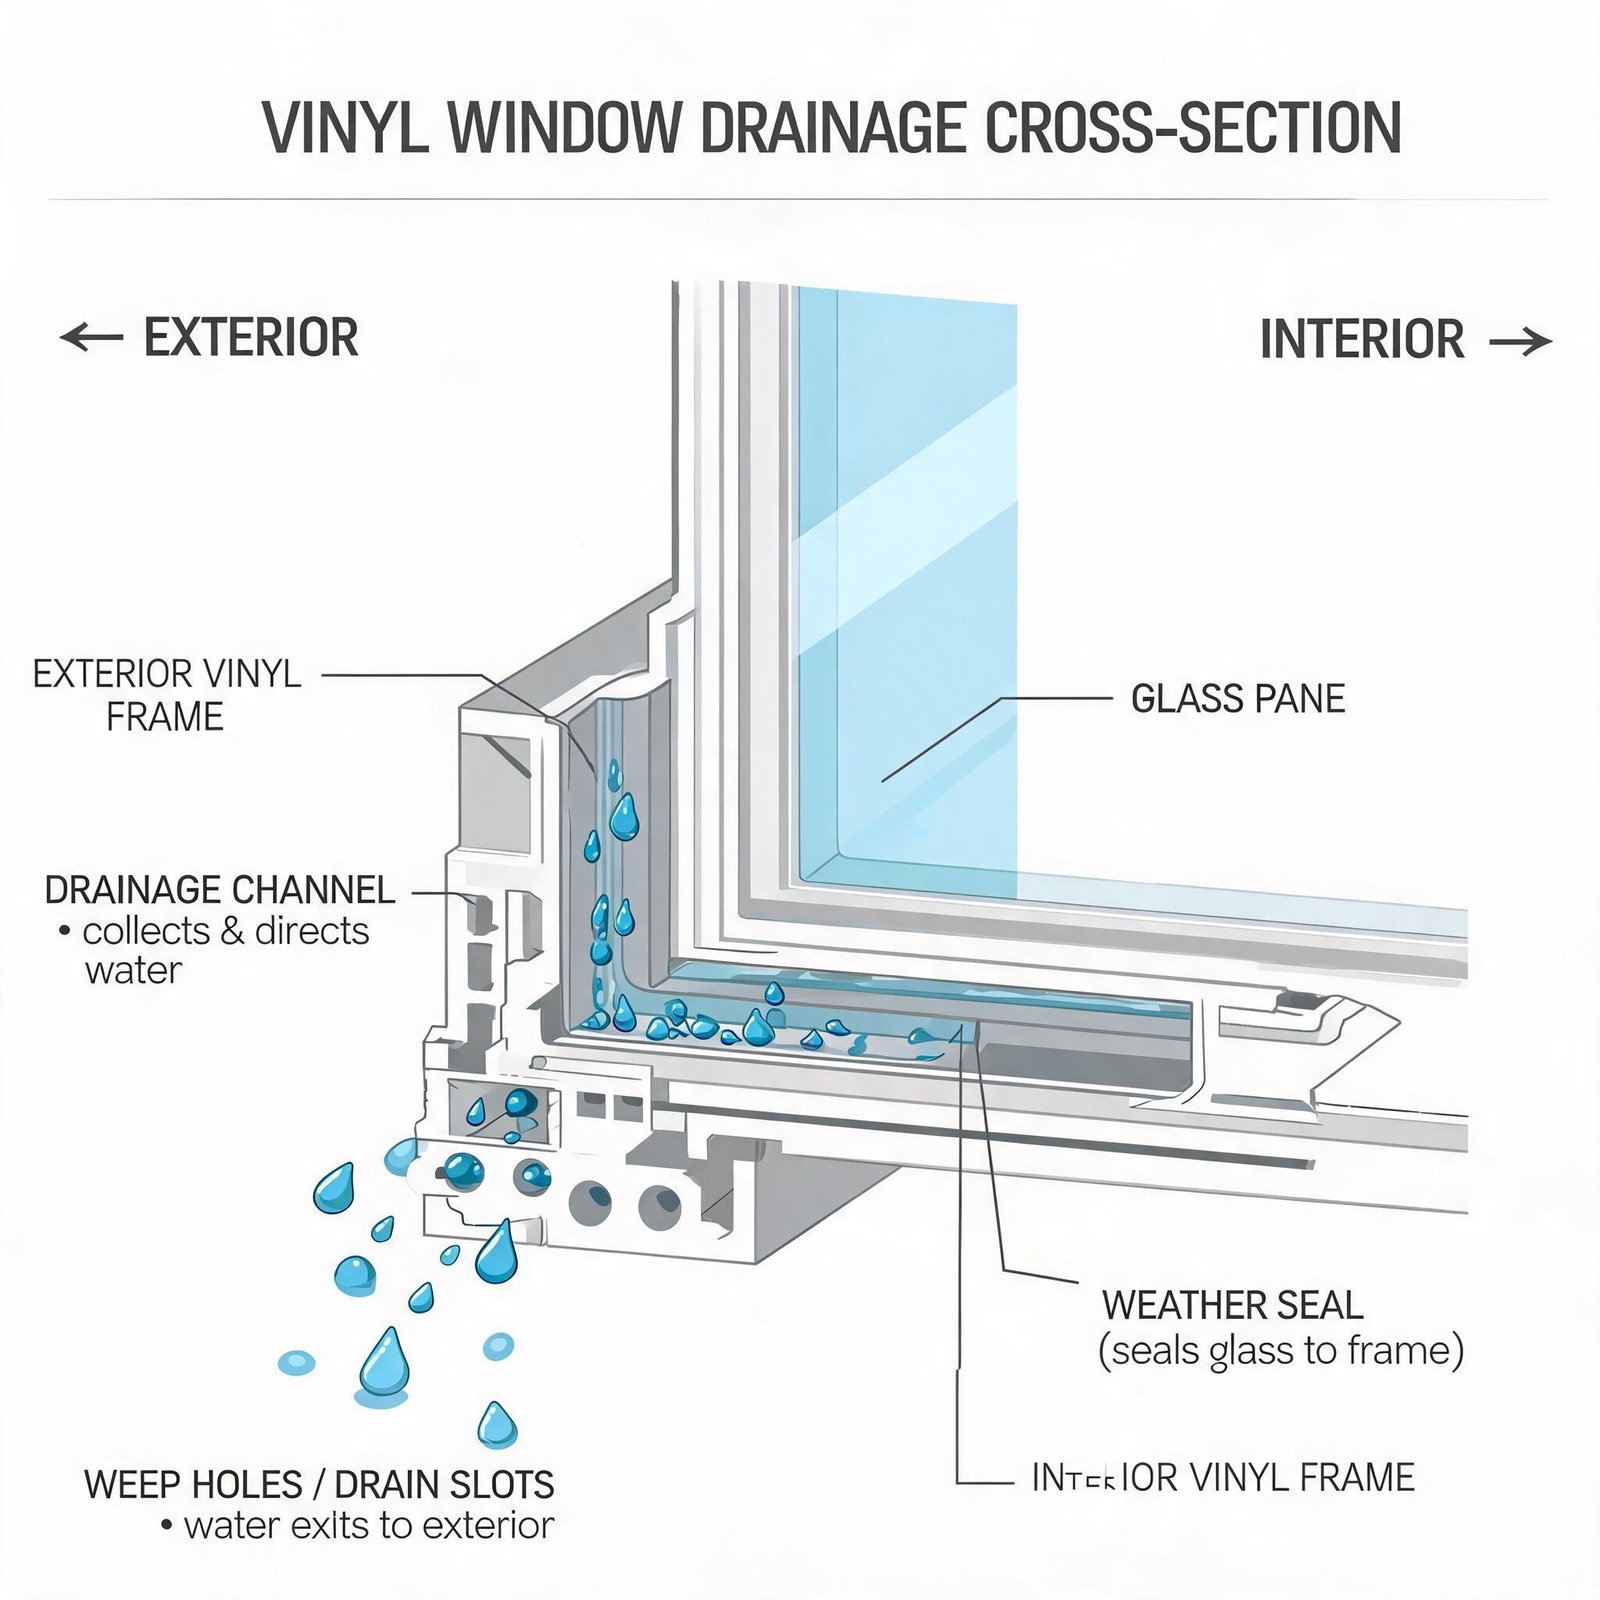
Proper preparation ensures the new unit seats correctly and seals tightly against air and moisture.
Dry Fit the New Vinyl Window
Slide the replacement into the opening and check all four sides for clearance. The unit should fit snugly without forcing. Test the sliding action and locking mechanism before applying any sealant.
Apply Exterior Caulk with Drainage Gaps
Run a continuous bead of polyurethane caulk around the interior perimeter of the old frame where the new window will press. Leave two or three 3-inch gaps unsealed along the bottom sill. These openings act as weep holes that release trapped moisture and prevent rot or mold growth.
Set, Level, and Secure the New Window
Accurate alignment during this phase determines whether your window operates smoothly for decades or sticks within a few months.
Seat the Unit Against the Caulk
Press the vinyl window firmly into the wet caulk bead to create the initial weather seal. Make sure the unit sits flat and fully engaged with the frame on all sides.
Check Level and Plumb
Place your spirit level across the top jamb and along both side jambs. Insert shims at low points until the frame reads perfectly level and plumb. Confirm the sliding sash glides without binding before driving any screws.
Drive the Mounting Screws
Drill pilot holes through the left and right sides of the vinyl frame into the wall studs. Insert four screws (two per side) and tighten until snug. Avoid over-torquing, since excessive pressure can warp the vinyl and crack welded corners. Slight screw protrusion is normal and acceptable.
Insulate Gaps and Finish the Interior
Sealing the remaining spaces locks in energy efficiency and delivers a clean, professional appearance.
Fill Perimeter Gaps With Foam
Spray minimal expansion foam into the gaps between the vinyl frame and the wall framing. Focus on the top and sides, and avoid overfilling. Once cured, trim excess foam flush with a utility knife.
Install the Interior Trim Strip
Snap or slide the trim strip around the inner perimeter to conceal the foam-filled gap. This component provides a finished edge where the vinyl meets the wall surface.
Seal Interior Joints and Exterior Edges
Apply siliconized acrylic caulk between the trim strip and the wall, then smooth the bead with a damp finger. Wipe away excess immediately. Finish by running additional polyurethane caulk around the exterior frame perimeter, remembering to keep the bottom drainage gaps open.
Choose Quality Vinyl Windows From the Start
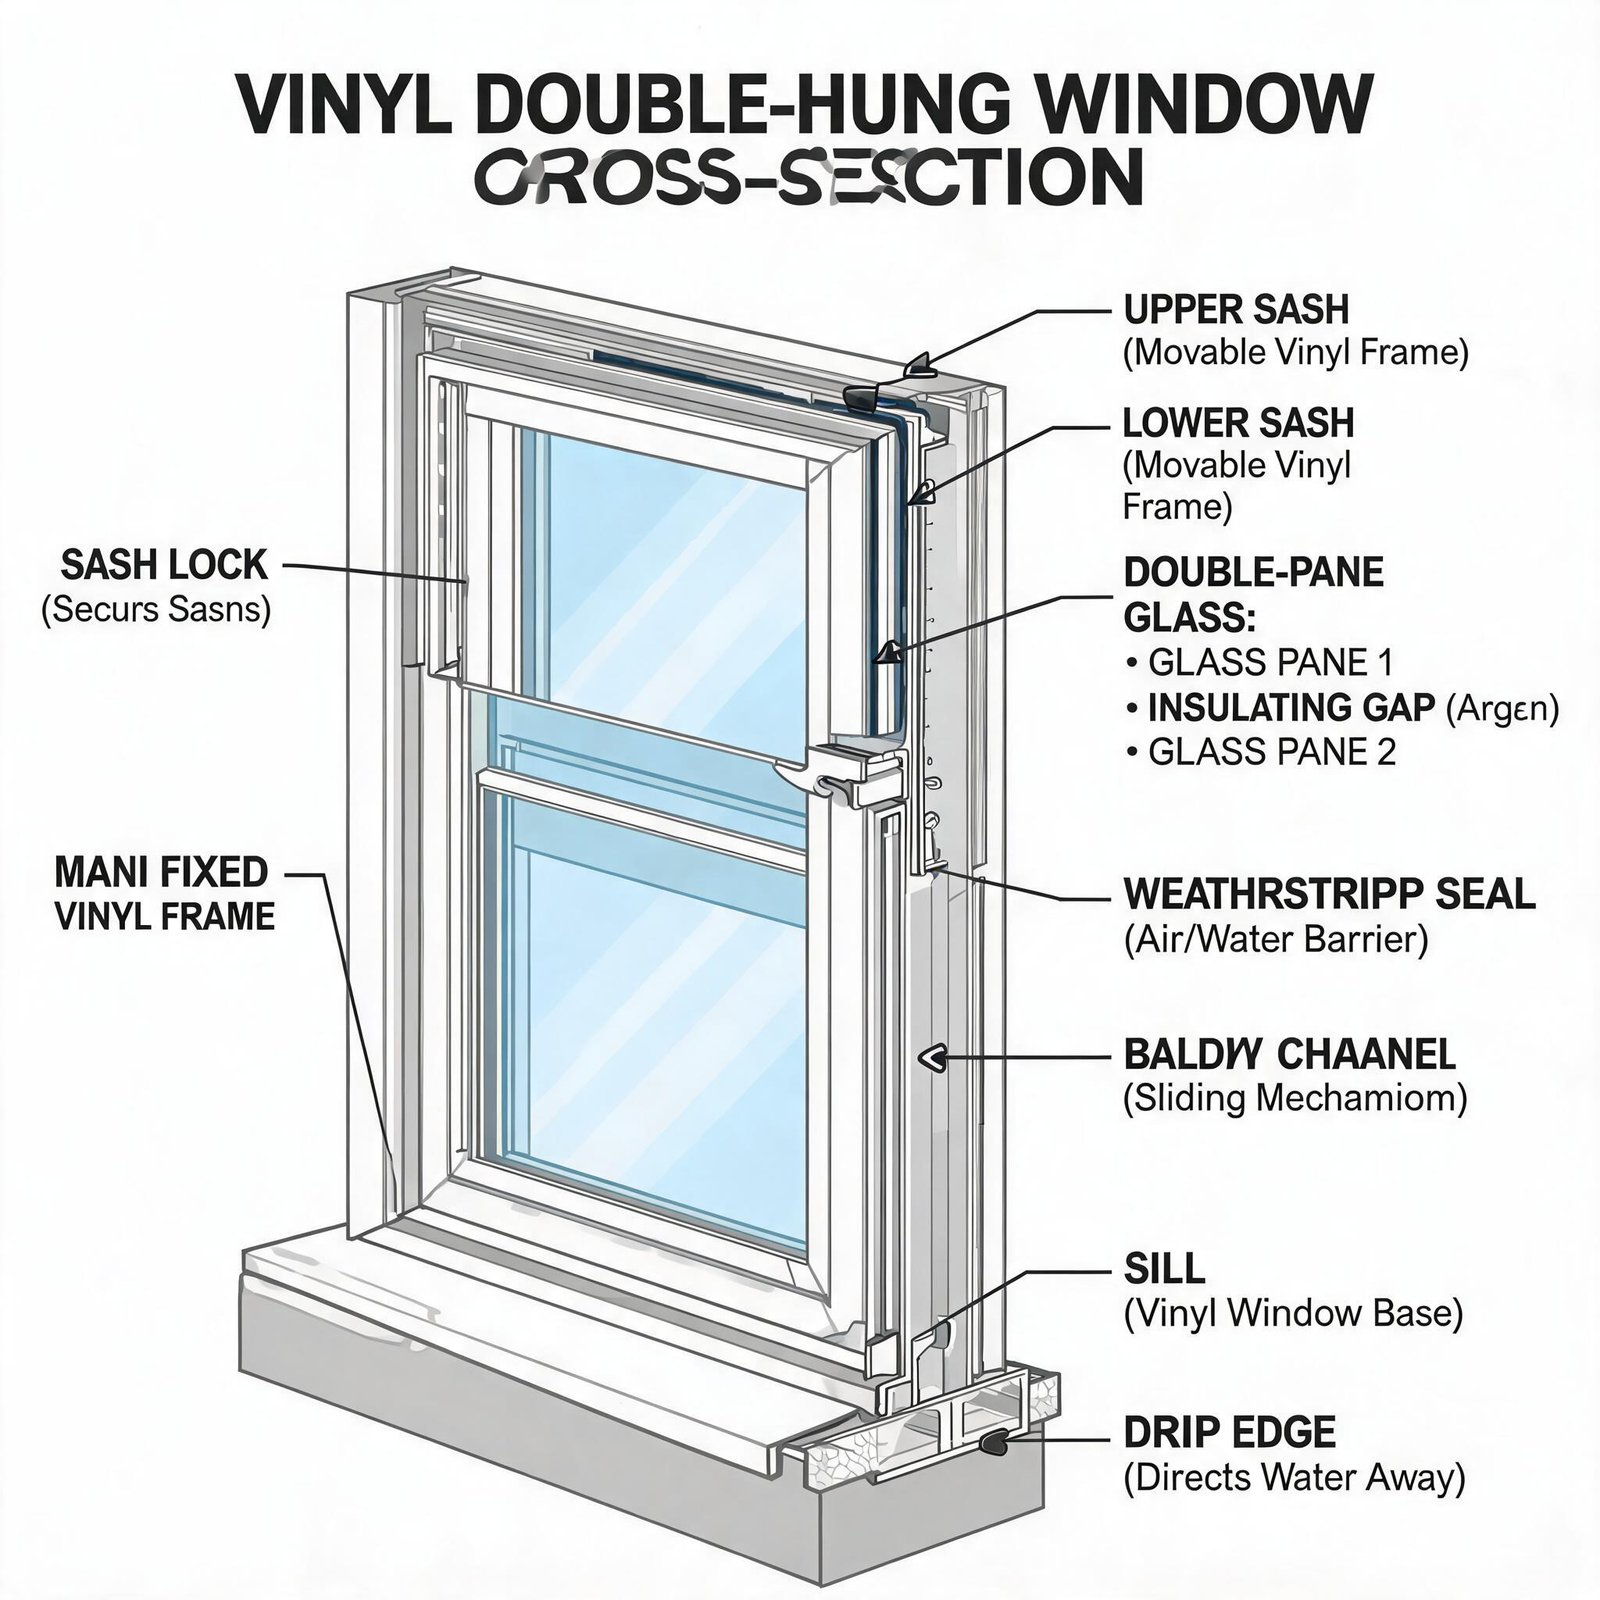
Not all vinyl units deliver equal performance. Manufacturer standards directly affect longevity, efficiency, and warranty protection.
Features That Signal Quality
- ENERGY STAR certification for verified thermal performance
- Multi-chambered frame profiles that boost insulation and rigidity
- Fusion-welded corners that resist air leaks and structural separation
- Low-E glass paired with argon gas fills to block UV rays and heat transfer
- Wood-grain laminate finishes for traditional aesthetics without upkeep
Warning Signs of Inferior Products
Budget vinyl often warps under sun exposure, fades quickly, or ships with thin glass and weak sealants. Choose manufacturers with at least two decades of market presence and comprehensive warranty coverage.
Understand the Benefits of Vinyl Over Other Materials

Vinyl outperforms wood and aluminum in several key categories that matter to homeowners.
Cost and Resale Returns
Vinyl windows cost roughly half as much as comparable wood units. At resale, vinyl replacements return over 72 percent of their cost, compared to about 69 percent for wood. ENERGY STAR rated products may also qualify for state-specific energy tax credits.
Maintenance and Durability
PVC frames resist rot, pests, warping, peeling, and cracking without any painting, staining, or sealing. An occasional wash with soapy water keeps them looking new. Wood windows, by contrast, require restaining and repainting every three to four years.
Energy Performance
Vinyl frames reduce heat transfer through their multi-chambered construction. Tight seals around the sash minimize drafts, and dual or triple-pane glass options further improve insulation values.
Avoid These Common Installation Mistakes
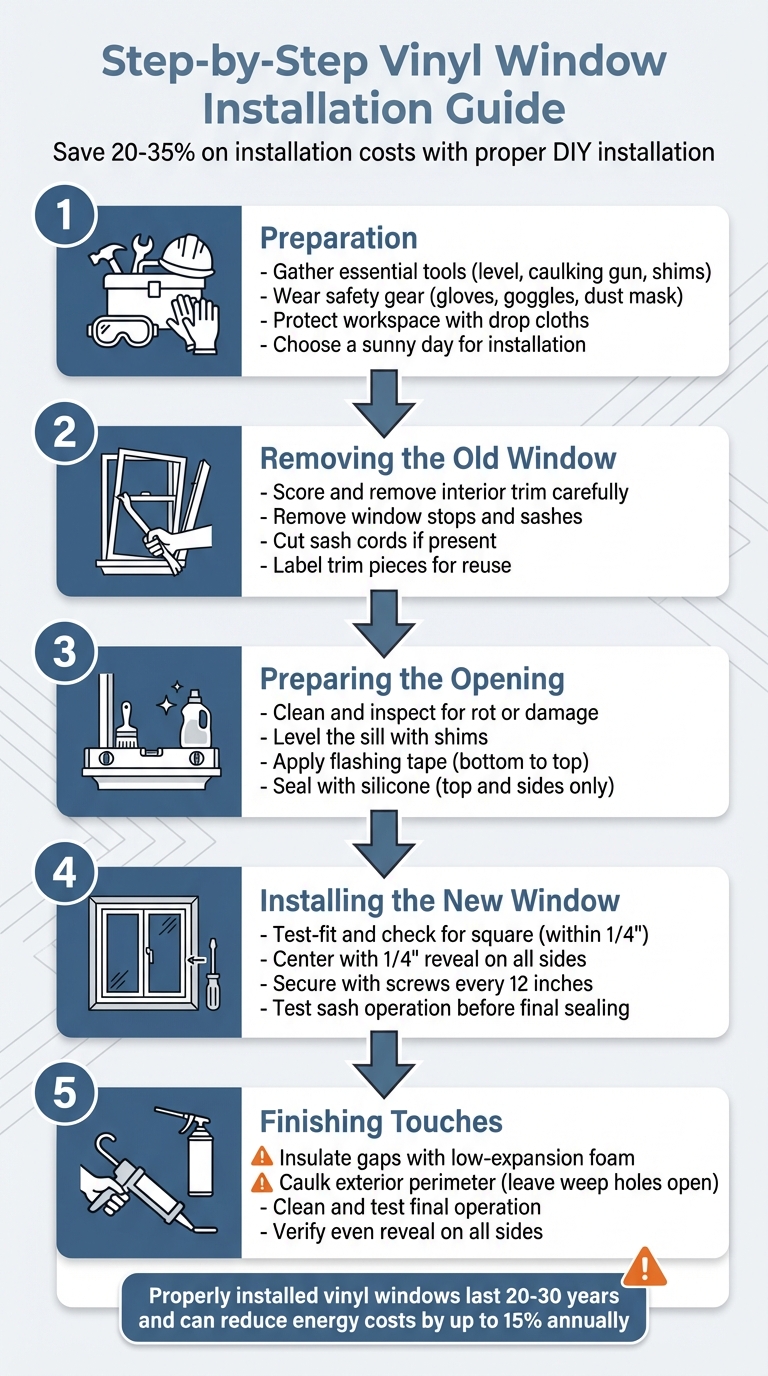
Small errors during installation create big problems down the road. Watch for these frequent oversights.
Sealing the Weep Holes
Closing the bottom drainage gaps traps moisture inside the frame, leading to wood rot, mold growth, and premature window failure. Always preserve two or three open gaps along the sill.
Over-Tightening the Mounting Screws
Vinyl flexes under excessive torque, which bends the frame, misaligns the sash, and cracks welded corners. Tighten screws only until they feel snug.
Using High-Expansion Foam
Standard spray foam expands two to three times its dispensed volume and can bow vinyl frames outward. Choose only minimal expansion foam rated for window installation.
Skipping the Level Check
An unlevel window sticks, wears out hardware prematurely, and leaks air around the seals. Verify level and plumb on every side before securing the unit.
Know When to Hire a Professional
DIY installation works well for straightforward projects, but some situations call for expert help. Consider hiring a pro if you face rotted framing, multiple window replacements, or exteriors made of stucco, brick, or stone that could crack during work. Historic homes with non-standard openings also benefit from professional measurement and fitting. Many manufacturers void warranties when certified installers do not handle the work.
Maintain Your Vinyl Windows for Long-Term Performance
A simple care routine keeps your new windows operating smoothly for decades.
Routine Cleaning and Inspection
Wash glass and tracks every three to six months using mild soap and water. Lubricate rollers and hinges once a year with a silicone-based spray. Inspect caulk lines annually and touch up any cracked sections.
Long-Term Monitoring
Watch for condensation between glass panes, which signals seal failure and means the insulated glass unit needs replacement. Clear debris from weep holes if you notice water pooling on the interior sill. Replace torn screens and worn hardware as needed to preserve function and appearance.
Frequently Asked Questions About Vinyl Window Replacement
How long does it take to replace one vinyl window?
A pocket insert replacement typically takes two to four hours per window for a homeowner with basic DIY experience. Full-frame installations require more time, often a full day per opening.
Can I replace a vinyl window in winter?
Yes, but cold temperatures affect caulk adhesion and foam expansion. Work during mild weather when possible, or use products rated for low-temperature application.
Do vinyl windows increase home value?
Quality vinyl replacements return over 72 percent of their cost at resale, according to industry data. They also improve curb appeal and attract energy-conscious buyers.
What is the difference between pocket and full-frame replacement?
Pocket inserts fit inside your existing frame and work best when the surrounding structure is sound. Full-frame replacements remove everything down to the sheathing and install a new unit with nailing fins, ideal for damaged frames or size changes.
How do I know if my window frame has rot?
Probe suspect areas with a screwdriver. Soft, crumbly, or discolored wood indicates rot. Check the sill, corners, and areas where water tends to pool. Replace rotted frames before installing new windows.
Should I hire a professional or do it myself?
DIY works for single windows with sound frames and standard sizes. Hire a professional for multiple replacements, structural damage, or specialty exteriors like brick or stone.
Key Takeaways for Your Vinyl Window Replacement Project
Learning how to replace vinyl window units empowers you to tackle a high-impact home upgrade with confidence. Focus on choosing the right installation method for your frame condition, preserving drainage gaps during sealing, and verifying level alignment before securing screws. Quality materials and careful technique deliver a weather-tight result that lowers energy bills and improves daily comfort.
Gather your tools, measure your openings carefully, and set aside a full afternoon to complete your first replacement. The skills you build on this project will make every future window swap faster and easier.



