
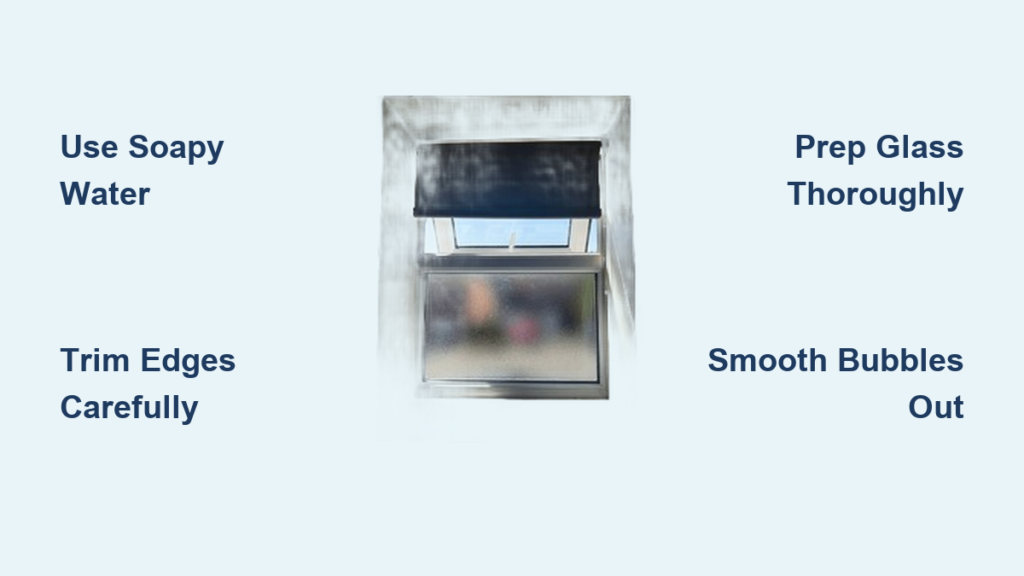
Frosting a bathroom window is one of the most affordable ways to gain privacy without losing natural light. Many homeowners and renters struggle with windows that leave them feeling exposed, especially in street-facing or shared-wall bathrooms. The good news is that learning how to frost a bathroom window takes less than an hour and costs under $25 in most cases.
This guide covers three proven methods for frosting bathroom windows, from permanent adhesive film to renter-friendly static cling and a creative Epsom salt technique. You’ll get step-by-step instructions, tool lists, troubleshooting tips, and a comparison table to help you pick the right approach for your situation.
Choose the Right Frosting Method for Your Bathroom
Match Your Needs to the Best Option
Your living situation and privacy goals determine which method works best. Picking the wrong one can mean wasted money or a finish that peels within weeks.
- Adhesive-backed film suits homeowners wanting a long-lasting, semi-permanent solution.
- Static-cling film works for renters who need removable privacy with zero residue.
- Epsom salt spray delivers a temporary, decorative effect ideal for holidays or photo shoots.
All three options block outside views while letting daylight pour in, which matters in small bathrooms that rely on windows for brightness.
Install Adhesive Privacy Film on Your Bathroom Window
Cut Film with a Single Template
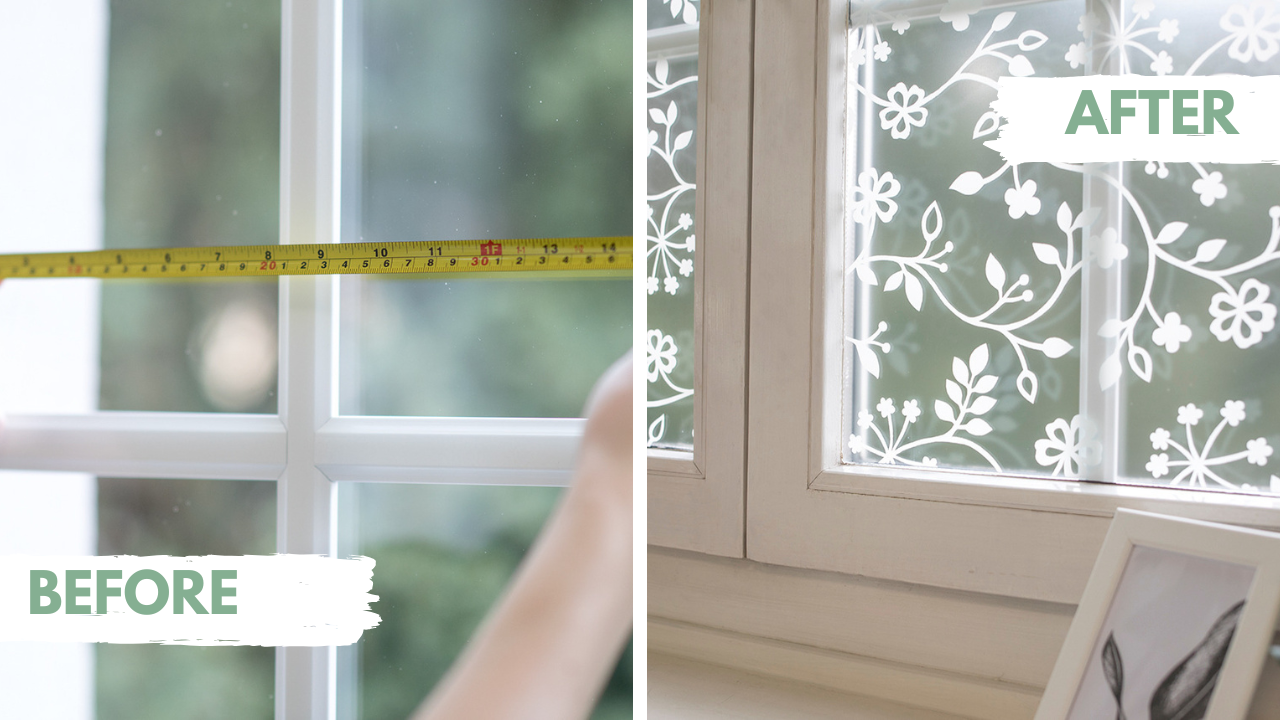
For multi-pane windows, skip measuring each pane individually. Cut one paper template to fit a single panel, then trace and cut all matching pieces at once. This trick ensures perfect alignment across divided-light windows. Always measure the glass itself, not the frame, and subtract 1/8 inch from each side to prevent edge lifting.
Prep Glass Like a Pro
Clean the window with glass cleaner and a lint-free cloth. Wipe again with rubbing alcohol to remove invisible oils. Any speck of dust or grease will show under the film. Work in a closed room to reduce airborne particles, and avoid windy days with open windows.
Apply Film Using Wet Installation
Peel back the backing to expose the adhesive. Spray both the sticky side and the glass with soapy water (a few drops of dish soap in a spray bottle). This wet method lets you slide the film into place without sticking prematurely. Center it roughly, then nudge it into perfect alignment before smoothing.
Smooth Out Bubbles from Center Outward
Use a credit card or squeegee to press from the middle toward the edges. This pushes water and air bubbles out instead of trapping them. Work slowly and apply firm pressure. You’ll see liquid squeeze out at the borders, which is normal. Keep going until the film lies flat.
Trim Edges for a Seamless Finish
Hold an X-Acto knife flush against the window frame and cut around all four sides. Move the blade steadily to avoid jagged lines. After trimming, make a final pass with the squeegee to remove leftover moisture. Let the film dry 24 to 48 hours. During this time, it shrinks slightly, tightening its grip and eliminating minor imperfections.
Use Static-Cling Frosted Film for Renter-Friendly Privacy
Peel Layers Without Tearing
Static film comes with two layers: a clear backing and the frosted side. To separate them, apply masking tape to opposite corners. Pull the tapes in opposite directions; the tension lifts the layers cleanly. Never use your fingers, which can crease or tear the delicate film.
Spray Soapy Water for Easy Repositioning
Mist both the glass and the frosted side with soapy water. This prevents instant static grab, giving you 30 to 60 seconds to adjust positioning. Place the center first, then smooth outward with a squeegee. Any trapped bubbles are just water pockets you can push to the edge.
Trim with an Edging Tool
Cut excess film using a utility knife guided by an edging tool (available for under $10). Hold the blade at a slight angle and slice along the frame. Flip the edging tool to trim the opposite side if needed. Clean corners with short, controlled strokes to avoid lifting adjacent sections.
Reapply or Remove Without Damage
When it’s time to take it down, lift a corner with a blade and peel slowly. The film comes off cleanly with no sticky mess and no glass damage. Wash it with soapy water, dry it, and store it flat for reuse. This makes static film perfect for dorm rooms, rentals, or temporary setups.
Create a Temporary Epsom Salt Frost Effect

Mix Boiling Water and Epsom Salt
Pour ½ cup of boiling water into a heat-safe glass. Add ½ cup of Epsom salt and stir until fully dissolved and clear. Add 2 to 3 drops of dish soap to help with cleanup later. Immediately transfer to a heat-resistant spray bottle using oven mitts, since this solution stays dangerously hot.
Spray on Clean, Dry Glass
Wipe the window with Windex and a lint-free rag. Spray the solution evenly from one side to the other. Heavier sprays create denser, snowflake-like patterns. Avoid sloped or outdoor-facing panes; this method only works indoors where moisture won’t dissolve the crystals.
Wait One Hour for Crystals to Form
Leave undisturbed for at least 60 minutes. As the water evaporates, Epsom salt crystallizes into a unique, icy design. No two applications look alike, which is great for seasonal decoration or photo backdrops.
Remove Easily with a Scraper
To take it off, gently scrape the crystals with a plastic or metal blade. Wipe the glass with a damp cloth. It returns to crystal clear with zero residue. This method costs less than $5 and is perfect for winter holidays or temporary privacy during events.
Compare All Three Frosting Methods
| Feature | Adhesive Film | Static Cling Film | Epsom Salt Spray |
|---|---|---|---|
| Lasts | Years | Months to years (reusable) | Days to weeks |
| Cost | Around $19 | Around $25 | Under $5 |
| Removable | Semi-permanent (no residue if removed carefully) | Yes, no residue | Yes, washes off |
| Best For | Permanent bathroom privacy | Renters, temporary use | Holiday decor, art projects |
| Light Entry | High (diffused) | High (diffused) | Variable (textured) |
| Installation Ease | Moderate (precision needed) | Easy (forgiving) | Easy (spray and wait) |
Optimize Privacy and Natural Light
Block View Without Darkening the Room
Frosted film diffuses sunlight evenly, keeping your bathroom bright even on cloudy days. Unlike blinds or curtains, it doesn’t block overhead light or create dark corners. This is especially valuable in window-only bathrooms where ventilation and mood lighting matter.
Avoid One-Way Film Myths
Mirrored or one-way films only work when it’s brighter outside than inside. At night, when your bathroom lights are on, the effect reverses and outsiders can see in. Standard frosted film has no such flaw. It blocks visibility 24/7, regardless of lighting conditions.
Customize the Look of Your Frosted Window
Try Partial Window Coverage
Frost only the lower half of the window to maintain an outdoor view from above while securing eye-level privacy. This works well in bathrooms connected to bedrooms or patios. Use painter’s tape as a guide for a straight, professional line.
Explore Style Options
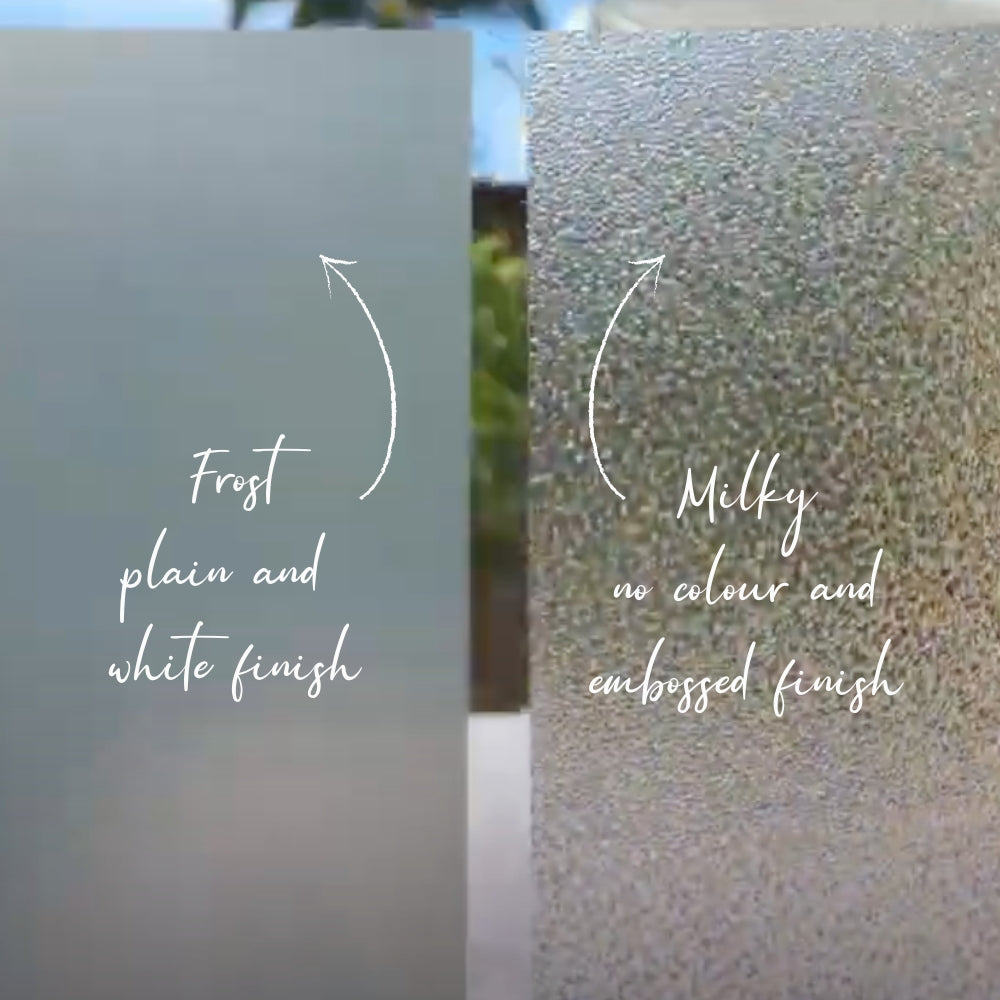
Beyond plain frosted, films come in patterns (geometric, leaf, raindrop), tints (smoked, bronze), and textures (etched glass, sandblasted). Tinted films reduce glare but also light entry, so frosted remains the best balance for bathrooms.
Fix Common Installation Issues
Remove Air Bubbles Without Puncturing
If bubbles remain after smoothing, don’t poke them. With wet-install films, they usually disappear as the adhesive sets. Push stubborn ones toward the edge with the squeegee. For static film, re-spray with soapy water and smooth again.
Prevent Dust Traps During Application
Dust is the enemy of clean adhesion. Vacuum the room and wipe surfaces before starting. If a speck gets stuck under adhesive film, it’s likely permanent. Static film can be peeled off, cleaned, and reapplied, which makes it more forgiving.
Correct Misalignment While Wet
Both adhesive and static films can be repositioned during the wet phase. Use the water or soapy layer to slide the film into place. Make small adjustments until it’s perfectly aligned with the frame before final smoothing.
Manage Dripping Water
Place folded paper towels along the sill to catch runoff. After squeegeeing the bottom, shift towels to the top frame to absorb lingering moisture and prevent water from seeping into wood or walls.
Maintain Your Frosted Finish for Years
Clean Safely Without Damage
Use a soft cloth and mild soapy water. Avoid paper towels, which can scratch. Never use ammonia-based cleaners (like Windex Original) or abrasive scrub pads; they degrade the film surface over time. Rinse with clean water and dry with a microfiber cloth.
Inspect Before You Cut
Unroll the film on a clean surface and check for scratches, bubbles, or discoloration before cutting. Starting with a defective sheet wastes time and materials.
Know What to Expect on Your First Try
First Attempt May Not Be Perfect
Even pros mess up the first time. Bubbles, wrinkles, or misalignment happen. Practice on a small, hidden pane if possible. Most mistakes are fixable during the wet phase; just peel, re-wet, and reapply.
Use Household Tools If Needed
You don’t need specialty gear. A credit card works like a squeegee. A razor blade trims edges. Upgrade to professional tools only if you’re doing multiple windows.
See Instant Visual Transformation
The change is dramatic. Clear glass becomes a modern, opaque surface that feels spa-like and private. Users consistently report feeling more relaxed in frosted-window bathrooms, which proves small upgrades can have big psychological impacts.
Pick the Right Method for Your Situation
Renters: Go With Static Cling
No landlord approvals needed. Install in minutes, remove without trace. Wash and reuse it in your next place. This is the go-to for apartments, dorms, or short-term stays.
Homeowners: Choose Adhesive Film
It’s a semi-permanent upgrade that lasts years. Looks like custom-etched glass but costs 90% less. Ideal for street-facing bathrooms where privacy is non-negotiable.
Seasonal Decor: Try Epsom Salt
Transform your window into a winter scene for Christmas or photos. Wash it off in January. Kids love helping with this one, though you should supervise the hot solution.
Frequently Asked Questions About Frosting Bathroom Windows
What is the cheapest way to frost a bathroom window?
The Epsom salt method costs under $5 using household ingredients you likely already own. You only need boiling water, Epsom salt, dish soap, and a heat-resistant spray bottle. The effect lasts days to weeks and washes off easily.
Can you frost a bathroom window without replacing the glass?
Yes, all three methods in this guide work on existing glass. Adhesive and static-cling films apply directly to the surface, and the Epsom salt spray creates crystals on top. None require removing or replacing the window.
How long does frosted window film last?
Adhesive-backed film lasts for years when installed correctly. Static-cling film can last months to years and is reusable if handled gently. The Epsom salt effect lasts days to weeks before dissolving or needing removal.
Does frosted film reduce natural light in a bathroom?
No, frosted film diffuses sunlight rather than blocking it. Your bathroom stays bright and airy even on overcast days. Unlike curtains or blinds, frosted film does not create dark corners or block overhead light.
Is frosted window film easy to remove?
Static-cling film peels off cleanly with no residue. Adhesive film is semi-permanent but can be removed carefully with a blade and soapy water. The Epsom salt method washes off with a damp cloth and scraper.
Can renters frost bathroom windows without damaging them?
Yes, static-cling frosted film is the best option for renters. It requires no adhesive, leaves no residue, and can be removed at lease end without penalties. You can also take it with you and reuse it in your next home.
Key Takeaways for Frosting Your Bathroom Window
Frosting a bathroom window is one of the easiest, most impactful DIY upgrades you can make. Adhesive film delivers permanent privacy for homeowners, static-cling offers renter-friendly flexibility, and Epsom salt creates seasonal flair for under $5. With proper prep, the right tools, and a wet-install technique, you’ll achieve a clean, professional finish in under an hour.
Start with a small window to build confidence, follow the steps outlined above, and enjoy a brighter, more private bathroom today. Pick up your supplies this weekend and transform your space before your next shower.



