
Drafty windows and rising energy bills are among the most common homeowner frustrations. If you’re wondering how do you reseal a window, the answer is simpler than most people think. Air leaks around window frames are the leading cause of energy loss in homes, driving up heating and cooling costs while making rooms uncomfortable year-round. The good news is that resealing windows is a DIY-friendly project that can restore efficiency and extend your window’s life for 5–10 years when done correctly.
This guide walks you through every step of the process. From diagnosing leaks to applying long-lasting sealant, you’ll learn the tools, materials, and techniques professionals use, so you can do it right the first time.
Identify Window Seal Failure
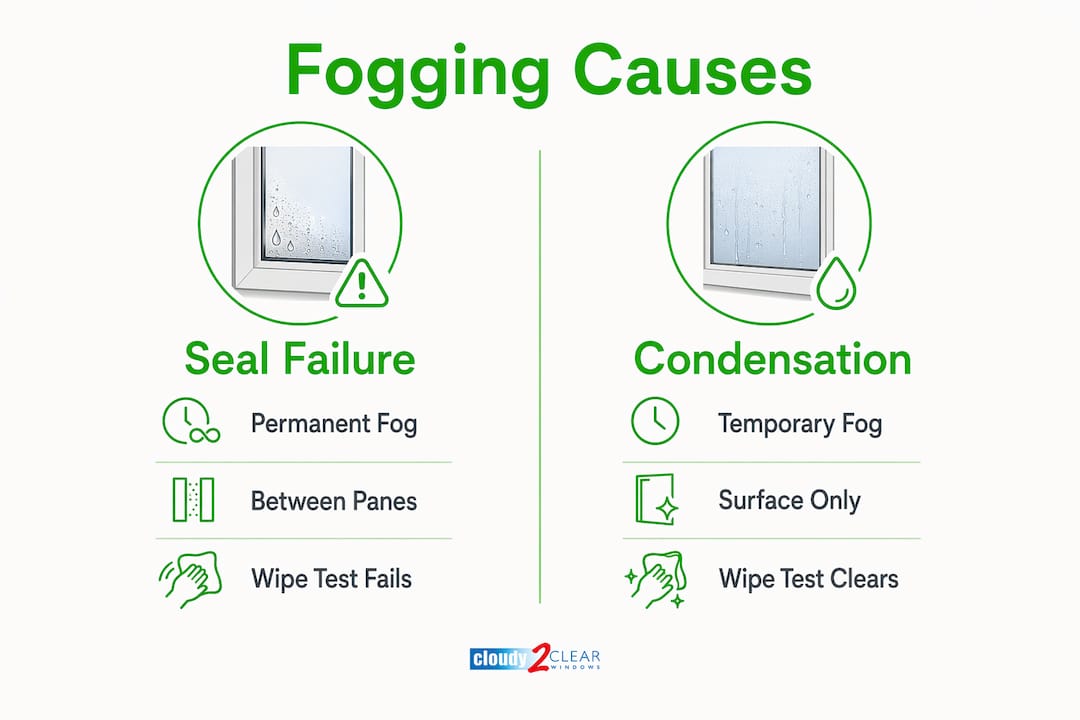
Spot Drafts and Moisture Leaks
Before reaching for a caulk gun, confirm that resealing is actually needed. Common signs of failed window seals include feeling cold air near the frame, hearing wind noise during storms, seeing condensation between glass panes, noticing uneven room temperatures, and receiving higher-than-normal energy bills. To verify air leaks, try these quick tests:
- Candle or incense test: Hold a lit candle or incense stick near window edges. A flickering flame or drifting smoke confirms escaping air.
- Hand test: On a cold day, slowly move your hand around the perimeter to feel for cool drafts.
- Daylight check: In a darkened room during daylight, look for beams of light penetrating gaps in the frame.
Assess the Damage Scope
Not every resealing job requires full removal. You can patch only if less than 20% of the sealant is cracked or peeling, the existing caulk remains firmly bonded, and the plastic weatherstrip is embedded and intact. A full reseal is necessary when silicone or caulk is brittle and crumbling, visible mold or water damage exists behind trim, or the window frame feels loose in the opening.
Check for Hidden Gaps
Sometimes the draft originates behind the interior trim rather than at the glass. If you’ve sealed the exterior but still feel cold air, remove interior trim carefully and inspect the space between the frame and wall cavity. Look for gaps filled with old, cracked foam or no insulation at all, a common flaw in older installations that requires expanding foam or insulation batts.
Gather the Right Tools and Materials
Essential Tools for Resealing
Using the correct tools ensures clean preparation and a professional finish. You’ll need a professional-grade caulking gun (lubricate the plunger with WD-40 for smooth operation), a flexible 3-inch putty knife, a scraper or hook tool for removing old caulk, a utility knife, a pry bar, 80 and 120-grit sandpaper, compressed air or a brush, a level and measuring tape, and safety gear including gloves and goggles.
Choose the Best Sealant

Using the wrong product leads to peeling and early failure. Match the sealant to the location and material.
Exterior Sealants:
– OSI Quad Silicone: Bonds to vinyl, wood, aluminum, masonry, and concrete. Works in temperatures from -20°F to 120°F and lasts 5–10 years.
– DAP Doflex 230: Fills gaps up to 1 inch. Waterproof, flexible, and paintable.
– DAP Dynaflex Ultra: Rain-ready in 1 hour with lifetime mold resistance.
– Avoid standard silicone, which tends to crack and peel over time.
Interior Sealants:
– DAP Alex Flex Molding & Trim Sealant: Low odor, paintable in 30 minutes, and cleans with water.
– Acrylic filler: Flexible and paintable, ideal for patching sills where most of the seal is intact.
– Poly filler: For deep gaps, apply first, sand level, then top with flexible acrylic.
Use Insulation and Backer Rods
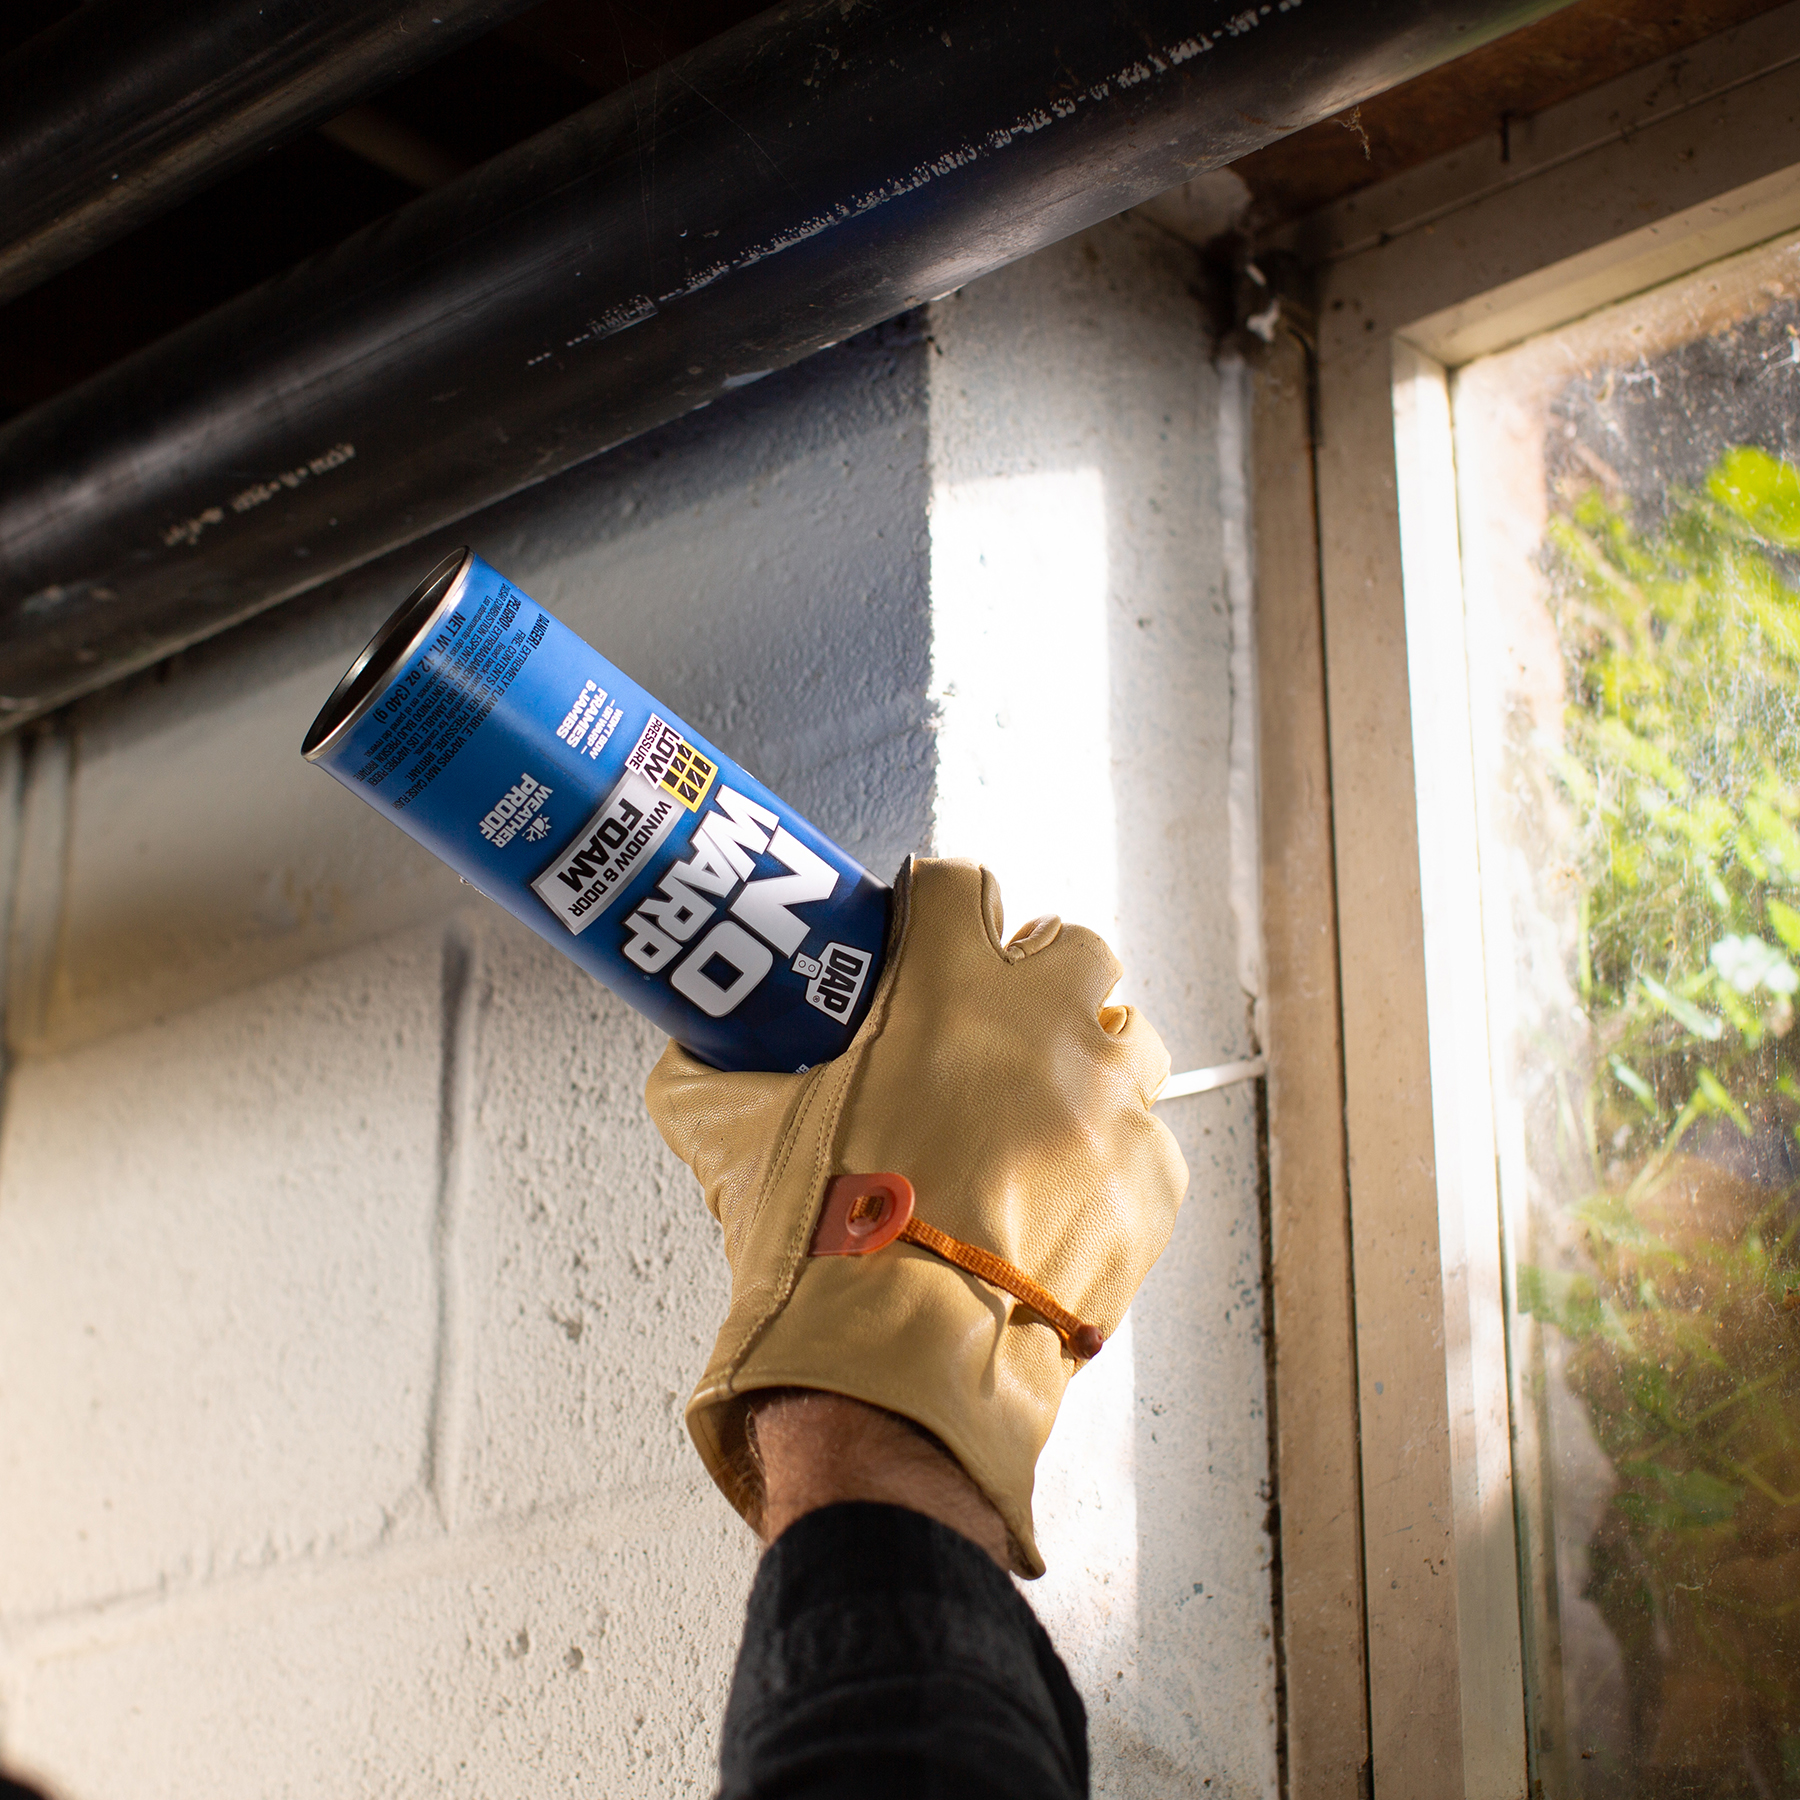
For long-term results, seal the cavity behind the trim. DAP Touch ‘n Seal No-Warp Foam expands slowly with minimal pressure, so it won’t warp your frame. Foam backer rod is required for joints deeper than ½ inch, creating a backing that prevents overuse and ensures proper curing. Insulation batts or foam board add thermal resistance behind trim in older homes.
Prepare the Surface for Re-Sealing
Remove Interior Trim (If Needed)
Access the frame-to-wall gap by removing trim using these steps:
- Cut the paint seal by running a utility knife along the edge of the trim.
- Slide a flexible putty knife behind the trim near a nail.
- Wedge a pry bar behind the knife and lift the trim about an inch. Insert a second knife if wood starts to crack.
- Work down the length, then pull the trim free.
- Remove nails by pulling them through the back with pliers to avoid splintering. Cut broken nubs flush with nippers.
Strip Old Sealant
Remove all degraded material for strong adhesion. Use a scraper or hook tool to lift caulk from the joint, focusing on the edges of aluminum or vinyl frames where bond failure often starts. Remove every trace of old silicone, since even tiny bits can prevent new sealant from sticking. Clean the area with a damp cloth, then wipe with isopropyl alcohol or a dedicated caulk cleaner.
Sand and Clean the Surface
Proper preparation boosts adhesion and finish quality. Sand both sides of the gap with 80-grit paper to feather edges, then wipe with a dry cloth or compressed air to remove dust. For sills, use 120-grit to smooth the transition. Let the surface dry completely before sealing, because any grease, dust, or moisture will weaken the bond.
Insulate and Fill Gaps
Inspect for Moisture and Rot
With trim removed, check the cavity for water stains, soft wood, or mold. Replace damaged drywall or insulation and let the area dry fully before proceeding.
Install Insulation or Expanding Foam
Stop hidden drafts between the frame and wall. For large cavities, insert insulation batts or foam board snugly without compressing them. For gaps, use No-Warp expanding foam: shake the can well, hold it upside down, and pull the trigger slowly to fill no more than 1/3 of the gap (foam expands 2–3 times). Let it cure for 4–6 hours, then trim excess with a utility knife. Never use standard expanding foam, as it exerts high pressure and can bow the window frame.
Insert Backer Rod (Exterior Joints)
For deep exterior joints deeper than ½ inch, push a foam backer rod into the gap with a tool or gloved hand. It should sit about ¼ inch below the surface to create a uniform base and prevent sealant from sinking or cracking.
Apply the New Sealant
Prepare the Caulk Tube
Cut the nozzle at a 45-degree angle, starting with a small hole you can enlarge if needed. Puncture the inner seal with a nail or the tool on the caulk gun, then load the cartridge into the gun and lock the plunger.
Apply the Bead Correctly
Hold the caulking gun at a 45-degree angle to the joint. Apply steady pressure and move at a consistent speed, keeping the nozzle tip in contact with the joint to avoid air pockets. For small gaps, apply a thin, continuous bead. For large gaps, fill depth first with poly filler, sand level, then apply flexible sealant on top.
Tool and Smooth the Seal
Finish within 2–5 minutes for best results. Use a caulk finishing tool, damp finger, or straight-edge blade to press the bead into the joint and create a smooth, concave profile. A slightly wet finger prevents sticking and gives a professional look. Remove painter’s tape at a 45-degree angle before the sealant skins over.
Cure and Finish the Job
Allow Proper Curing Time
Standard cure requires 24–48 hours before exposure to rain or pressure. Fast-cure sealants like DAP Dynaflex may be rain- or paint-ready in 1 hour, though full strength takes longer. Avoid applying below 32°F or above 90°F; the optimal range is 50°F–80°F.
Paint and Reinstall Trim
For interior gaps, use DAP Alex Flex, which is paintable in 30 minutes. Wait 24 hours for fillers to fully cure before painting to prevent cracks, and prime first for better adhesion with gloss paints. Reattach trim using new nails every 12–16 inches, then fill nail holes with wood filler, sand smooth, and paint to match.
Special Cases: Double-Glazed and Problem Windows
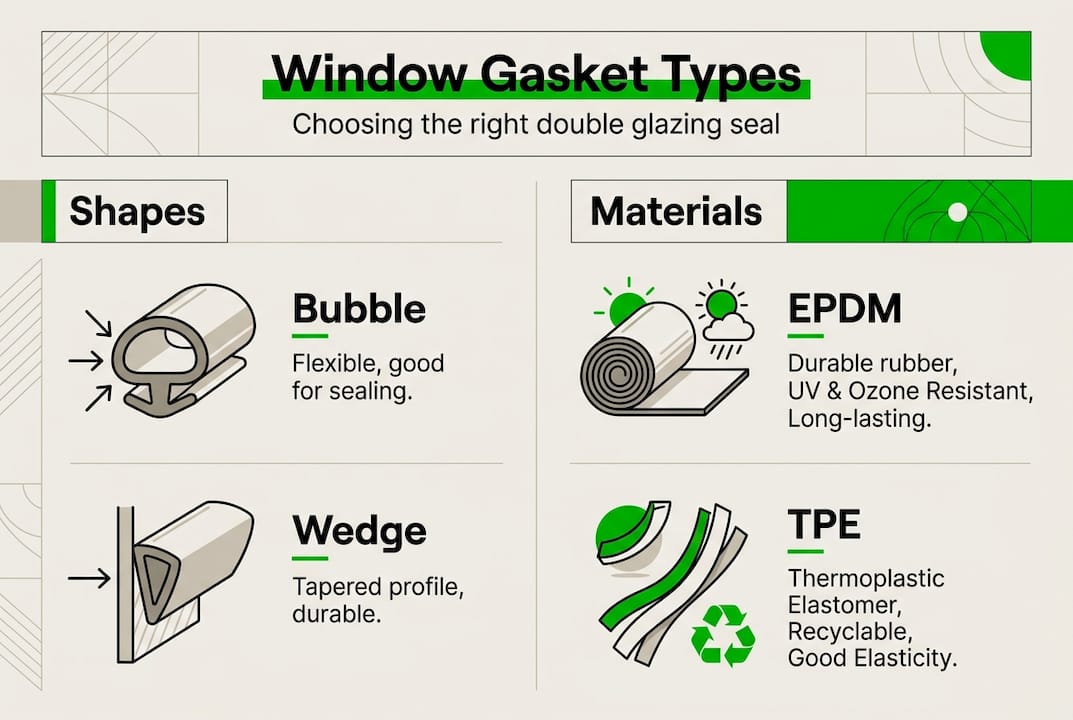
Replace Rubber Gaskets
Double-glazed units use rubber “bubble gaskets” between sections. If cracked or dry-rotted, gently pull the old seal out with a flat-head screwdriver, clean the groove with a dry brush, and press in a matching replacement gasket.
Adjust Locking Mechanisms
Drafts aren’t always from failed seals. Check the “mushroom keeps” on the locking hardware and use an Allen key to turn the center screw slightly left or right. Test the window after each adjustment to find the snug fit that stops air leaks without straining the mechanism.
Fix Installation Gaps
If drafts persist after sealing, remove interior trim again and inspect the gap between the frame and brick or stud. Fill voids with No-Warp foam and seal the exterior edge with OSI Quad Silicone.
Maintenance and Long-Term Care
Inspect seals every fall before winter, looking for cracks, peeling, or separation. Clean with mild soap and water, avoiding harsh chemicals. Most acrylic and hybrid sealants can be painted; pure silicone usually cannot, so check the label. Repaint every few years to maintain UV protection.
When to Call a Pro
DIY works for most resealing jobs, but call a professional if there’s structural rot, mold, or water damage behind the frame, you’re working on upper-story windows without safe access, the window frame is loose or misaligned, or you’re unsure about insulation types or building codes.
Frequently Asked Questions About Resealing Windows
How long does it take to reseal a window?
Most single-window resealing projects take 2–4 hours including prep, application, and initial cleanup. However, you should wait 24–48 hours before exposing the new sealant to rain or pressure.
What is the best sealant for exterior windows?
OSI Quad Silicone is widely regarded as a top choice for durability, bonding to vinyl, wood, aluminum, masonry, and concrete. It performs in temperatures from -20°F to 120°F and lasts 5–10 years.
Can I reseal a window in cold weather?
It’s best to avoid applying sealant below 32°F. Cold temperatures prevent proper curing and adhesion. The optimal application range is 50°F–80°F with low humidity.
How do I know if my window needs resealing or full replacement?
If less than 20% of the sealant is damaged and the rest remains bonded, a patch will suffice. Full resealing is needed when sealant is brittle, crumbling, or pulling away, or when there’s visible mold, water damage, or a loose frame.
Will resealing windows lower my energy bills?
Yes. Drafts around windows are the leading cause of energy loss in homes. Properly resealing windows reduces air infiltration, which lowers heating and cooling costs and eliminates cold spots.
Is it cheaper to reseal windows myself or hire a professional?
DIY resealing typically costs under $100 in materials for multiple windows. Professional services for a full-home project can run $1,975 or more, depending on the number of windows and scope of work.
Final Thoughts on Resealing Windows
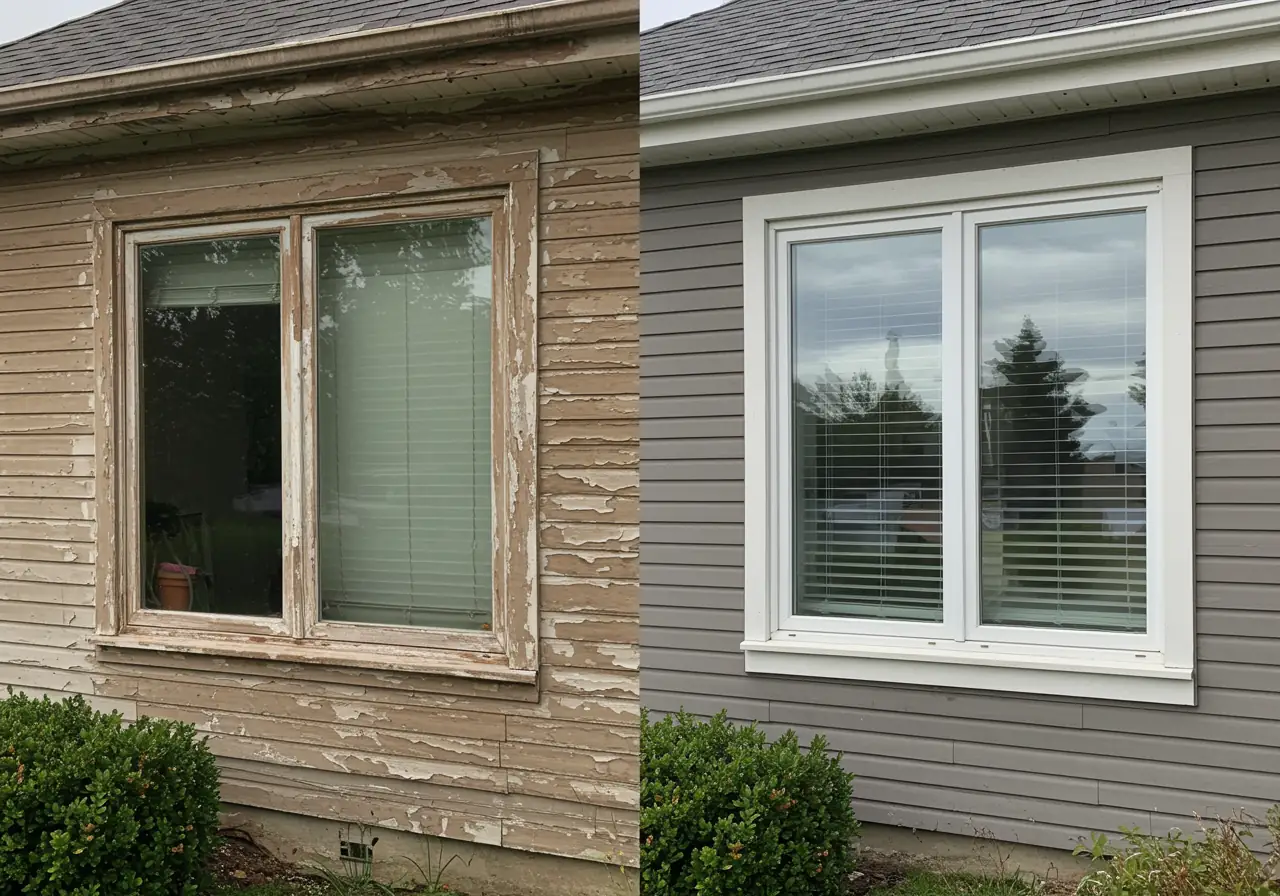
Learning how do you reseal a window empowers you to tackle one of the most cost-effective home improvements available. The three keys to success are using high-performance sealants like OSI Quad or DAP Doflex 230, thoroughly cleaning surfaces before application (since 90% of adhesion failures stem from dirty surfaces), and controlling foam expansion with No-Warp varieties to avoid bowed frames.
Start by inspecting your windows this fall, gather the right materials, and set aside a weekend to seal the worst offenders first. You’ll stop drafts, lower energy bills, and enjoy a quieter, more comfortable home for years to come.