
Sliding doors are a smart solution for maximizing space in closets, room dividers, and patio openings. Unlike swinging doors that require clearance to open, sliding doors glide along a track, making them perfect for tight spaces where every square foot counts. Whether you want a rustic barn-style door for your pantry or a sleek glass partition for your patio, knowing how to build a sliding door gives you complete control over materials, design, and cost. This guide walks you through planning, building, and installing a sliding door that operates smoothly and looks professional.
You will learn how to choose the right materials for your specific application, construct a sturdy door panel, install reliable rollers and tracks, and avoid common mistakes that cause sticking or misalignment. Each step includes practical tips to ensure your finished door performs well for years.
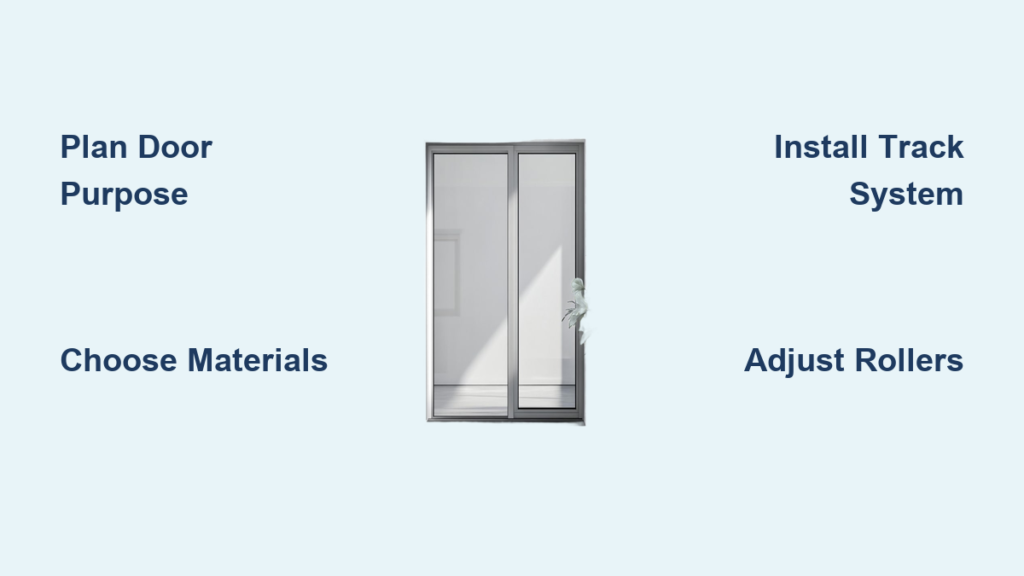
Plan Your Sliding Door Project
Define the Door’s Purpose and Location
Start by identifying exactly where the door will go and what it needs to accomplish. Interior sliding doors work best for closets, pantries, or dividing large rooms, where smooth operation and aesthetics take priority. Exterior sliding doors on patios or garages must withstand weather, so durability and proper sealing become critical considerations. Ask yourself whether the door needs to block sound, allow natural light, or meet ADA accessibility requirements. Each of these factors influences your material choices, track type, and installation method.
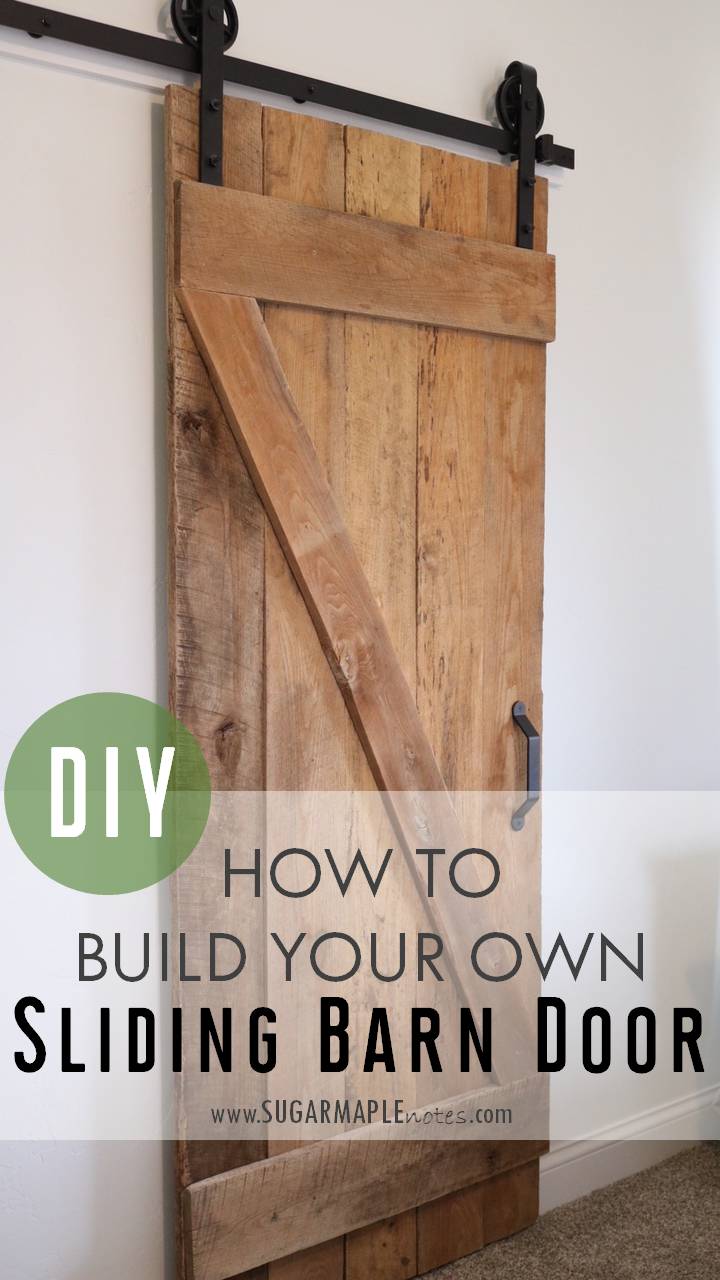
For interior use, lightweight options like plywood, MDF, or solid wood work well and are easy to finish. Reclaimed wood adds character to barn-style designs without breaking the bank. Outdoor applications require weather-resistant materials such as tempered glass, aluminum frames, or pressure-treated wood with waterproof sealants. Never use untreated particleboard or standard wood in areas exposed to moisture.
Choose Materials Based on Environment
Match your materials to the door’s location and exposure level. For indoor projects, ¾-inch plywood provides excellent stability and is simple to cut and finish. Masonite offers a smooth surface ideal for painting. Solid wood boards work well for framed constructions where you want visible wood grain. For exterior doors, prioritize tempered glass with aluminum frames or composite materials designed for outdoor exposure. Always include weatherstripping and threshold seals on outdoor installations to prevent drafts and water damage.
Select Your Build Approach
Decide between a fully custom build, a hybrid system, or a ready-made kit. A complete DIY approach gives you total design control but requires advanced woodworking skills and significant time investment. The hybrid method, which involves building your own door panel and pairing it with commercial roller hardware, offers the best balance of customization and reliability. Ready-made kits install fastest but limit your size and design options. For openings over 8 feet wide, a hybrid system with a custom wood panel and heavy-duty top-hung rollers typically provides the best value.
Gather Materials and Tools
Select Core Building Materials
Your door panel can be constructed from several materials depending on weight and aesthetic goals. Masonite provides a smooth, paintable surface. Plywood at ¾-inch thickness offers structural stability. Solid wood delivers natural beauty and durability. Tempered glass creates a modern look but requires professional cutting and secure mounting hardware. For framed doors, use 2×2 lumber to create a supporting grid that holds the sheet material securely.
For the track system, you have three main options. U-shaped metal profiles provide simple, durable DIY installation. Steel pipe with hinged loops creates an authentic barn-door appearance. Commercial top-hung systems offer the smoothest operation and come with adjustable rollers. Use rustproof tek screws sized #8 or #12 for metal components and wood screws appropriate for your framing. Add weatherstripping for exterior applications and choose a recessed handle to prevent snagging on clothing or walls.
Prepare Essential Tools
Gather these tools before starting your project. You will need a circular saw for cutting plywood and lumber straight. A cordless drill with both wood and metal drill bits accelerates assembly. A 4-foot level ensures accurate alignment throughout installation. A measuring tape and pencil allow precise marking. A multi-sander smooths rough edges after cutting. A NanoBlade saw or similar tool cuts clean recesses for handles. Always wear safety gear including gloves, glasses, and a dust mask when operating power tools.
For concrete slab installations where you need to embed a threshold track, you may need a diamond-blade circular saw to cut a channel in the floor. Keep spacers handy for aligning parallel tracks and masking tape for clean layout marks.
Build the Door Panel
Construct the Door Frame
If using plywood or masonite as your primary material, build a supporting frame from 2×2 boards cut to match your desired door dimensions. Assemble the frame using wood screws, checking carefully that all corners form perfect right angles. The frame may feel slightly flimsy during assembly, but the sheet material you attach will add significant rigidity once secured. For doors wider than 4 feet, add a horizontal center brace to prevent sagging over time. Lay all pieces flat during assembly and verify alignment before fastening.
Attach the Panel Material
Secure your plywood, MDF, or masonite to the completed frame using brads, wood glue, and screws. Apply wood glue to all frame surfaces that contact the panel, then allow the glue to dry overnight for maximum bond strength. Use a circular saw with a straight board clamped as a guide to cut the panel to its final size. This technique ensures clean, accurate cuts without chipping. Sand all edges smooth with your multi-sander, then wipe away all dust before applying finish.
Apply the Final Finish
Select paint, stain, or varnish based on your design vision. High-gloss finishes resist fingerprints and clean more easily, making them practical for high-traffic areas. Apply finish using a wide roller or spray system for even coverage. Allow complete drying time between coats, and do not rush this process. For reclaimed wood, clean thoroughly and seal to prevent splinters and moisture damage before installation.
Install the Handle and Rollers
Cut a Recessed Handle
Protruding handles create snagging hazards and interfere with smooth sliding. Mark your desired handle location precisely on the door surface. Use a NanoBlade saw to cut the recess. Position the blade nearly upright over your marked line, start the motor, then slowly plunge into the wood. Cut one side, rotate the tool, and complete the opposite side. Repeat until all four edges are cut and the center section releases. Test-fit the handle before final installation.
Mount the Rollers
Attach rollers to the top or bottom of your door depending on your track system design. For top-hung doors, position rollers near the top edges. Mark your drill points with a pencil, then pre-drill holes using a 3.5mm bit to prevent wood splitting. Secure rollers with wood screws driven snug but not overtight. Follow spacing guidelines for wide doors. For doors up to 4 feet wide, place rollers 1 foot from each end. For doors between 4 and 10 feet, position rollers 1 foot 6 inches from each end. For doors over 10 feet, place rollers 2 feet 6 inches from each end. Ensure hole centers sit ¾ inch from the inside edge of the door.
Install the Track System
Choose Your Track Type
U-profile tracks are simple, durable, and ideal for DIY installation. The track should match your door thickness plus approximately 1mm for clearance. Mount to ceiling or wall using spacers to achieve proper alignment. Pipe rail systems use steel pipe cut to length with hinged loops attached to the door top. Mount pipe ends using plumbing flanges and angled brackets. This approach creates an attractive barn-door aesthetic. Commercial top-hung tracks provide the most reliable operation and include adjustable rollers. Follow manufacturer instructions carefully, installing the track board trim before mounting the actual track.
Mount and Align the Track
Begin by ensuring the mounting surface is structurally sound. Mark pilot holes directly into studs or ceiling joists, never relying on drywall alone to support the weight of a sliding door. Use a level to confirm the track runs perfectly straight. For multi-panel doors, install parallel tracks with consistent spacing maintained by spacers. In concrete slab installations, cut a ¾-inch deep slot using a diamond blade, embed the threshold track, and seal both sides with silicone to prevent water infiltration.
Hang and Adjust the Door
Mount the Door to the Track
Position the door on the floor with rollers parallel to the track. Tilt the door diagonally and insert the rollers into the U-profile or hang them from the pipe. Slowly raise the door to the upright position. For top-hung systems, verify that rollers fully engage the track mechanism. Use a level to check vertical alignment. Mark screw holes on the wall or ceiling, then secure the track with long screws driven into structural supports.
Test and Fine-Tune Movement
Slide the door through its full range of motion. The door should move smoothly without wobbling, binding, or resistance. If sticking occurs, adjust roller height using built-in adjustment screws. Recheck track alignment with your level. For uneven floors, raise the pipe within the loops slightly to compensate before final mounting. Add a small interior pull loop if needed for easier operation. For exterior doors, test weatherstripping by closing the door on a dollar bill. If you can pull the bill out easily, the seal needs adjustment.
Avoid Common Mistakes
Verify Pre-Assembly Requirements
Never assume door frames arrive pre-assembled. Always build frames on-site and verify squareness by measuring both diagonals. If the diagonal measurements match, your frame is square. This simple check prevents problems that become difficult to fix after installation.
Install the Door Before Siding
Always hang sliding doors before applying exterior siding. This sequence ensures proper alignment and allows you to use color-matched stitch screws for a seamless appearance. Installing siding first creates alignment problems and visible hardware that detracts from your finished result.
Complete Track Trim Installation
With commercial track systems, install the L-shaped trim over the track board before mounting the track itself. This trim conceals the mechanism ends and protects the system from debris. Skipping this step creates an unfinished appearance and risks track damage over time.
Seal Exterior Thresholds Properly
Outdoor sliding doors require thorough threshold sealing to prevent drafts and water leaks. Use a recessed floor channel, apply sealant generously to both sides of embedded tracks, and install full-perimeter weatherstripping. Do not cut PVC thresholds to size, as this compromises their structural integrity and sealing ability.
Optimize Performance and Longevity
Weatherproof Exterior Doors
Apply waterproof finishes to all exterior wood surfaces. Install low thresholds, ideally ¾ inch or less, to meet accessibility standards while preventing water entry. Use silicone sealant on all embedded tracks. In covered patio areas with minimal rain exposure, aggressive sealing may be less critical, but complete sealing remains recommended. Lubricate rollers annually with silicone spray and clean debris from tracks every few months.
Maintain Smooth Operation
Inspect rollers and mounting hardware yearly. Tighten any loose screws and replace wheels showing wear. Keep tracks clear of dust, dirt, and debris. For glass doors, inspect seals and gaskets regularly for cracks or compression loss that compromises weather resistance.
Final Inspection and Completion
Run Through the Checklist
Before considering your project complete, verify these items. Confirm all measurements remain accurate and the door fits properly. Verify the door is square and level. Ensure rollers are tight and properly aligned. Test smooth sliding with no resistance or binding. Check that handles are flush or properly recessed. Apply weatherstripping for exterior installations. Seal the threshold completely. Tighten all screws and inspect the finish for any damage requiring touch-up.
Add Aesthetic Finishing Touches
Match hardware finishes to your room fixtures, choosing from brass, matte black, zinc, or ceramic options. Add frosted glass panels for privacy or geometric wood patterns for visual interest. Industrial styles benefit from exposed tracks and black steel pipes. Contemporary designs often feature hidden rollers and frameless glass panels.
Frequently Asked Questions About Building a Sliding Door
What materials work best for interior sliding doors?
Interior sliding doors perform well with ¾-inch plywood, MDF, masonite, or solid wood. These materials are lightweight enough for standard hardware while providing sufficient durability for daily use. Plywood offers the best combination of strength and affordability. MDF provides an exceptionally smooth surface ideal for painting. Solid wood delivers natural beauty but costs more.
Can I build an exterior sliding door myself?
Building exterior sliding doors from scratch is challenging due to the complexity of weatherstripping and sealing. Most DIY builders succeed by constructing their own door panel and pairing it with commercial hardware designed for outdoor use. This hybrid approach provides customization while relying on proven track systems. Focus on proper sealing around the threshold and use weather-resistant materials.
How much does a DIY sliding door cost?
Basic indoor sliding doors can cost under $40 in materials when using plywood and standard hardware. Large glass exterior doors may cost $500 or more. Commercial-grade systems run $500 to $1,000 per linear foot. Combining a custom-built panel with an off-the-shelf roller kit typically costs between $150 and $300, offering excellent value.
What tools do I need to build a sliding door?
Essential tools include a circular saw, cordless drill, level, measuring tape, multi-sander, and safety gear. A NanoBlade saw helps cut handle recesses cleanly. For concrete installations, you may need a diamond-blade saw to cut floor channels. Basic hand tools and hardware are sufficient for most residential projects.
How do I adjust sliding door rollers for smooth operation?
Most modern roller systems include adjustment screws that raise or lower the door slightly. Loosen the mounting screws slightly, make small adjustments, then retighten while testing the door movement. Aim for the door to glide freely without dragging on the floor or binding in the track. Check track alignment with a level if problems persist after roller adjustment.
Can sliding doors meet ADA accessibility requirements?
Yes, sliding doors can meet ADA standards with proper planning. Keep thresholds under ¾ inch in height. Use smooth-operating rollers that require minimal force to move. Ensure the door opening is wide enough for mobility devices. Double-slide configurations provide full access when needed.
Key Takeaways for Building Your Own Sliding Door
Building a sliding door rewards DIY builders with a custom feature that saves space and enhances any room. Start by planning based on your door’s location and purpose, then select appropriate materials. Interior doors work well with plywood or MDF, while exterior applications require weather-resistant options like tempered glass or treated wood. The hybrid approach of building your own panel and using commercial hardware provides the best balance of customization, reliability, and cost-effectiveness.
Follow the systematic process of constructing the frame, attaching the panel, installing handles and rollers, mounting the track, and testing operation. Pay special attention to common mistakes like installing siding before the door, skipping track trim, or neglecting threshold sealing on exterior installations. Regular maintenance, including annual roller lubrication and track cleaning, ensures smooth operation for years to come. With careful attention to each step, your completed sliding door will function flawlessly and add lasting value to your home.


