
If you’ve ever watched your cat press their nose against the glass, tracking birds with laser focus, you know they crave the outside world. A cat window box—often called a catio—gives indoor cats safe access to fresh air, sunlight, and outdoor sights without the dangers of roaming free. This project works beautifully for escape artists, window-watchers, and any cat that deserves a taste of nature.
You don’t need advanced carpentry skills to build one. With basic tools, the right materials, and clear instructions, you can construct a durable, attractive window box in a single weekend. This guide covers design choices, materials, step-by-step construction, and tips to make the space irresistible to your cat.
Choose the Right Design Before You Build
Your design choice determines how your cat enters the box and how it attaches to your home. Decide this first, since it affects every later step.
Flush Mount vs. Below Sill Mounting
Two main mounting options exist:
- Flush Mount: The box aligns level with your interior windowsill. Cats walk directly from the window into the enclosure. This works best for double-hung or sliding windows.
- Below Sill: The box installs beneath the window frame and requires a wall-mounted cat door. This option offers more flexibility but needs stronger structural bracing.
Your choice impacts the cat door type, framing approach, and support system you’ll use.
Standard Sizes to Match Your Window
Most cat window boxes follow consistent dimensions:
- Height: 27 inches (tall enough for cats to stand and stretch)
- Depth: 23 inches (room to move, lie down, or perch)
- Length: Varies by window size
Choose from three standard length categories:
- Small: 30–50 inches (narrow sash or slider windows)
- Medium: 54–74 inches (standard double-hung windows)
- Large: 78–98 inches (wide windows or multi-panel setups)
Measure both inside and outside your window before finalizing dimensions.
Plan for Future Expansion
Many owners start small but later connect their box to elevated walkways, larger enclosures, or multi-level play zones. Choose modular plans that allow upgrades without rebuilding from scratch.
Gather Tools and Materials
A successful build starts with the right supplies. Whether you choose wood or PVC, here’s what you’ll need.
Essential Tools
- Tape measure
- Speed square
- Drill and driver
- Circular saw or miter saw
- Staple gun (for mesh attachment)
- Level
- Safety gear (gloves and goggles)
Wood Frame Materials
Wood offers traditional appeal and sturdy construction:
- Lumber: Pressure-treated wood for durability, or cedar for natural rot resistance
- Flooring: Pallet slats or plywood
- Roof Base: Plywood or repurposed wood panels
- Fasteners: Exterior-grade screws and galvanized nails
PVC Frame Materials
PVC works well for budget-friendly, weather-resistant builds:
- PVC pipes (1″ or 1.25″ diameter) with elbows and T-connectors
- Netting: Heavy-duty pet-safe mesh or zip-ties
- Cutting tool: PVC pipe cutter or hacksaw
A complete PVC build typically costs under $300 and resists warping and moisture.
Roofing Options
Choose based on your climate and aesthetic preferences:
- Polycarbonate panels: Lightweight and clear, blocks rain while letting light through
- Corrugated plastic: Durable and semi-transparent
- Asphalt shingles: Most durable and blends with home exteriors
For shingle roofing, use FeltBuster® Underlayment as the base layer and secure with 1¼” galvanized steel roofing nails. Add a starter strip for sloped roofs. Avoid flat, unsealed wood roofs, which fail quickly in rain.
Enclosure Mesh
Mesh keeps your cat safe and contained:
- Galvanized steel hex netting: Strong and rust-resistant
- Fine mesh: Prevents small cats from squeezing through gaps
- Secure edges: Staple or screw mesh tightly with no gaps
Never use chicken wire. It’s too weak and bendable to contain a determined cat.
Build the Frame Step by Step
Follow these steps for a sturdy, square frame that holds up to years of use.
Construct the Base Frame
- Cut two side pieces and one back piece to 27″ high × 23″ deep.
- Cut front and back base supports to match your window length.
- Assemble into a rectangle using screws.
- Attach vertical side and back frames to the base.
Use a speed square to ensure all corners are perfectly square.
Add the Floor and Roof Supports
- Attach floor slats or plywood to the base frame.
- Build a separate roof frame or use a solid panel.
- For shingle roofs, install plywood decking first.
Mount the Box Securely
For Flush Mounts:
- Position the box level with the interior sill.
- Use L-brackets or ledger boards anchored into wall studs.
For Below Sill Mounts:
- Install angle support braces into wall studs.
- Braces must support the full weight, especially with cats inside.
- Attach the box to braces with lag screws.
Never rely on siding or trim alone for support. Always anchor into studs.
Install the Roof and Mesh
Now protect your cat from weather and prevent escapes.
Apply Shingle Roofing
- Lay FeltBuster® Underlayment over the roof base.
- Dry-fit shingles to plan your layout.
- Nail a starter strip along the bottom edge if needed.
- Install shingles from bottom up, overlapping each row.
- Seal edges with roofing cement.
This method lasts for years and matches your home’s existing roof.
Attach the Mesh Enclosure
- Drape mesh over open sides and roof.
- Pull taut to eliminate sagging.
- Fasten every 2–3 inches using heavy-duty staples, U-shaped fencing staples, or screws with washers.
- Overlap seams by at least 6 inches and secure thoroughly.
Pro Tip: Add mesh to the top even if the roof is solid. Cats jump and may try to climb out from unexpected angles.
Create a Safe Cat Access Point
How your cat enters depends on your mount type.
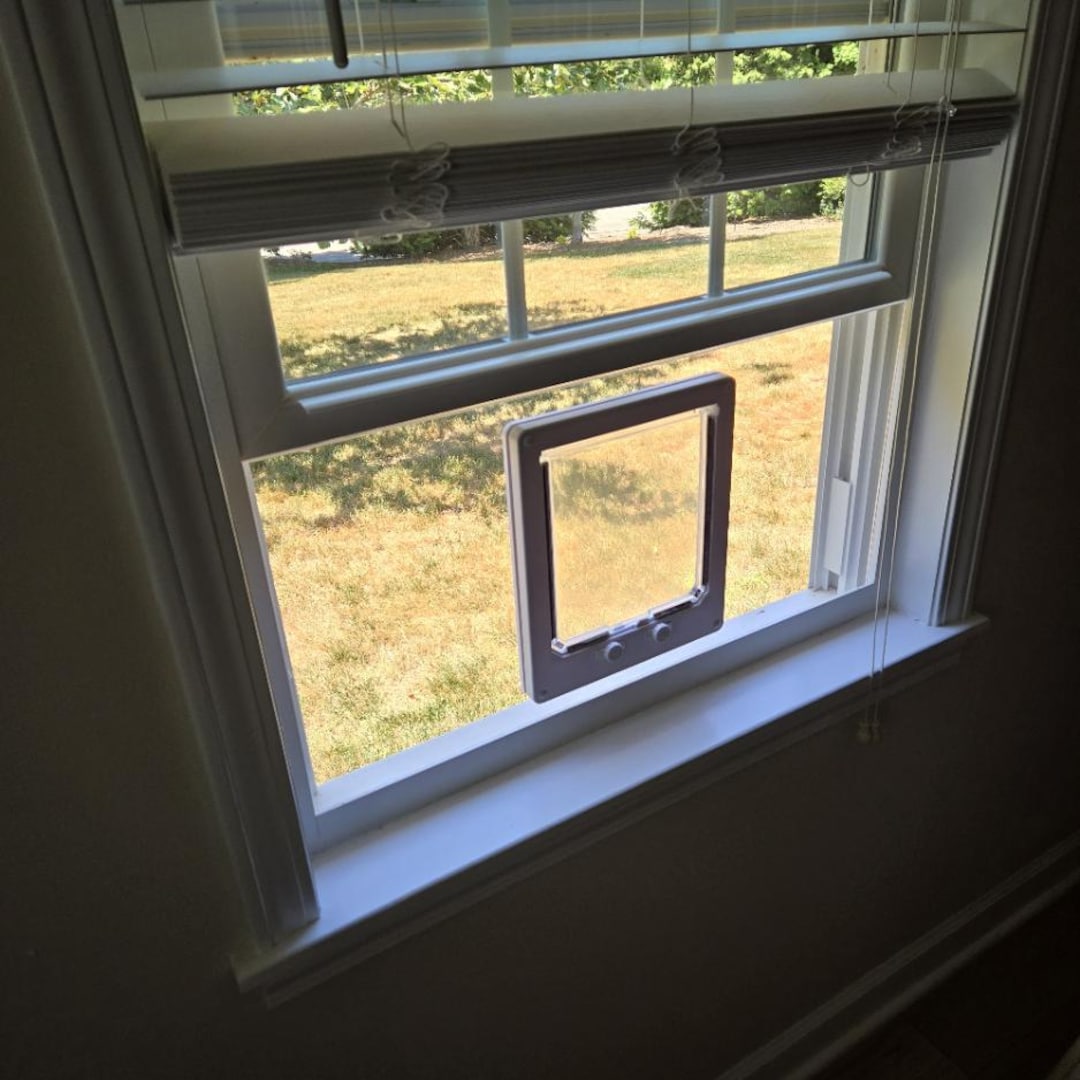
Window-Mounted Cat Door (Flush Mount)
- Install a rigid-panel pet door in the window frame.
- Ensure it fits snugly and locks when closed.
- Test that your cat can push through easily.
Most standard models fit sliding or double-hung windows.
Wall-Mounted Cat Door (Below Sill)
- Cut a hole through the exterior wall below the window.
- Install an insulated, locking pet door.
- Seal edges with exterior-grade caulk to prevent leaks.
Choose a door with a secure flap to keep out pests and weather.
Train Your Cat to Use the Door
- Leave the door open at first so your cat can investigate.
- Place treats, toys, or catnip inside the box.
- Sit nearby and offer encouragement.
- One owner reported their cat entered within 10 minutes, drawn by fresh air and familiar scents.
Be patient. Some cats take days to warm up to a new space.
Enrich the Interior Space
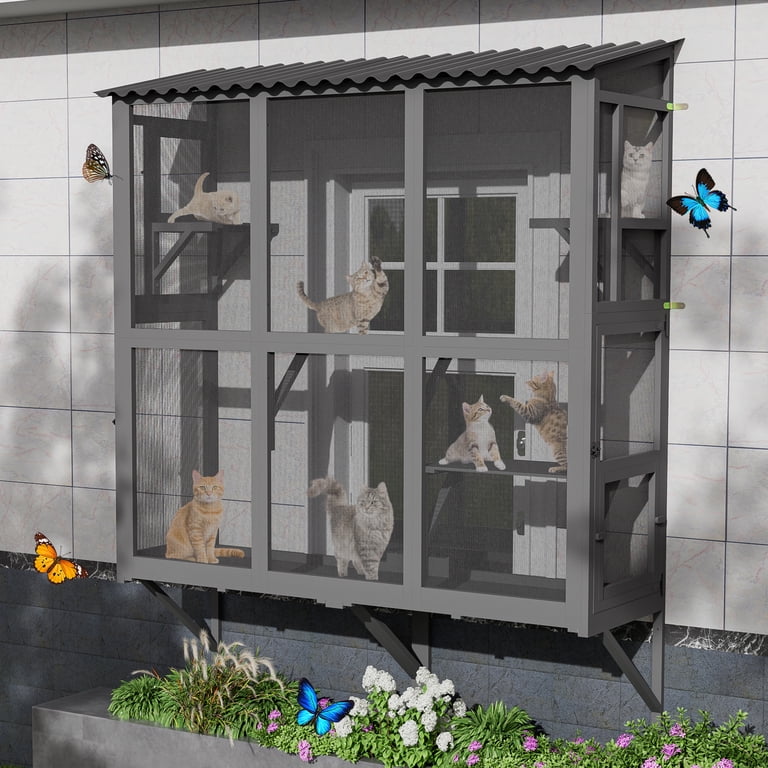
A bare box won’t hold your cat’s interest. Add features that stimulate natural behaviors.
Install Perches and Shelves
- Mount wooden shelves at different heights.
- Use repurposed logs or branches as natural walkways.
- Angle some perches toward the view for better bird watching.
Cats love elevated vantage points where they can survey their territory.
Add Cat-Safe Plants
Bring nature inside with non-toxic greenery:
- Wheatgrass
- Catnip
- Spider plant
- Parsley
Use planters with drainage holes or line them with plastic to protect the wood floor.
Include Shelter and Shade
Even sun-loving cats need a retreat:
- Add a small wooden hideaway or covered cubby.
- Use a waterproof fabric canopy for shade.
- Position shelter on the cooler side of the box.
Add Litter Access for Longer Stays (Optional)
For extended outdoor time:
- Include a small, covered litter tray in larger boxes.
- Design the floor with removable sections for easy cleaning.
- Sweep out debris weekly.
Keep litter away from eating and lounging areas.
Choose Your Budget Level
Your budget determines materials and how long the build lasts.
Budget Build: Recycled Pallets
- Cost: Under $100 if pallets are free
- Pros: Eco-friendly with a rustic look
- Cons: May need extensive sanding; check for chemical treatment
- Tip: Use fine mesh and reinforce weak joints
Mid-Range: PVC Frame with Mesh
- Cost: Under $300
- Pros: Weatherproof, lightweight, easy to assemble
- Cons: Less natural appearance
- Ideal for: Renters or temporary setups
Premium Build: Cedar with Shingles
- Cost: $400 and up
- Pros: Long-lasting, beautiful, blends with home architecture
- Cons: Higher upfront investment
- Best for: Permanent installations
Use quality shingles and galvanized hardware for maximum durability.
Ensure Mounting Safety and Structural Integrity
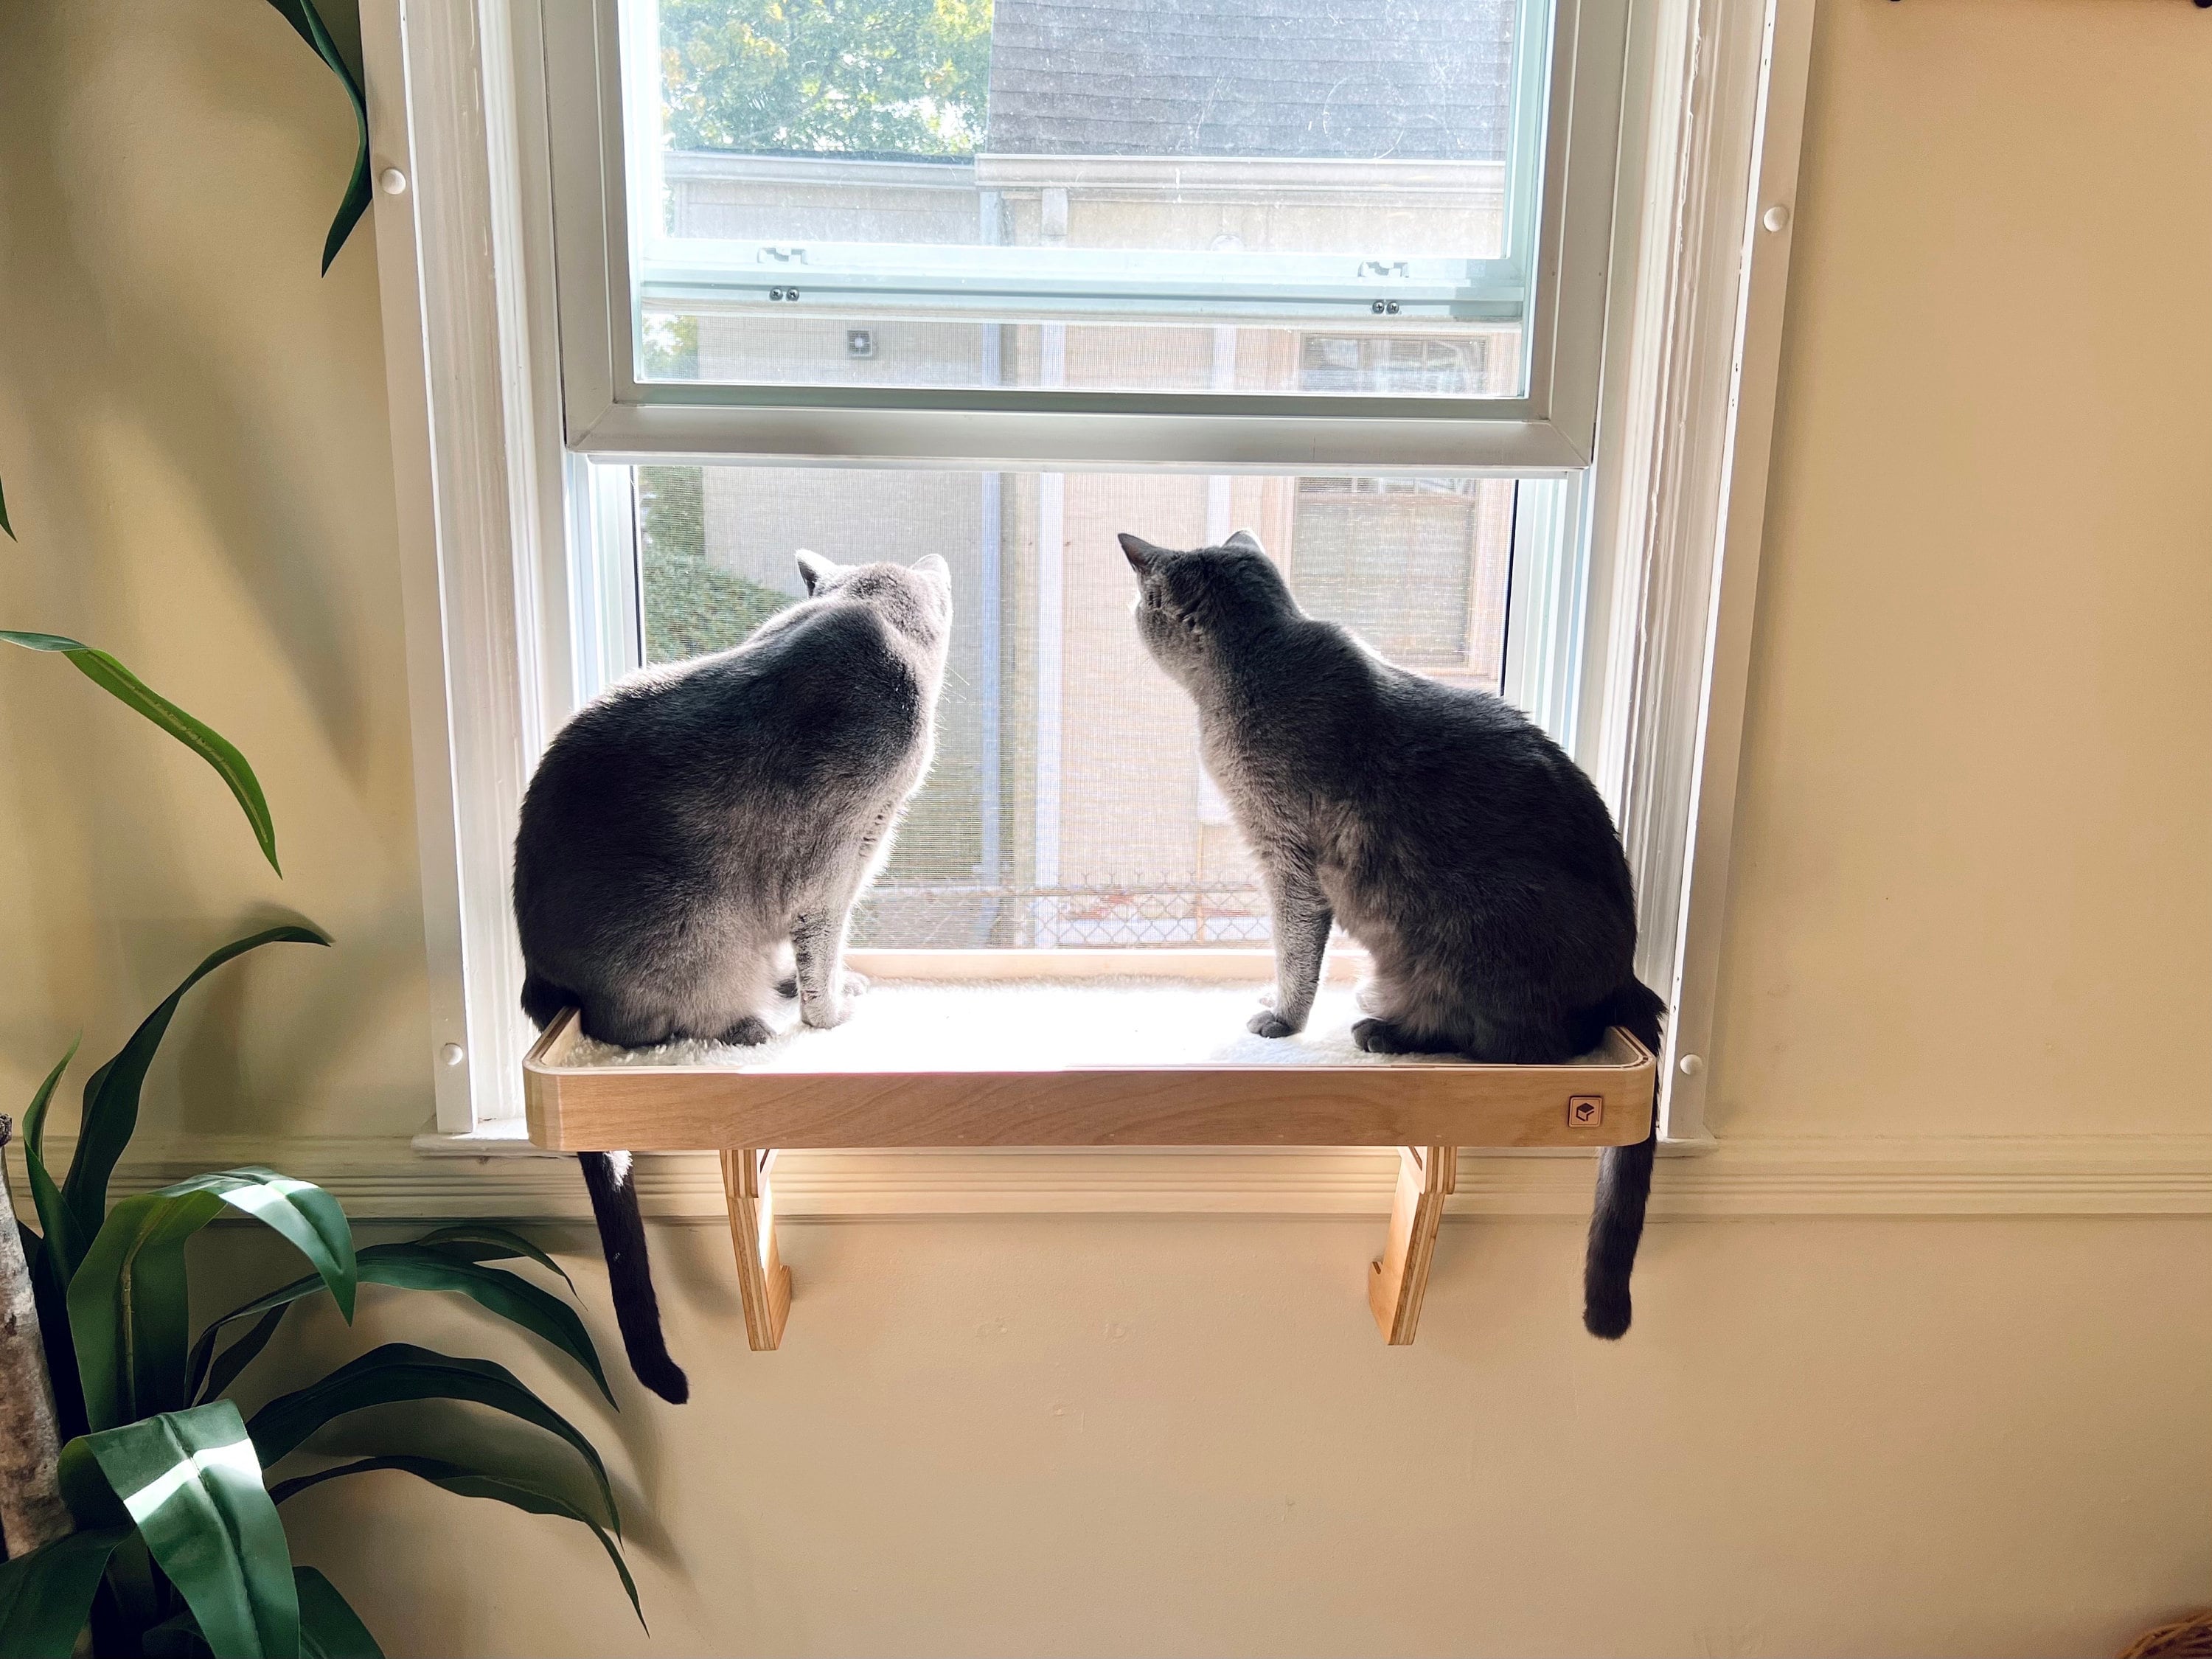
Your cat’s safety depends on a secure, well-braced build.
Support Bracing Is Essential
- Below-sill boxes must use angle iron or wooden braces.
- Anchor into wall studs, never just siding.
- Use lag bolts rather than standard screws for heavy loads.
Test stability by applying pressure before adding mesh or letting your cat inside.
Distribute Weight Properly
- Even a small cat creates dynamic load through jumping and pushing.
- Spread weight across multiple support points.
- For boxes longer than 70 inches, add a center brace.
Weatherproof Every Joint
- Seal all wood joints with exterior caulk.
- Use stainless steel or galvanized fasteners to prevent rust.
- Re-seal wood annually if you’re not using cedar or PVC.
Inspect mesh and structure every few months for wear or damage.
Acclimate Your Cat Successfully
Building the box is half the work. Getting your cat to use it is the real goal.
Start with Scent and Familiarity
- Wipe the interior with a cloth rubbed on your cat’s bedding.
- Place their favorite blanket or toy inside.
- Let them sniff around with the door open before expecting entry.
Use Positive Reinforcement
- Feed meals in the box during the first week.
- Toss treats inside to encourage exploration.
- Sit with them during initial visits.
Never force your cat inside. The space should feel safe and inviting.
Monitor First Uses
- Stay nearby the first few times your cat enters.
- Watch for signs of stress like hiding or hissing.
- Most cats adapt quickly, especially if they already love windows.
Maintain Your Cat Window Box
A little upkeep keeps the box safe and functional for years.
Monthly Checks
- Inspect mesh for tears, rust, or loosening.
- Test the cat door mechanism.
- Clean the floor and remove debris.
Seasonal Maintenance
- Re-tighten screws and braces.
- Re-seal wood surfaces.
- Replace worn shingles or damaged netting.
Winter Use Tips
- Remove plants that won’t survive frost.
- Add a cozy mat or insulated pad for warmth.
- Most cats enjoy cold-weather bird watching.
Avoid heating devices, which pose fire risks.
Frequently Asked Questions About Cat Window Boxes
What is a cat window box?
A cat window box is an outdoor enclosure attached to a window that lets indoor cats experience fresh air, sunlight, and outdoor sights safely. It’s also called a catio, short for cat patio.
How much does it cost to build a cat window box?
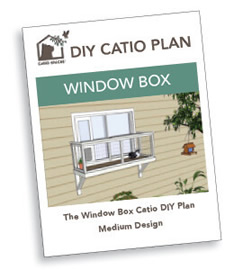
Costs range from under $100 using recycled pallets to $400 or more for premium cedar builds with asphalt shingles. PVC frame builds typically fall under $300. Commercial DIY plans cost around $29.95 per size variant.
Do I need carpentry experience to build one?
No. Many beginners complete successful builds using step-by-step PDF plans. Basic tools and clear instructions are enough for most designs, especially simpler pallet or PVC builds.
How do I get my cat to use the cat window box?
Start by leaving the door open and placing familiar items inside, like bedding or toys. Use treats and meals to create positive associations. Never force your cat inside. Most cats adapt within days, though some take longer.
Can I build a cat window box without attaching it to my house?
Yes. Standalone versions work on balconies, decks, or in yards. However, window-mounted designs give cats direct access from inside, which most cats prefer.
How do I weatherproof a wooden cat window box?
Seal all joints with exterior caulk, use galvanized or stainless steel fasteners, and apply a weather-resistant finish. Cedar and pressure-treated wood naturally resist rot. Re-seal wood annually for best results.
Key Takeaways for Building Your Cat Window Box
A successful cat window box project comes down to three priorities: safety, comfort, and enrichment. Start by choosing the right mount type for your window and measuring carefully. Use sturdy materials, whether you go with budget pallets, mid-range PVC, or premium cedar. Always anchor into wall studs and never rely on siding alone for support.
Once the structure is solid, focus on making the interior inviting. Add perches at varying heights, include cat-safe plants, and provide a shaded retreat. Train your cat gradually using treats and familiar scents rather than forcing them inside.
The result is more than a structure. It’s a safe outdoor experience that satisfies your cat’s natural instincts while giving you peace of mind. Follow these steps, prioritize safety at every stage, and you’ll create a space your cat will enjoy for years. Start by measuring your window and choosing your design today.



