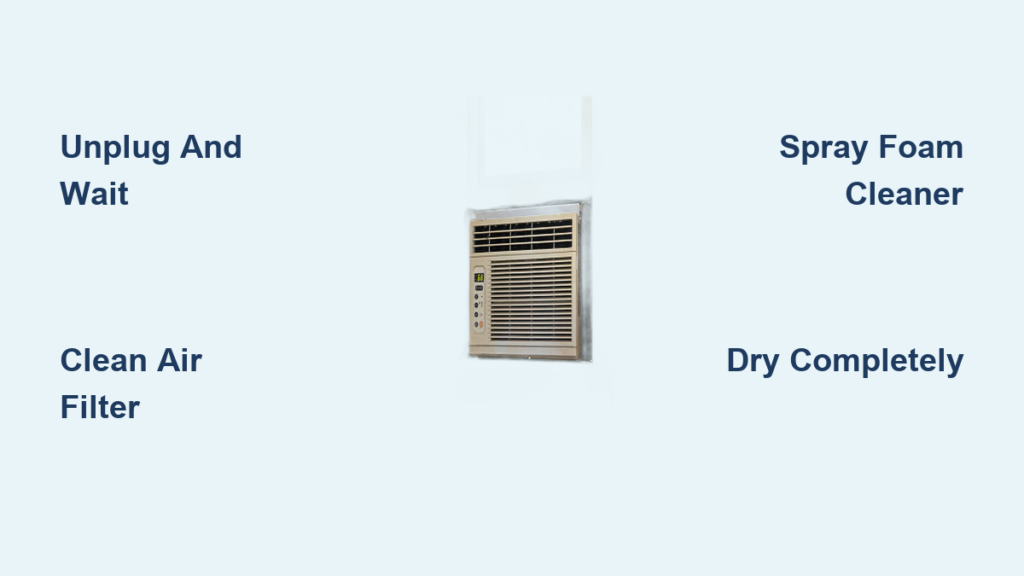
Is your window air conditioner running but not cooling like it used to? Does it kick on with a musty smell that fills the room? The culprit is almost certainly dirty coils. Cleaning the coils on a window AC is one of the most effective maintenance tasks you can do yourself to restore cooling power, cut energy bills, and eliminate odors. Over time, dust, pollen, pet dander, and outdoor debris clog the evaporator and condenser coils, choking their ability to transfer heat properly.
In this guide, you will learn exactly how to clean coils on window AC units safely and effectively using common household tools and the right cleaning products. Follow the steps in order, and your unit will run like new again.
Safety First: Power Down and Prepare Your Workspace
Before touching any internal parts, electrical safety is critical. Window AC units contain capacitors that can shock you even after the unit is unplugged.
Unplug and Wait for Capacitors to Discharge
Turn off the unit at the control panel, then unplug it from the wall outlet completely. Wait at least 5 minutes before opening the unit. This pause allows the internal capacitors to discharge safely.
Choose a Safe Cleaning Location
If possible, remove the unit from the window and place it on a tarp outdoors, in a bathtub, or in a shower stall. This prevents indoor water damage and makes rinsing much easier. If removal is not feasible, protect the floor with towels and position cardboard around the unit to catch runoff.
Remove the Front Panel and Clean the Air Filter
The air filter catches most airborne debris before it reaches the coils. A clogged filter forces dust directly onto the cooling fins.
Open the Front Grille
Most window AC units have a front grille that snaps off or is held by 2 to 3 screws. Use a screwdriver if needed, and handle plastic clips gently to avoid snapping them. Check your owner’s manual if the removal method is unclear.
Wash the Filter Thoroughly
Slide the filter out from behind the panel. Rinse it under warm water to remove loose dust, then follow these steps:
- Soak in warm water with mild dish soap.
- Gently scrub with a soft brush or your hands.
- For mold, soak in a solution of 1 part bleach to 3 parts water for 10 minutes.
- Rinse thoroughly to remove all soap and bleach residue.
- Let it air dry completely before reinstalling.
Never reinstall a wet filter. Moisture trapped inside promotes mold growth the moment you turn the unit back on.
Vacuum Loose Dust from the Coils

With the filter removed, you can now access the evaporator coils inside and the condenser coils on the back.
Use a Soft Brush Attachment
Attach a soft brush to your vacuum cleaner. Gently vacuum the evaporator coils visible behind the filter, the condenser coils on the exterior side, and the interior compartments and fan blades.
Always Vacuum With the Fin Direction
Vacuum in the direction of the fins, which are usually vertical. Going against the grain bends the delicate aluminum fins, restricting airflow and reducing efficiency. Vacuum monthly during peak use to stay ahead of buildup between deep cleanings.
Apply Foam Coil Cleaner for Deep Cleaning
Vacuuming handles surface dust, but grime packed deep between the fins requires a chemical solution.
Choose an Aluminum-Safe Foam Cleaner
Use a foam-based coil cleaner labeled safe for aluminum fins. Avoid harsh acids or bleach-based products that corrode metal over time.
Spray and Allow Dwell Time
- Spray the foam generously onto all coil surfaces.
- Ensure coverage on both the evaporator and condenser sides.
- Let the foam dwell for 10 to 15 minutes, following the product instructions.
The foam expands into tight spaces, dissolving grease, mold, and compacted dirt. You will see grime loosening and dripping down into the drain pan. Avoid spraying electrical components like wires or the fan motor.
Rinse Gently and Clear the Drainage System

Rinsing washes away loosened debris and prevents drain clogs that cause leaks and mold.
Spray From Inside to Outside
Use a spray bottle or a gentle garden hose setting. Never use a pressure washer, as the force will permanently bend the fins. Spray from the interior toward the exterior to push dirt out rather than deeper in. A hand-pump sprayer works well for removable units.
Clean the Drain Pan and Hole
Water collects in the drain pan and exits through a small hole or hose. Clogs here are a common source of musty smells and indoor leaks.
- Wipe out standing water with rags.
- Pour equal parts white vinegar and water into the pan to kill mold and dissolve algae.
- Flush the drain hole with the same solution using a turkey baster or syringe.
- Blow air through the tube to clear any remaining blockages.
White vinegar is safer than bleach for internal components and equally effective against mold and mildew.
Straighten Bent Fins With a Fin Comb

Bent fins block airflow and silently kill cooling efficiency. Even small bends add up.
Inspect the Coil Fins Closely
Look at the fins on both the evaporator and condenser coils. Any bending or crushing restricts the air your unit needs to breathe.
Match the Comb to Your Fin Density
Fins come in different densities measured in fins per inch. Match your fin comb to your unit’s fin count for the best results. Plastic combs are common, while rotating-blade models fit multiple sizes.
Align the Fins Gently
Insert the comb’s teeth into the fins and pull slowly along their length. Use light pressure, since aggressive strokes can snap the fins. Clean the comb frequently in water to avoid redepositing dirt back onto the coils.
Dry and Reassemble the Unit Properly
Moisture left inside the unit can cause mold or electrical shorts the moment you power it on.
Air Dry Completely
Let the unit sit in a well-ventilated area for at least 2 to 4 hours, or until every part is dry to the touch. Do not skip this step.
Reinstall the Filter and Panel
- Slide the dry filter back into its tracks.
- Snap or screw the front panel back on securely.
- Ensure all clips are engaged and screws are finger-tight. Avoid overtightening plastic.
Test the Unit and Check for Proper Operation
Plug the AC back in and turn it on.
Listen, Feel, and Watch
- Listen for unusual noises like grinding or rattling.
- Feel for cool air within 10 to 15 minutes.
- Verify water is dripping outside, not inside.
If water leaks indoors, check the unit’s tilt. It should slope slightly downward toward the outside, about a quarter inch, to allow gravity drainage.
Follow This Maintenance Schedule for Peak Performance
Regular upkeep prevents major cleanings and extends the life of your unit.
- Air filter: Clean monthly during summer; bi-weekly if you have pets or live in a dusty area.
- Coil inspection: Every 3 months, vacuum visible dust.
- Deep coil cleaning: Twice yearly, once in spring at startup and once in fall at shutdown.
- Drain pan: Check monthly in humid weather to prevent algae and clogs.
- Fan motor lubrication: Annually, only if your model has oil ports. Use 3-in-1 electric motor oil.
Troubleshoot Common Post-Cleaning Issues
Even after a thorough cleaning, problems can linger. Here is how to diagnose them.
Still Smelling Musty?
Mold may be hiding in deep areas like the back of the drain pan or behind the coils. Spray vinegar solution into unseen crevices. For extensive black mold, hire a professional, since disturbing it can release spores into your home.
Not Cooling Enough?
Check the fins first and straighten them with a fin comb. Then check the drain line, since clogs cause water buildup and freezing. If coils are clean and airflow is good, low refrigerant may be the issue. Call a licensed technician, because DIY refrigerant handling is illegal and dangerous.
Leaking Inside?
A clogged drain is the most common cause. Clean the pan and flush the hole with vinegar solution. If leaks continue, reinstall the unit with a quarter-inch slope toward the outside.
Know When to Call a Professional
Some situations go beyond DIY repair. Seek expert help if you encounter:
- Extensive black mold: A health hazard that requires professional removal.
- Damaged coils or refrigerant leaks: Needs pressure testing and certified repair.
- Persistent cooling failure: After thorough cleaning and filter replacement.
- Electrical issues: Unusual smells, tripped breakers, or frayed wires.
- Difficult removal: Especially in upper-floor apartments where safety is a concern.
Boost Efficiency With Smart Installation Tips
How you install your window AC affects how quickly the coils get dirty.
Tilt for Proper Drainage
Always install the unit slightly lower on the outside edge, about a quarter inch, so condensation flows out instead of pooling inside.
Seal Gaps Around the Unit
Use foam insulation strips and side panels to block unfiltered air from sneaking in around the unit. This keeps dust off the coils and improves overall efficiency.
Protect the Outdoor Side
Keep the exterior condenser clear of leaves, grass clippings, and pet hair. Trim nearby plants to maintain proper airflow around the unit.
Winterize or Store During Cold Months
Remove the unit in winter, clean it thoroughly, let it dry, and store it in a garage or basement. This prevents weather damage and extends its service life.
Critical Safety Warnings to Follow
Ignoring these can damage your unit or put you at risk.
- Never use a pressure washer: High-pressure water bends aluminum fins permanently.
- Avoid harsh chemicals: Bleach and acidic cleaners corrode aluminum. Stick to aluminum-safe foam cleaners.
- Do not submerge electrical parts: Even brief water contact can ruin motors and wiring.
- Do not force components: If a panel will not budge, check for hidden screws. Forcing it breaks plastic clips.
Verify Your Work With a Simple Performance Test
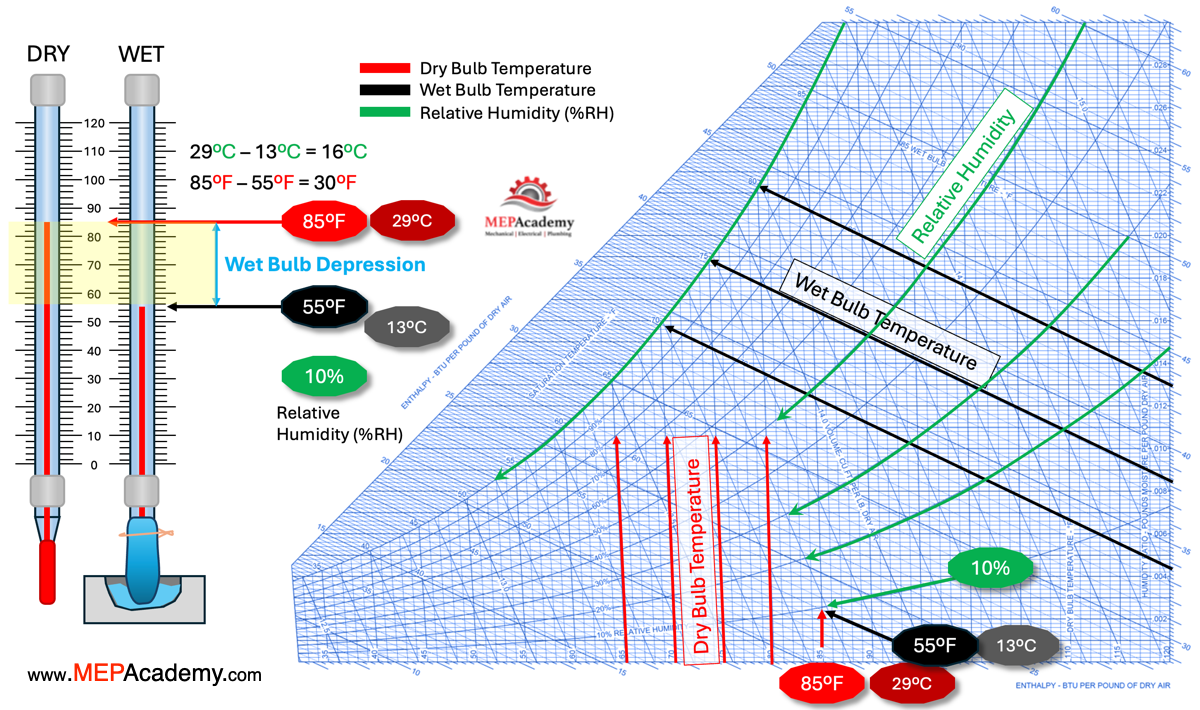
Two quick diagnostics confirm your cleaning was successful.
Wet Bulb Test for Cooling Power
- Place a thermometer at the air intake and record the temperature.
- Wrap a wet paper towel around a second thermometer’s sensor and place it at the air outlet.
- Run the AC for 10 minutes.
- Compare the readings.
A healthy unit should show a 20°F (11°C) drop. Less than that means fins, drain, or refrigerant need another look.
Check Amperage Draw With a Clamp Meter
- Measure the current while the unit runs.
- Compare it to the rating on the spec plate.
If amperage is more than 25% higher, the compressor may be straining. That is a clear signal to call a professional.
Frequently Asked Questions About Cleaning Window AC Coils
How often should I clean the coils on my window AC?
Clean the coils twice a year, once in spring at startup and once in fall at shutdown. The filter should be cleaned monthly during peak use, or bi-weekly if you have pets or live in a dusty environment.
Can I use bleach to clean window AC coils?
Avoid bleach on the coils themselves, since it can corrode aluminum over time. Use a foam coil cleaner labeled safe for aluminum, and stick to white vinegar for the drain pan and interior surfaces.
What happens if I do not clean the coils?
Restricted airflow causes the evaporator coils to freeze, which damages the compressor and leads to expensive repairs. Dirty coils also increase electricity bills, reduce cooling capacity, and circulate moldy odors throughout your home.
Is it safe to spray water on window AC coils?
Yes, as long as you use a gentle spray bottle or low-pressure garden hose setting. Spray from the inside toward the outside, and never use a pressure washer, which bends the delicate aluminum fins permanently.
How do I know if my window AC coils are dirty?
Common signs include reduced cooling, musty odors, visible dust on the coils, water leaking indoors, unusual noises, and evaporator coils freezing over. Any of these symptoms mean it is time for a cleaning.
Can I clean window AC coils without removing the unit?
Yes. You can clean the coils in place by protecting the floor with towels, vacuuming accessible surfaces, and spraying cleaner carefully. However, removing the unit makes rinsing and drying much easier and more thorough.
Final Thoughts on Cleaning Window AC Coils
Cleaning the coils on your window AC is about more than fixing a bad smell. It restores cooling performance, cuts energy costs, and prevents costly compressor damage. With the right tools and a few hours of effort twice a year, you can keep your unit running efficiently for years to come. Stick to the maintenance schedule, follow the steps in order, and never skip the drying time. Your comfort and your wallet will both benefit from clean coils.